All,
Ditto to what Steve said. Moreover what I do is let the prop go a full 1 second before launching the plane. This is for that initial burst of power and torque to be released and not transfer to the model. On a mass launch... It's 1, 2 (Let the prop go), 3, then toss the airplane (at it's flying speed) towards a point 50 feet ahead. If everything is set properly, let the prop and rubber do the work. The airplane should go though 3 distinct flight stages. That is 1,climb; 2,cruise; and 3 is the glide. This is why very good pilots will have DT's (De-Thermilizers) set for 2 minutes. When the plane is up high enough and catches a thermal you might loose your plane!

Okay, on to the morning report:
I was planning on installing the engine (nose block) this morning but after sanding and gluing the parts they ended up a bit short in my fit check:
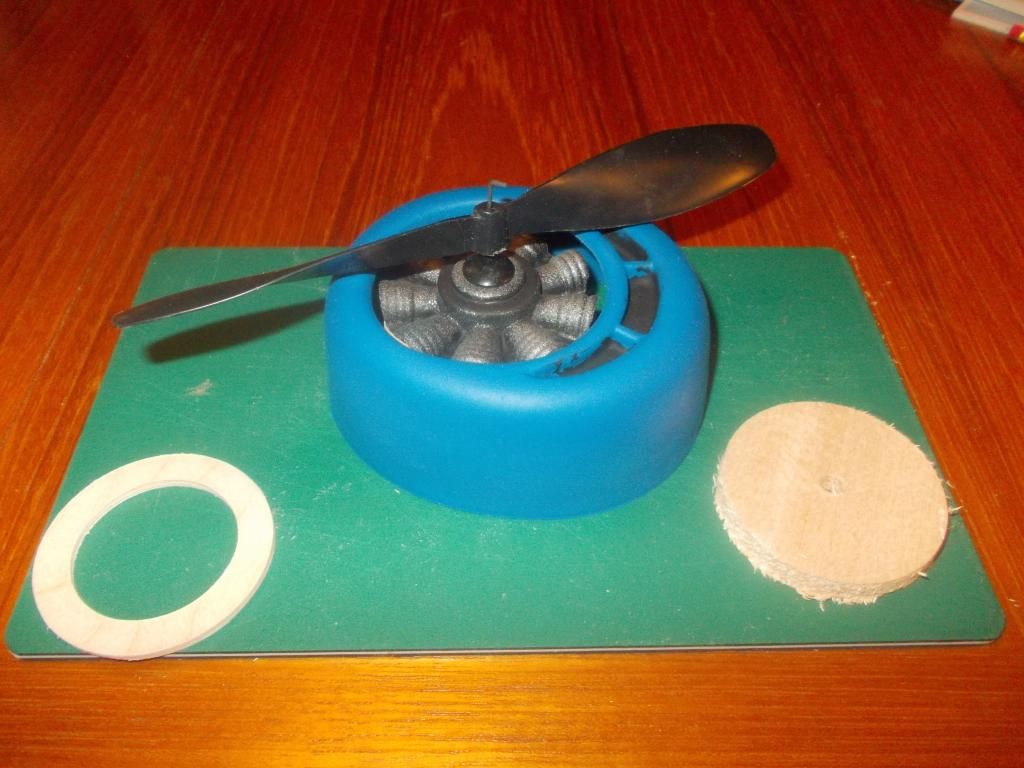
The prop (not the flying prop) is very close to touching the cowl, and with thrust adjustment I am concerned there will be a problem. So I test fitted a 1/8 inch plywood and a 1/4 inch balsa spacer.
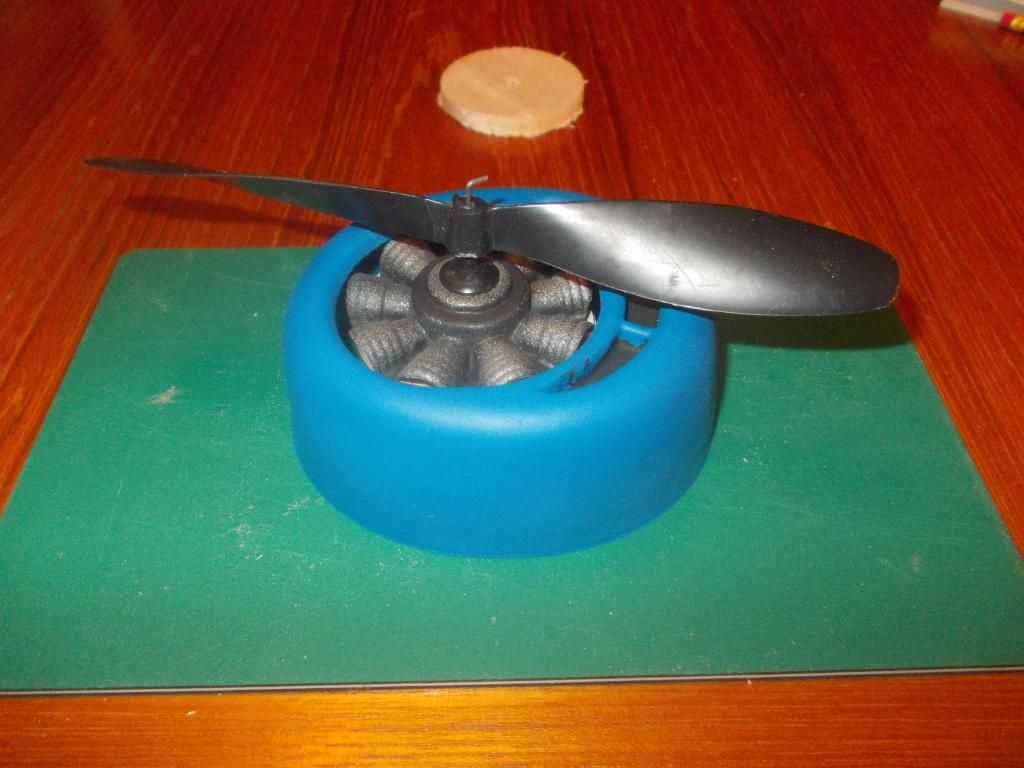
I will go with the 1/8 inch plywood ring. So I need to glue this up and clamp. After a day of dry time I will install the engine (nose block) in the model tonight.
Mitch
PS: I sent in an order to EasyBuiltModels for props and other stuff. Also for more kits as I hope to enter EVERY contest at WESTFAC V!

UPDATE: Since the engine was getting it's final adjustment, I thought it a good time to put the 4th and final coat of dope on the model:
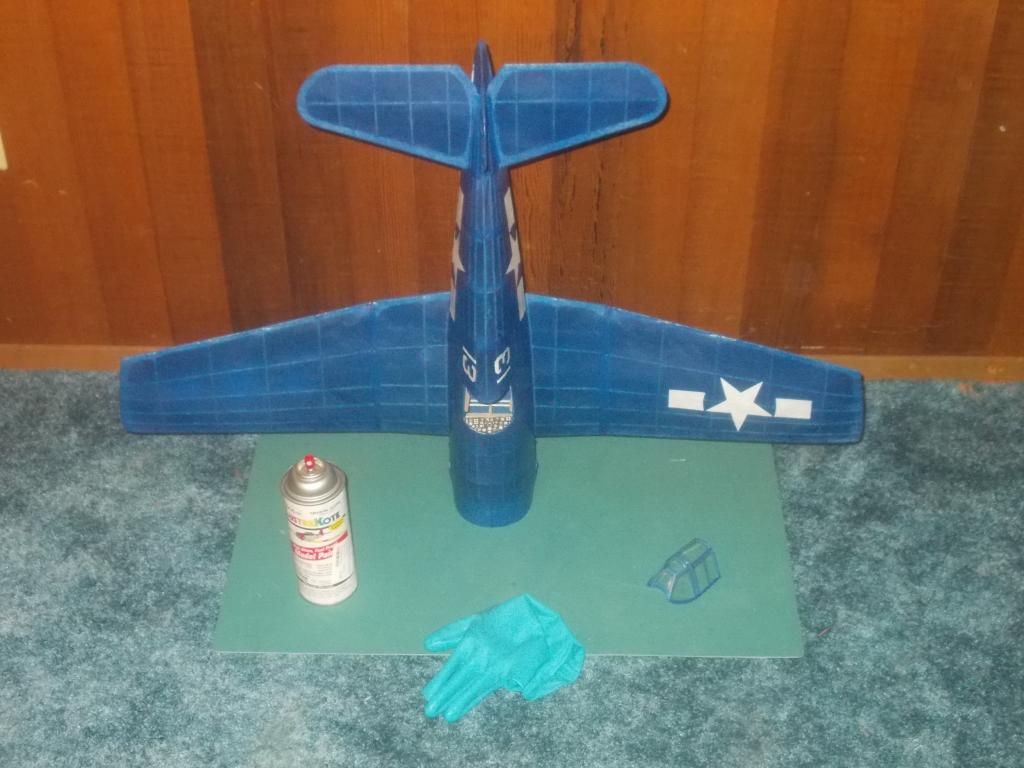
I started with a light coat, and each coat after a bit heavier.


