Super piper cub 95 build

Ask other modelers for a little help / knowledge ?

Super piper cub 95 build

Postby ADW 123 » Thu Nov 18, 2010 7:25 am

heres my next one. all white glue built, and im planing for rubber powered flight. debateing weather i shoul.d cover with colored tissue or spray lightly and airbrush color on. open to suggestion. also, how should i go about putting the rubber band in.... should it be braded, longer than the prop to peg length or what?

Image

Image

Image

Image

Image

Image
ADW 123
 
Posts: 1158
Joined: Mon Feb 22, 2010 5:22 pm
Location: Cincinnati, Ohio

Postby ADW 123 » Thu Nov 18, 2010 9:58 pm

Image


Image


Image


Image
ADW 123
 
Posts: 1158
Joined: Mon Feb 22, 2010 5:22 pm
Location: Cincinnati, Ohio

Postby lukebozek1 » Thu Nov 18, 2010 10:02 pm

Looking good so far, I liken the sawdust, it looks like my porch till 15 minutes before my wife gets home from work. Even this keyboard is covered in dust, maybe a vacuum job, tomorrow.
lukebozek1
 
Posts: 136
Joined: Fri Jul 09, 2010 8:34 am
Location: Hobe Sound Florida

Postby Phugoid » Fri Nov 19, 2010 7:10 am

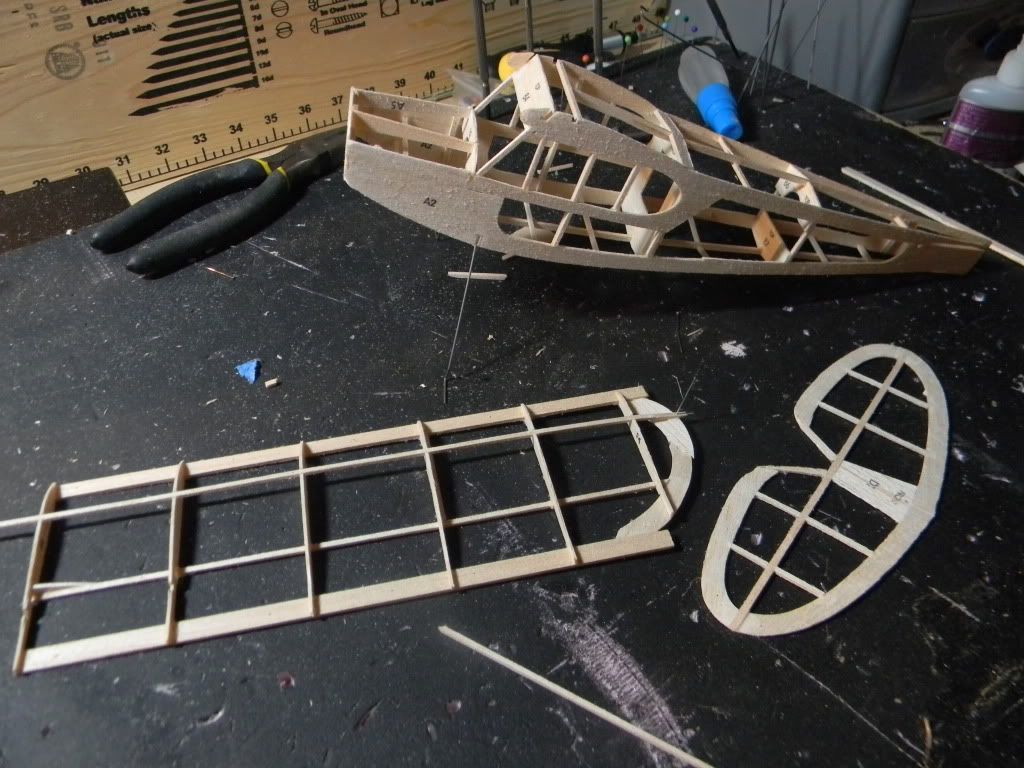
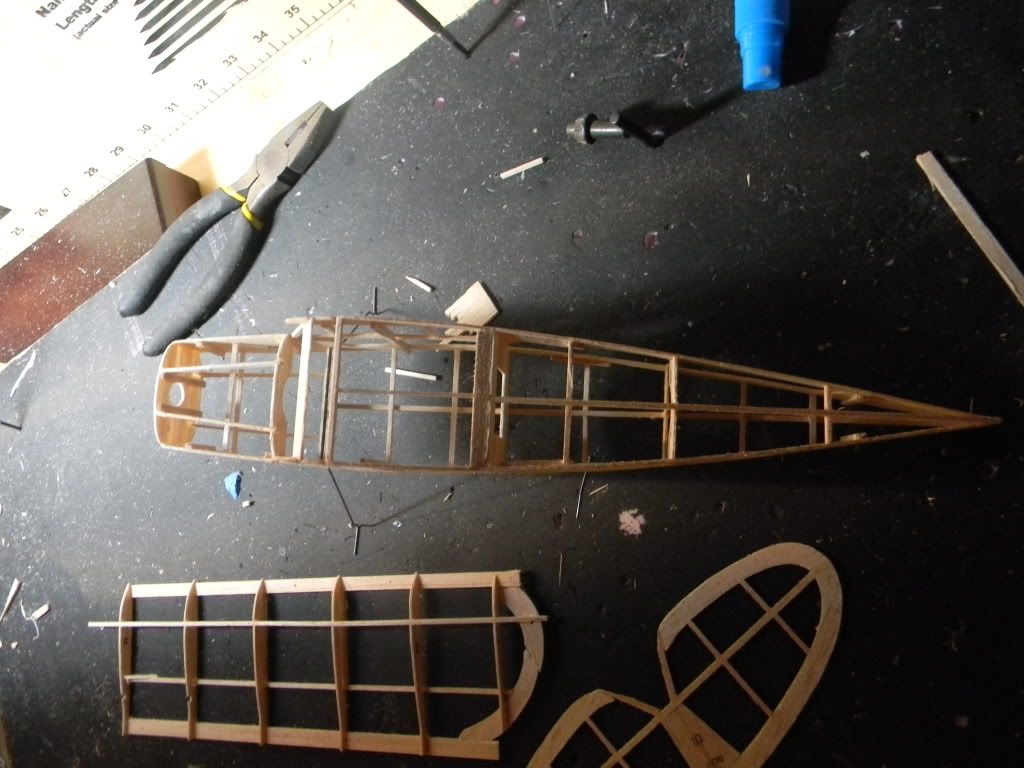
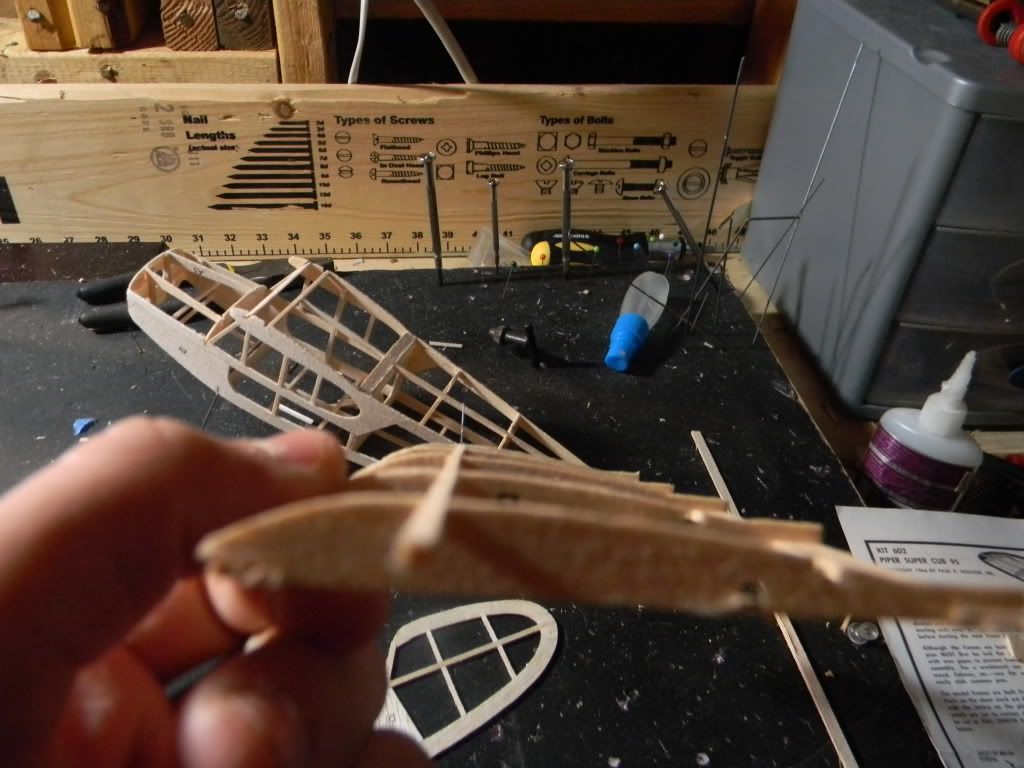
Looking good. This is a nice kit in terms of the design once you get past the flaky nature of some of the parts and some of the fits. It can be made to fly quite nicely.

Don't use the rubber in the kit, it won't work. 3/16" rubber is about right I found. I went 1.25 times prop to hook and still got a 25-30s motor run. For simple motors like this one "braiding" is simply twisting the rubber along its length before I tie the knot.

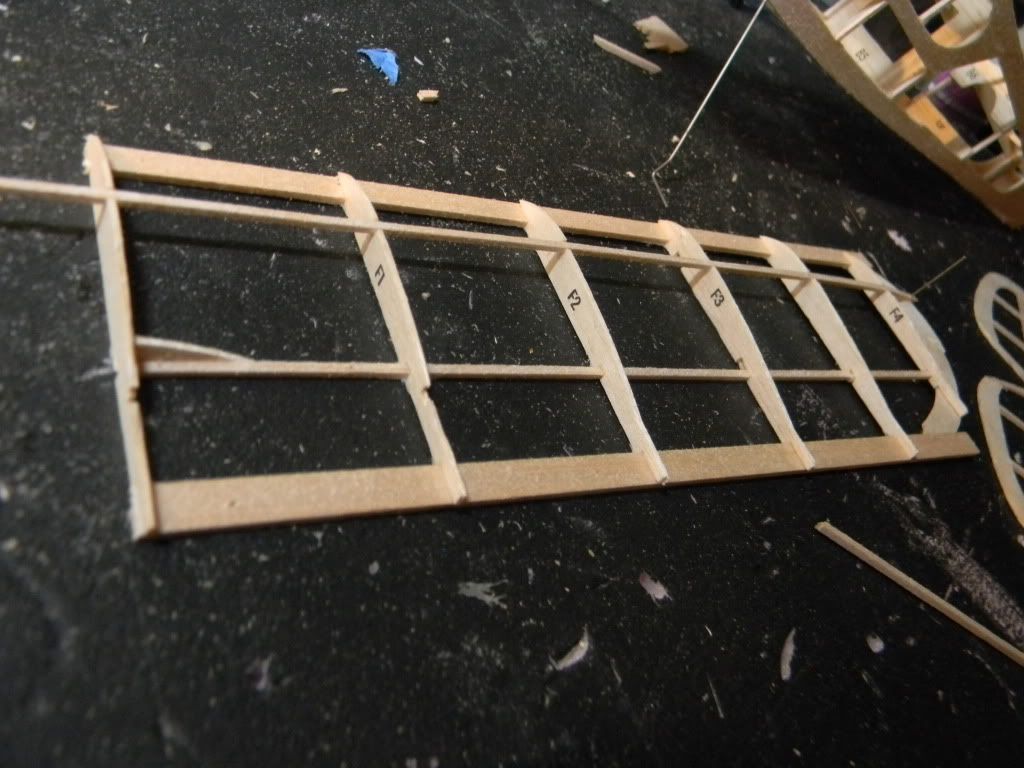
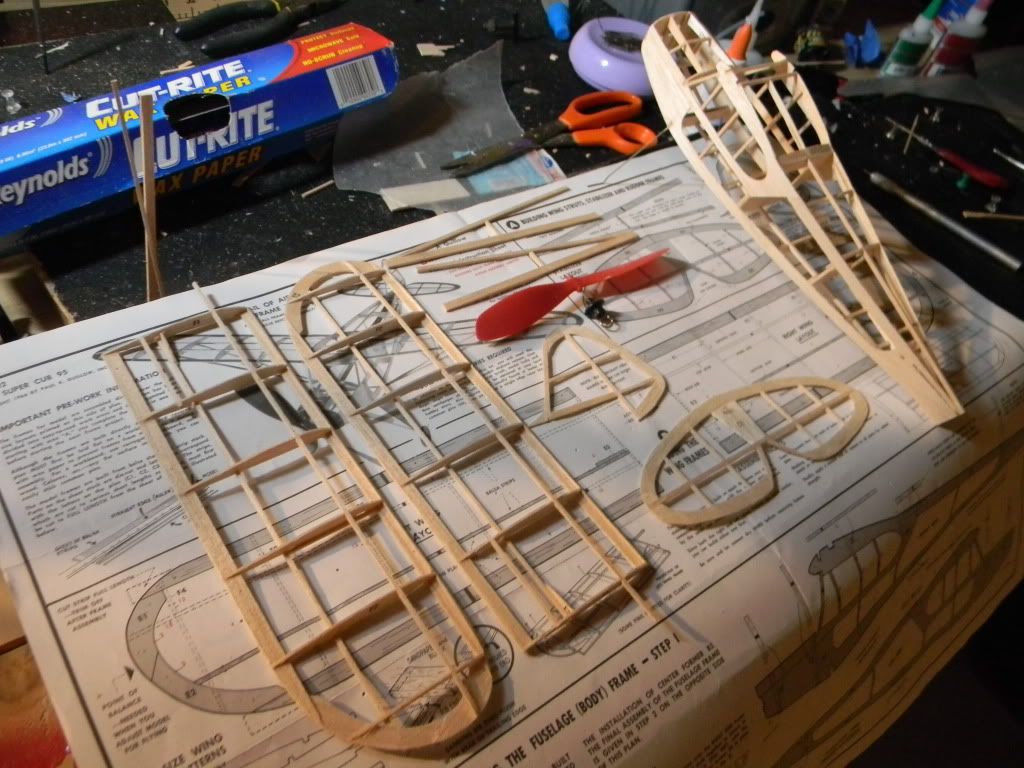
I would recommend that you add corner gussets to your wings, both for strength and for avoiding "dipping in" of the tissue and wrinkles.....

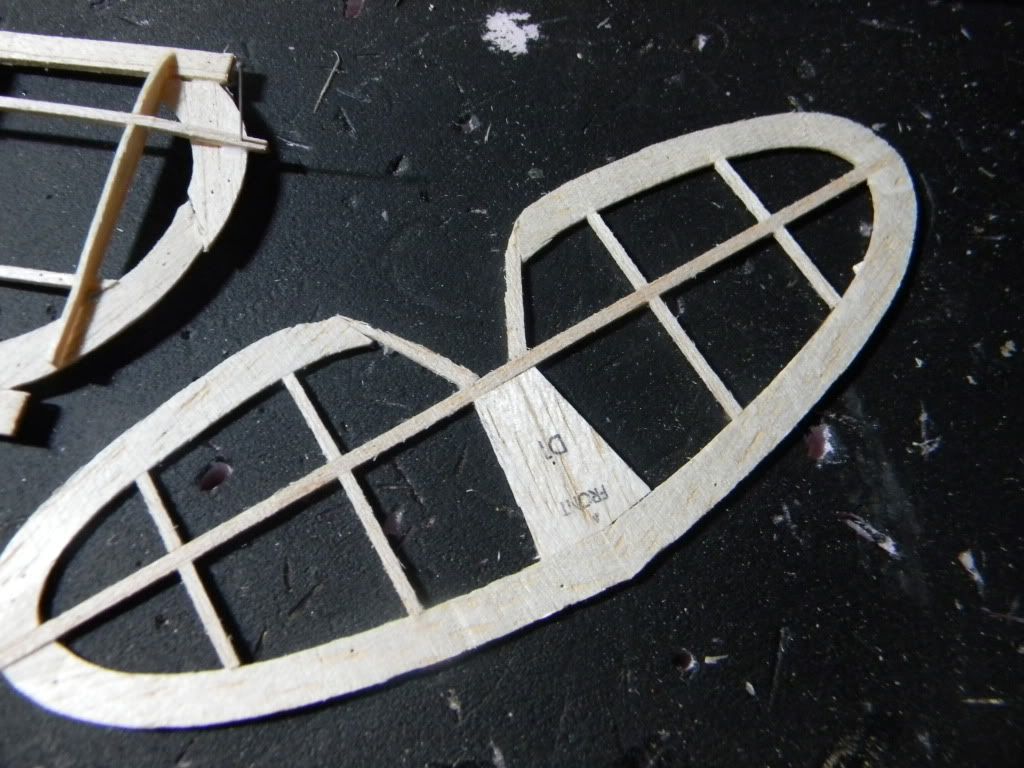
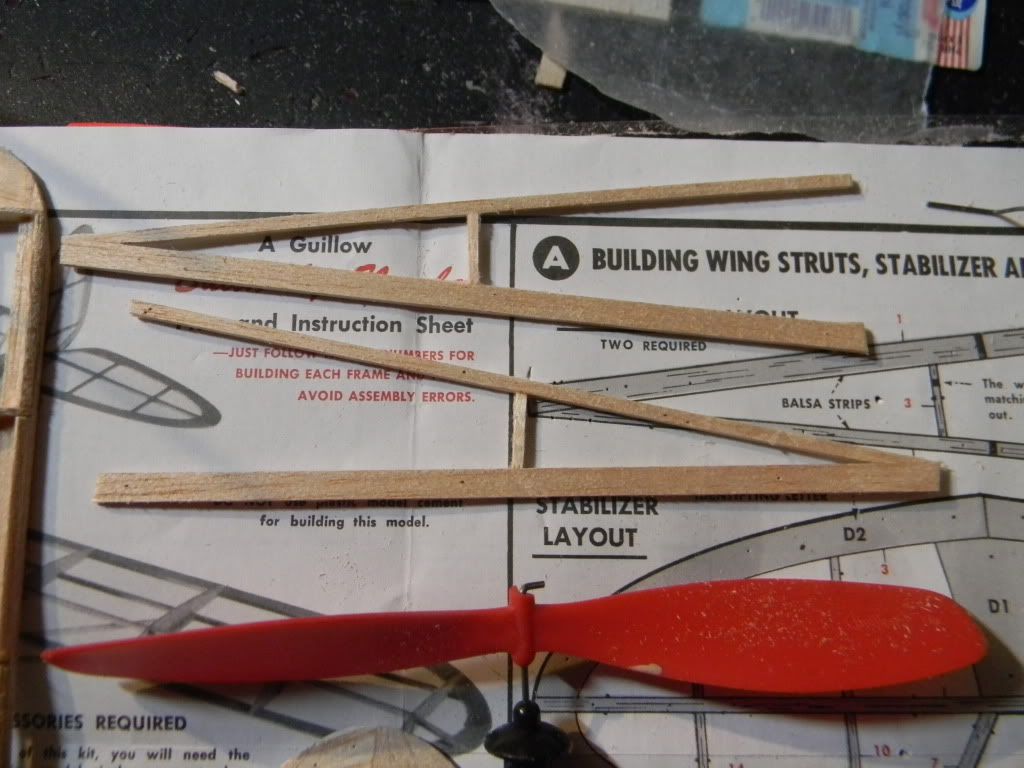
Because you have removed a fair amount of material from the two pieces that form the inside rear of the tail (stab.) ie the part that clears the movement of the rudder on the real thing ( I hope you understand which bit I mean) I would consider adding some gussets there too as it looks a little weak.

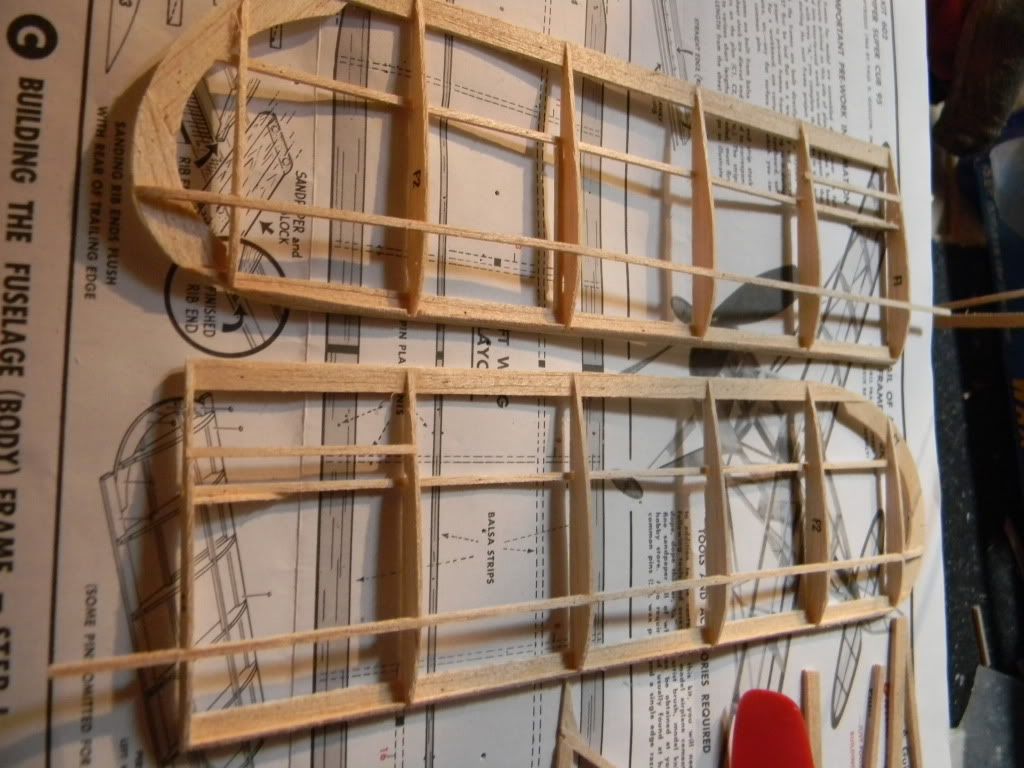
Don't forget to add some washout to the wings when you shrink the tissue, this will help keep things stable esp. on the turn.

I think most of this is in my build thread.

For what it's worth I'd just use the coloured tissue on this one, I painted mine and it was a bit OTT for such a simple model really, but my daughter wanted it that way.

I look foward to reading the rest of your build......
Phugoid
 
Posts: 952
Joined: Wed Jan 20, 2010 8:17 am

Postby ADW 123 » Fri Nov 19, 2010 8:27 am

ill keep ya updated. just wahout to the right wing? or both? do i use two loops of 3/16" rubber or just one?
ADW 123
 
Posts: 1158
Joined: Mon Feb 22, 2010 5:22 pm
Location: Cincinnati, Ohio

Postby ADW 123 » Fri Nov 19, 2010 8:32 am

also, i dont think you saw the 1/16" balsa strips i put on the leading edge.... should help with wrinkles there
ADW 123
 
Posts: 1158
Joined: Mon Feb 22, 2010 5:22 pm
Location: Cincinnati, Ohio

Postby lukebozek1 » Fri Nov 19, 2010 9:35 am

I saw that built up edge. Great idea since this will help. Another master builder told me to reduce the curvature on the rib front edge, that helped very much. Looks good!
lukebozek1
 
Posts: 136
Joined: Fri Jul 09, 2010 8:34 am
Location: Hobe Sound Florida

Postby ADW 123 » Fri Nov 19, 2010 10:06 am

yes i sanded down the curve angle on the front of the ribs.
ADW 123
 
Posts: 1158
Joined: Mon Feb 22, 2010 5:22 pm
Location: Cincinnati, Ohio

Postby Phugoid » Fri Nov 19, 2010 3:06 pm

You'll want to wash out both wings. You can use some differential wash out if you want to try and stop the left wing from dropping in on the turn. (assuming you'll trim for the left turn)

What this means is that you wash out the left wing slightly less than the right, this makes it so that the left wing makes a little bit more lift so when you set the rudder or trim tab for the left turn it turns nice and flat rather than begining to dip the left wing and "spiral"

I noticed the pieces on the leading edge, they will certainly help attach the tissue, but I still think that the corner gussets are a good plan too....

A single loop of 3/16" rubber is fine for this model
Phugoid
 
Posts: 952
Joined: Wed Jan 20, 2010 8:17 am

Postby ADW 123 » Fri Nov 19, 2010 3:14 pm

i was going to add those gussets... hopefully tonight sometime. i ordered some easy built lite tisue paper online yesterday. i think i want it to be pink and white, just for fun. it will look cool though too. i remember on your forum about this same plane ,phugoid, that you mentioned washout. is there something i can use that is found around home to use in place of your alluminum blocks?
ADW 123
 
Posts: 1158
Joined: Mon Feb 22, 2010 5:22 pm
Location: Cincinnati, Ohio

Postby Phugoid » Fri Nov 19, 2010 4:17 pm

Anything stiff and flat, that the glue or dope won't stick to.......

In England big DIY shops like B & Q have the aluminium bar, so I'd of thought Home Depot etc in the States would have it too if you wanted to use it.

Hey whatever colours you like! This is meant to be a Fun hobby so have fun with the colours.
Phugoid
 
Posts: 952
Joined: Wed Jan 20, 2010 8:17 am

Postby ADW 123 » Fri Nov 19, 2010 4:20 pm

i was encouraged to build a plane with white glue instead of CA because of Phugoid and scigs, i thought it would be a fun challange. im am very impressed with the results though. im also going to give your method of covering a shot on this one too. yet another challenge, making the thing look good, and making it fly. if anyone'll do it, it'll be me.......
ADW 123
 
Posts: 1158
Joined: Mon Feb 22, 2010 5:22 pm
Location: Cincinnati, Ohio

Postby ADW 123 » Sat Nov 20, 2010 12:02 pm

when i add washout to a wing, it makes that side have less lift and therefore drop more right?
ADW 123
 
Posts: 1158
Joined: Mon Feb 22, 2010 5:22 pm
Location: Cincinnati, Ohio

Postby Phugoid » Sat Nov 20, 2010 2:50 pm

If you want to turn left, then wash out the left wing slightly less than the right and apply rudder to turn left.

Reverse the above for a right turn.

If the rudder was in the neutral position with the wash out above the model will want to fly (and probably spiral right), it's the rudder that gives us the direction we want....... the diffrential wash out fights it just enough to give a flat turn. Using the rudder alone to turn left would likely end up in a spiraling left turn.

Using the rudder and the wash out in combination makes for a tighter flatter turn
Phugoid
 
Posts: 952
Joined: Wed Jan 20, 2010 8:17 am

Postby ADW 123 » Sat Nov 20, 2010 5:19 pm

ok well that makes good sense. i managed to step on my horizontal and managed to break it into pieces, so it gave me an excuse to remake the parts out of 1/16" thick balsa, eliminating the need for gussets and reduceing the worry about warping.
ADW 123
 
Posts: 1158
Joined: Mon Feb 22, 2010 5:22 pm
Location: Cincinnati, Ohio

Next

Return to General Building Questions

Who is online

Users browsing this forum: Google [Bot] and 40 guests