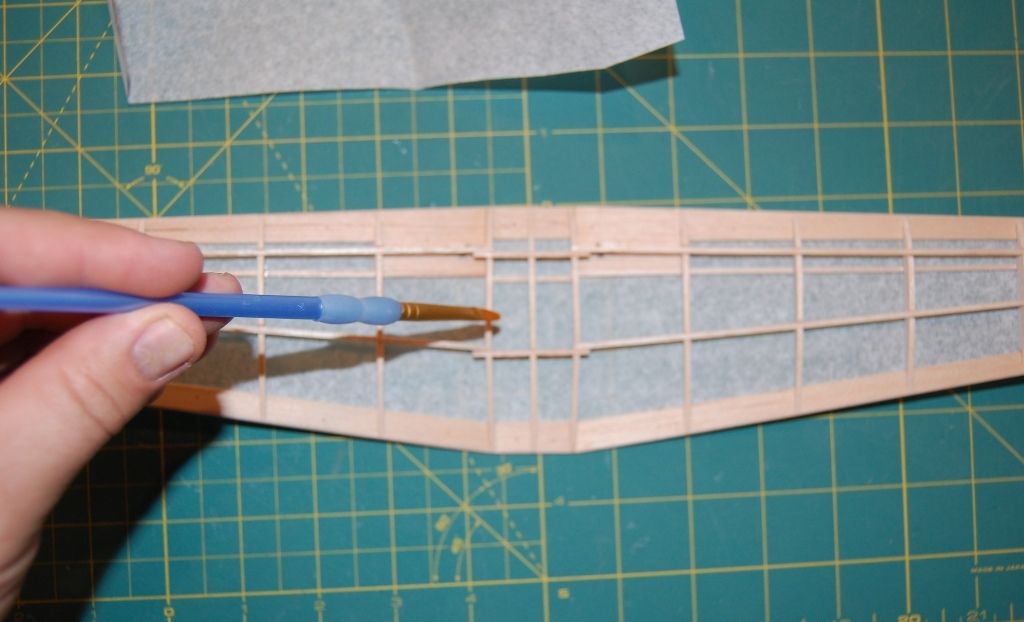
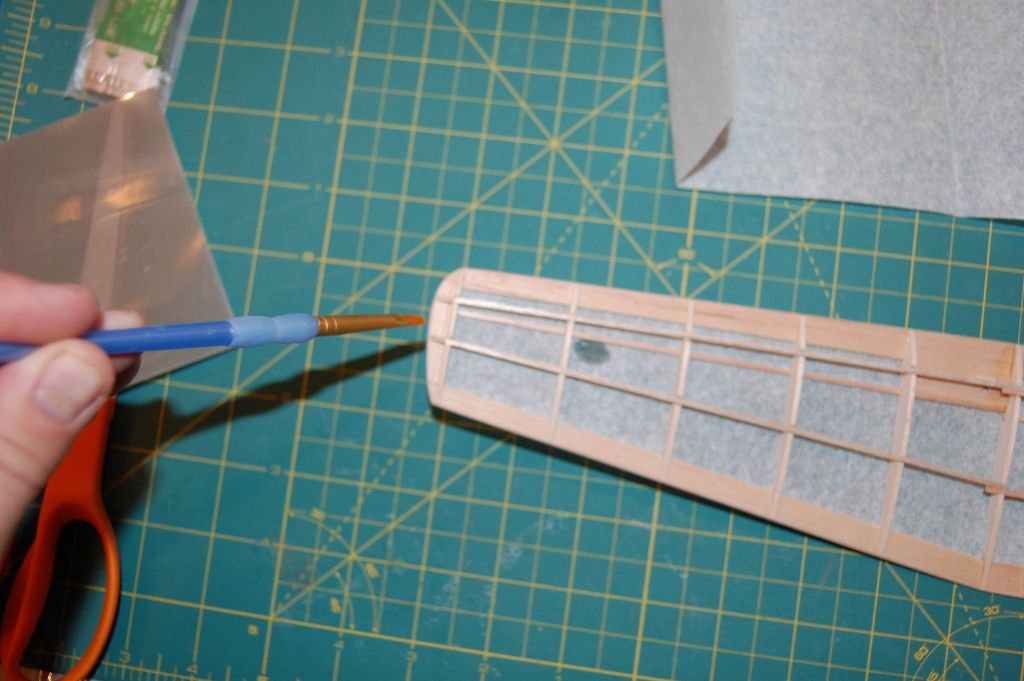
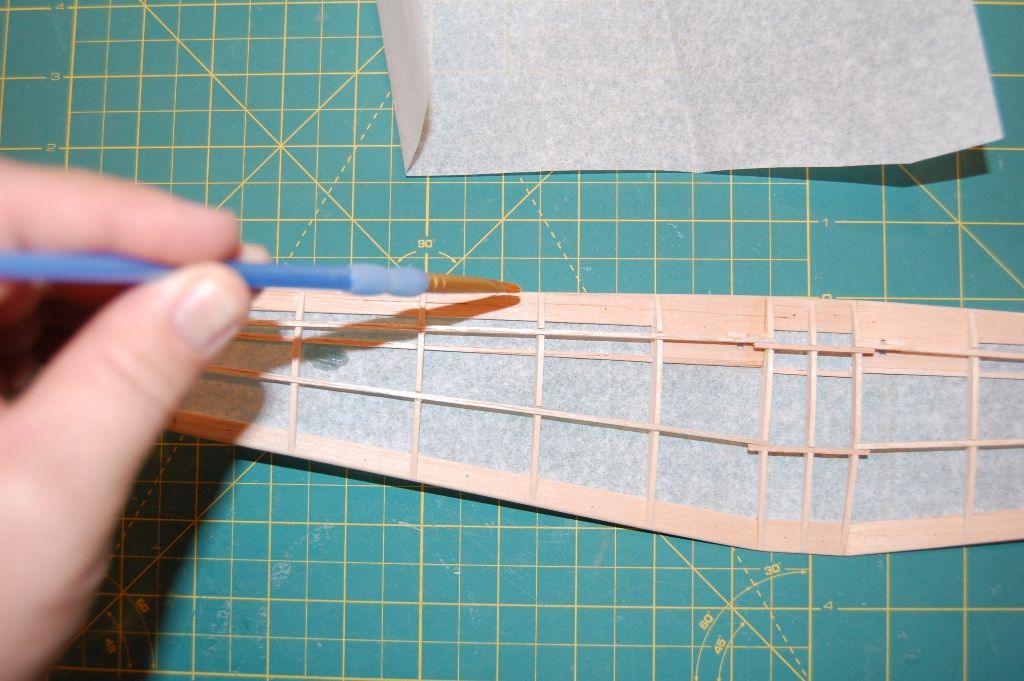
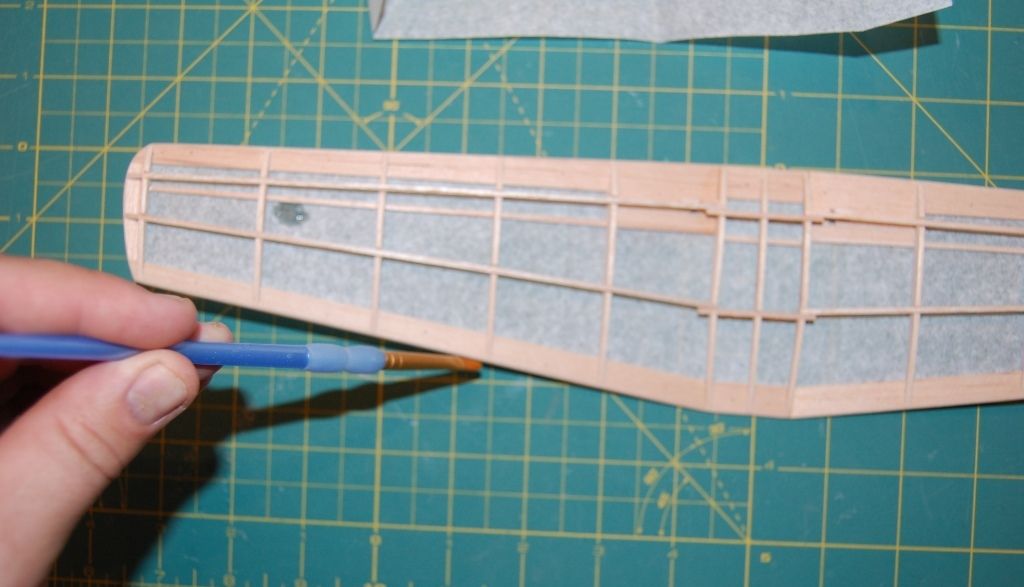
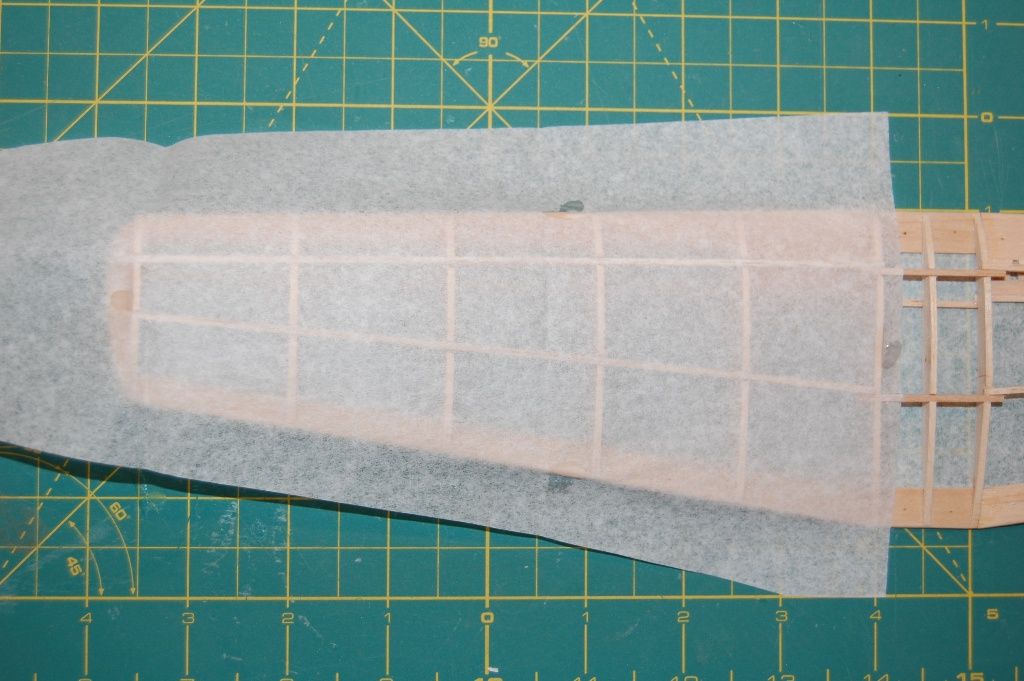
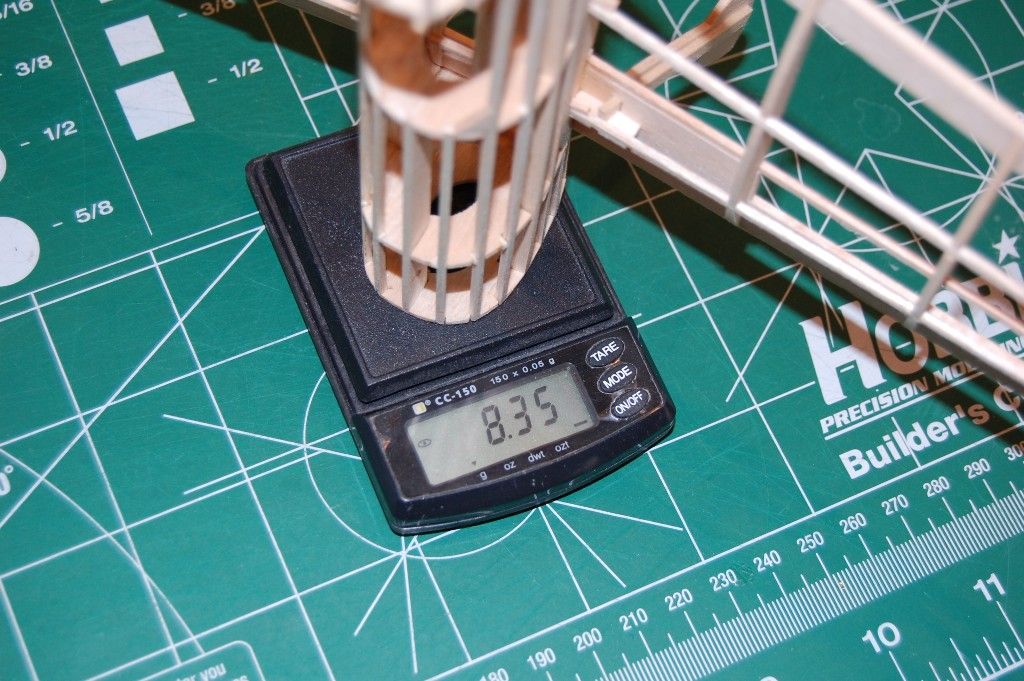
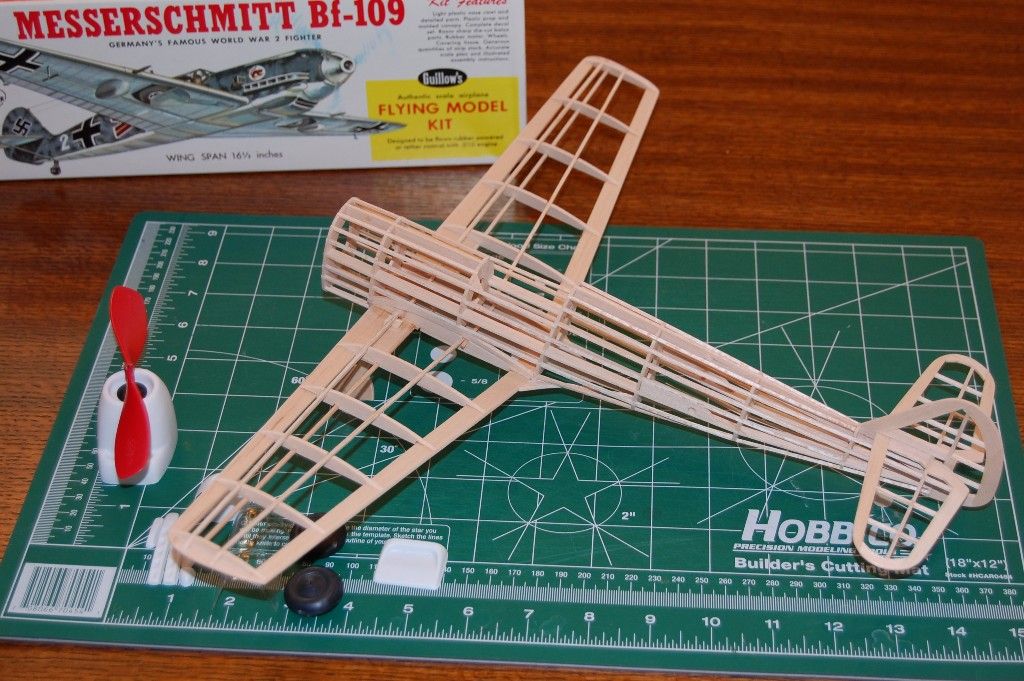
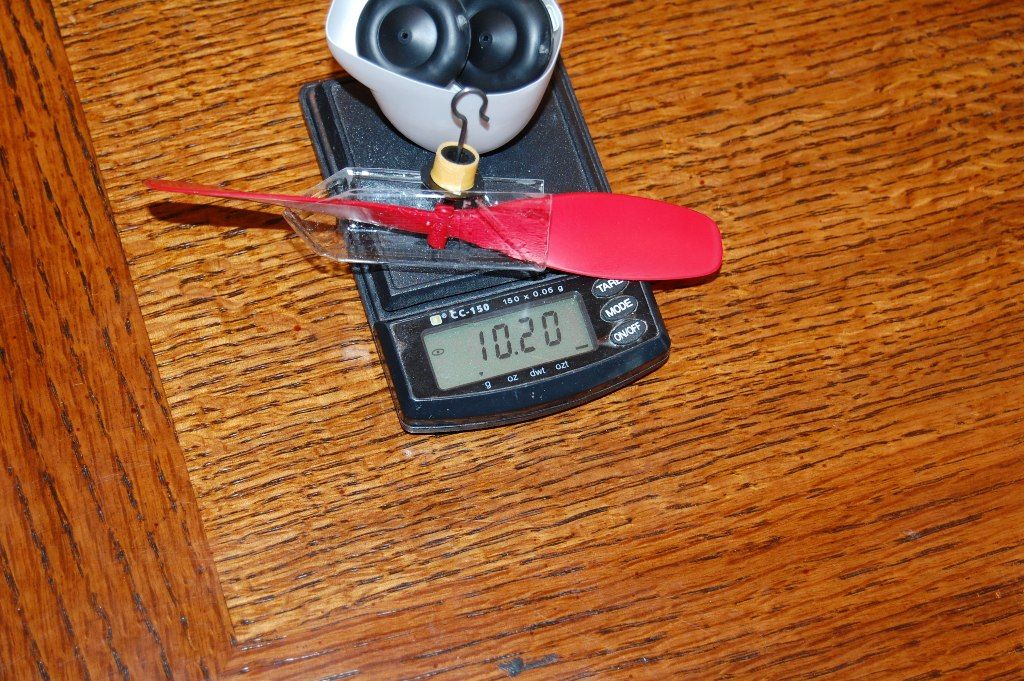
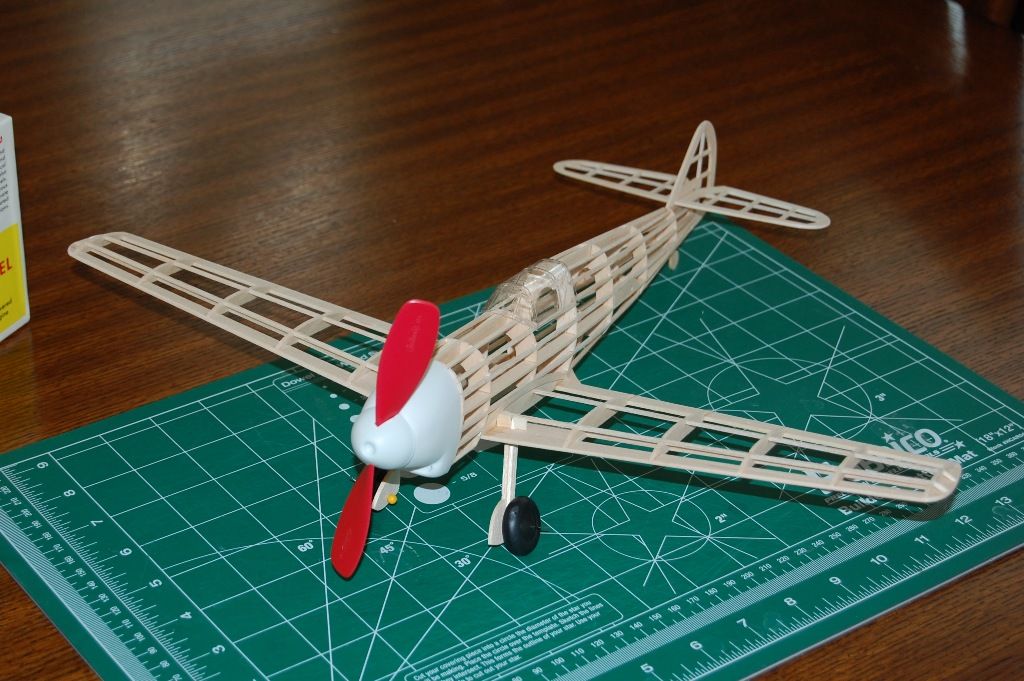
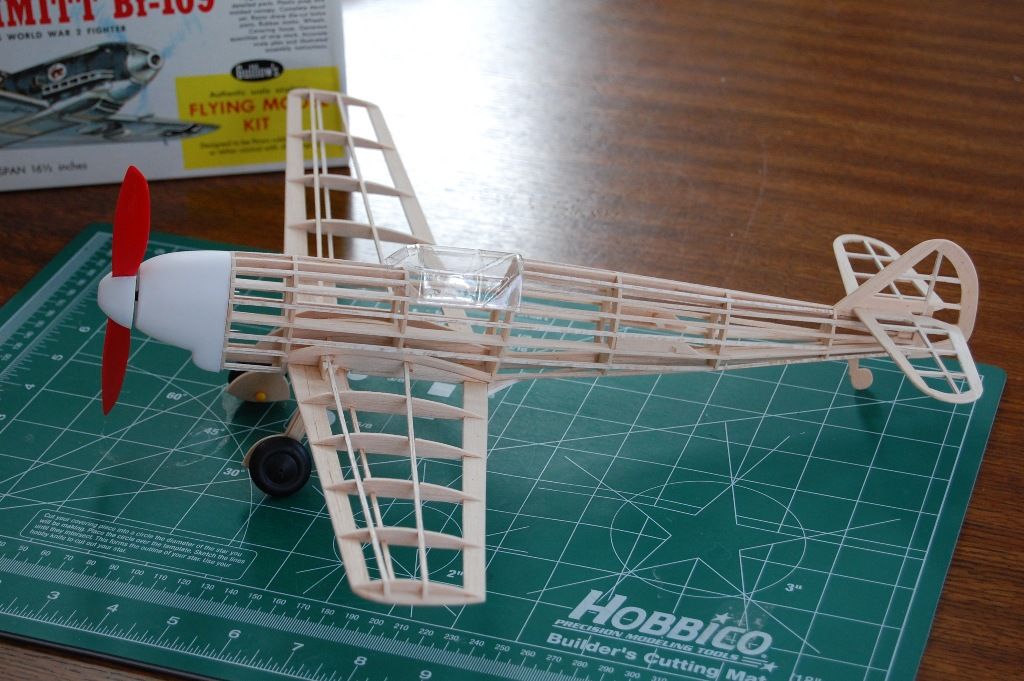
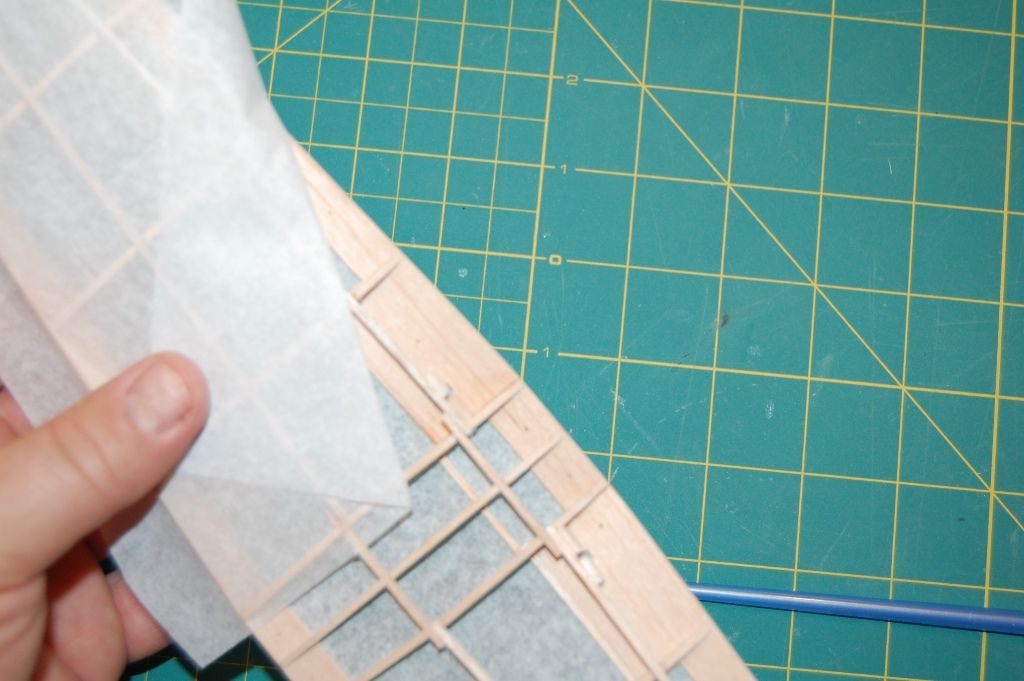
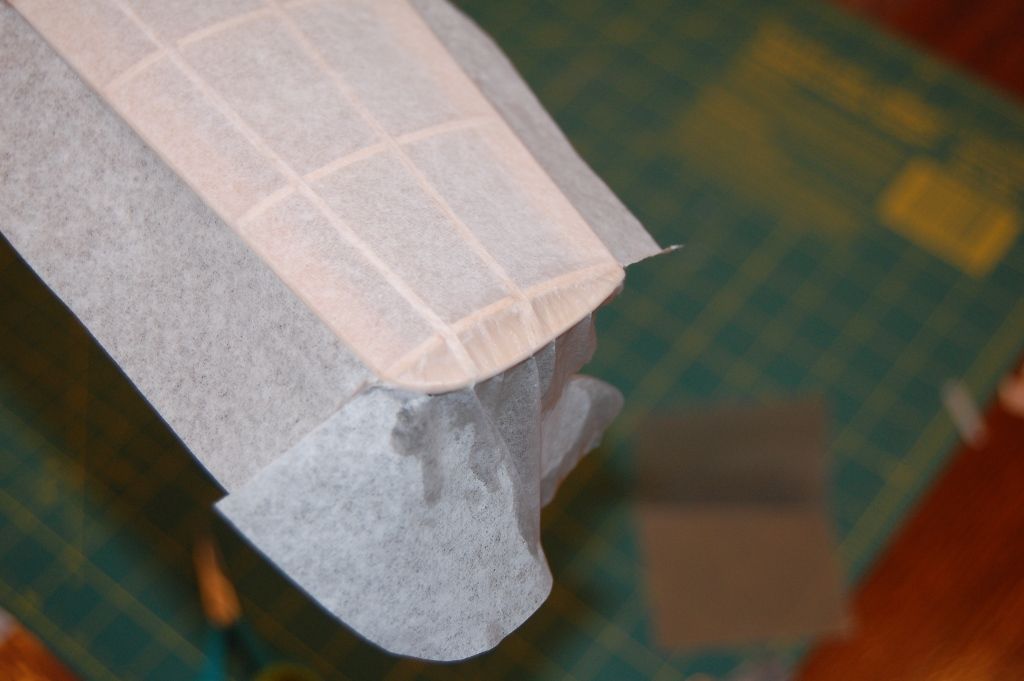
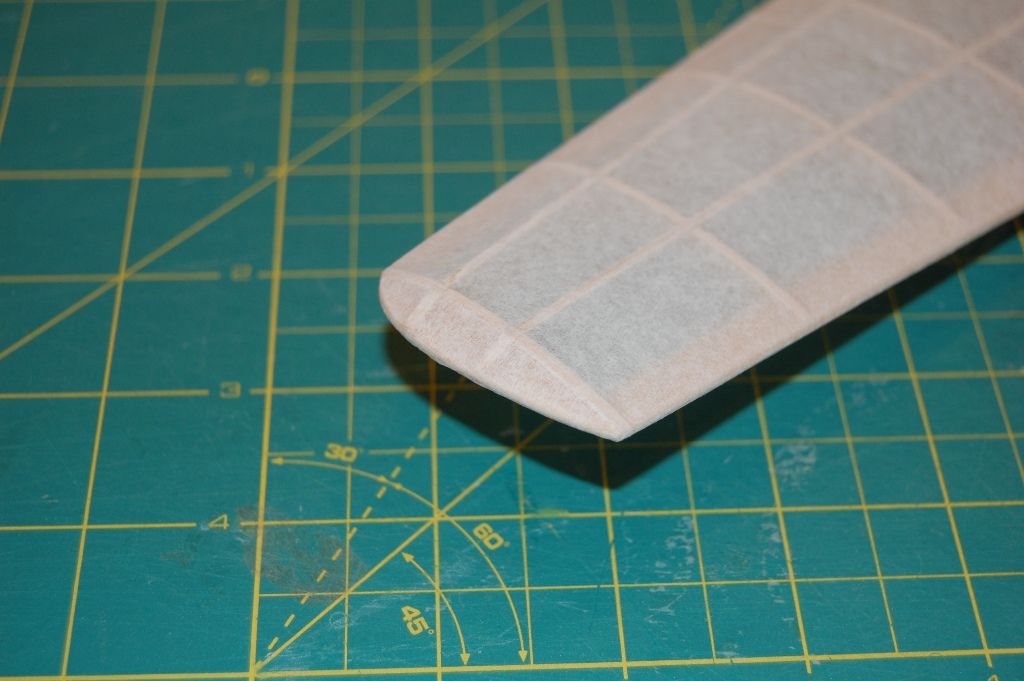
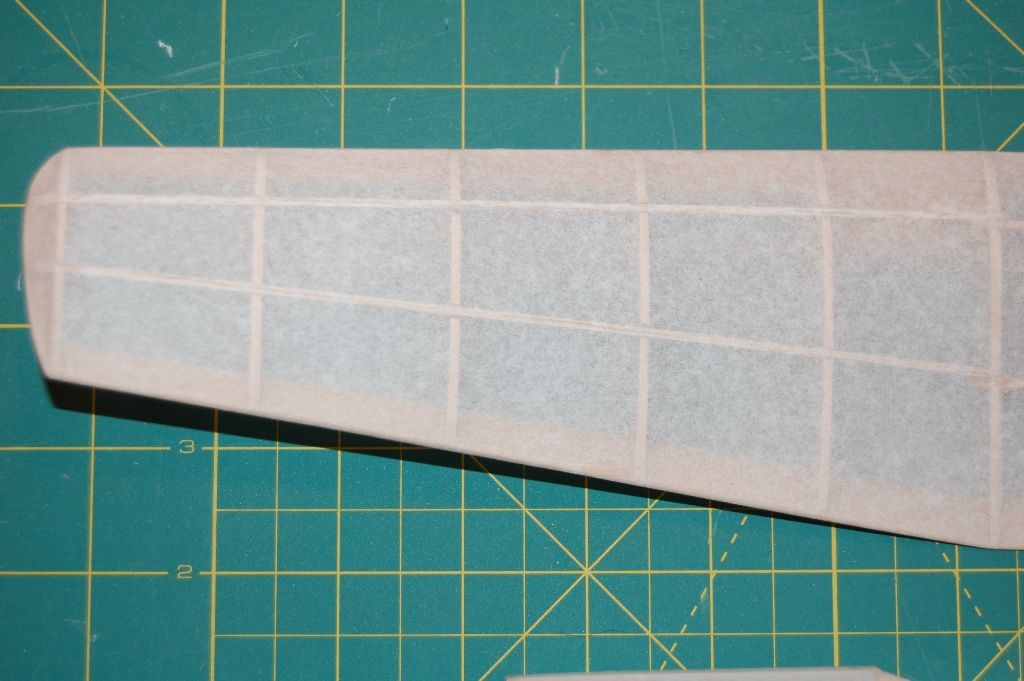
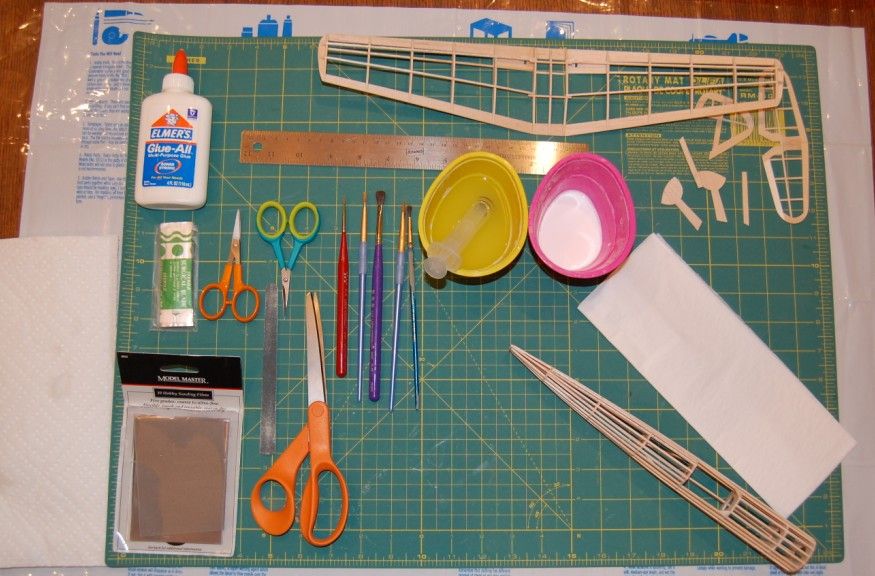
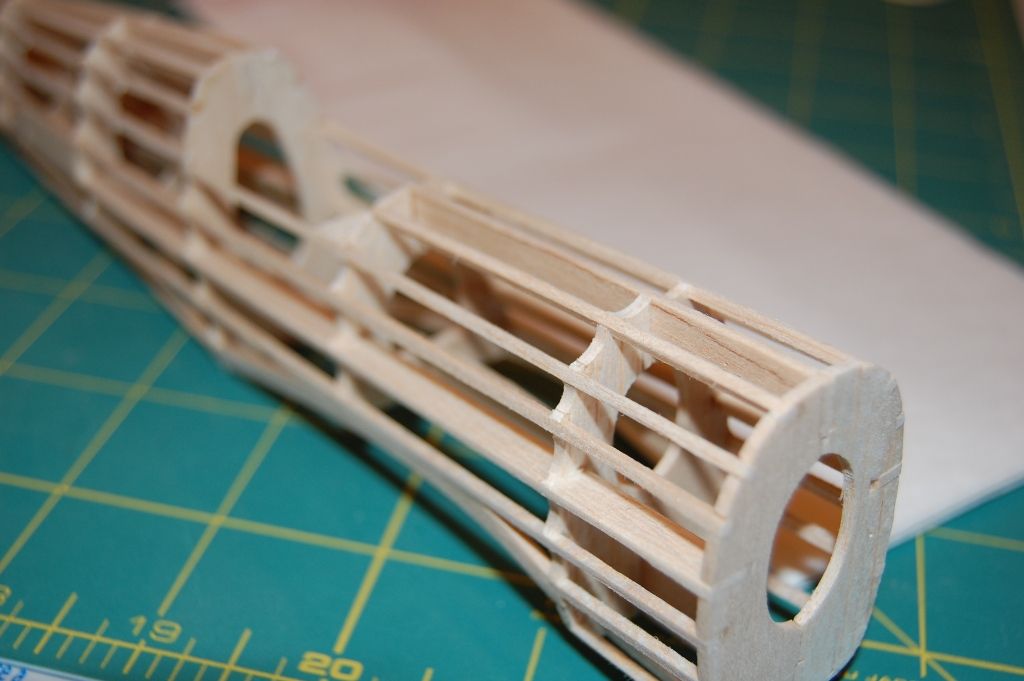
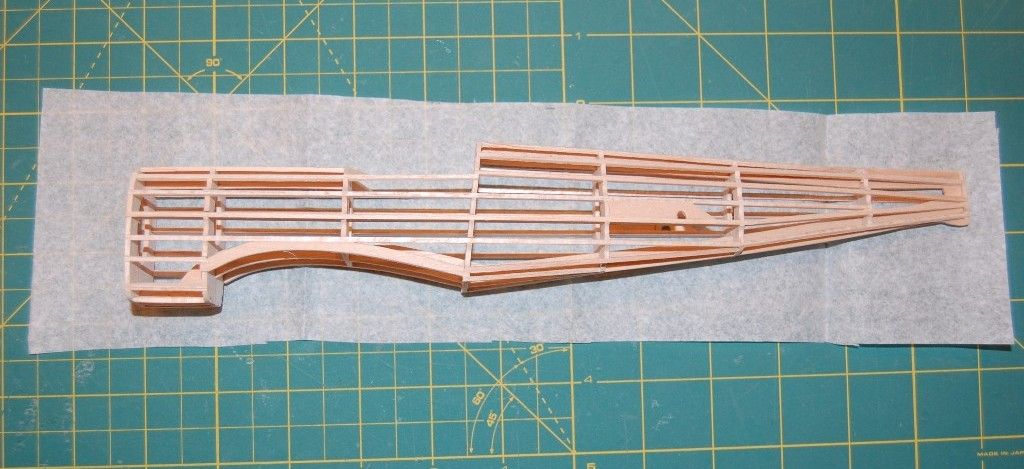
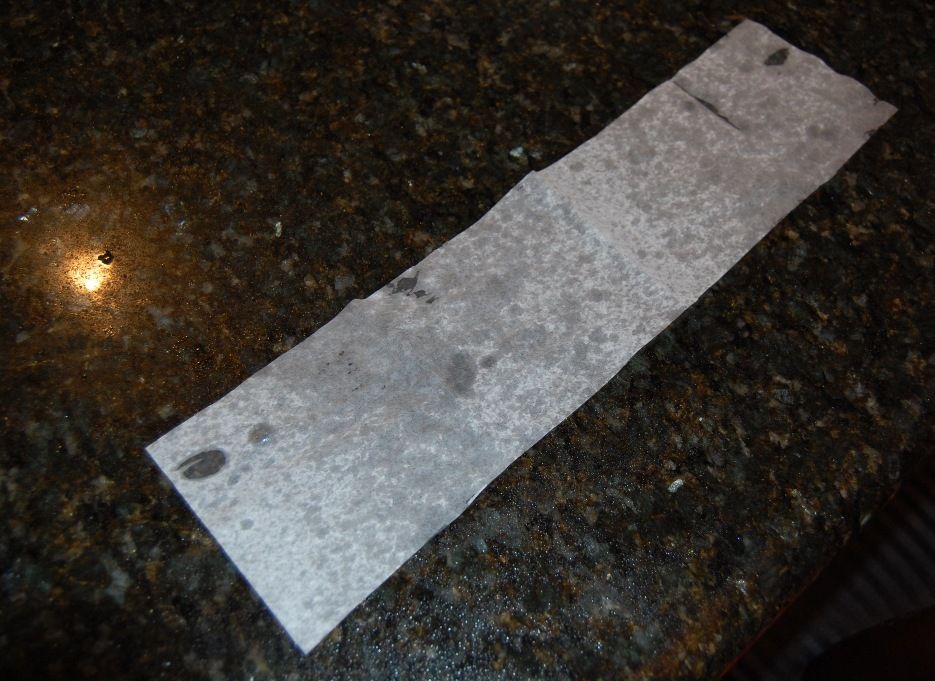
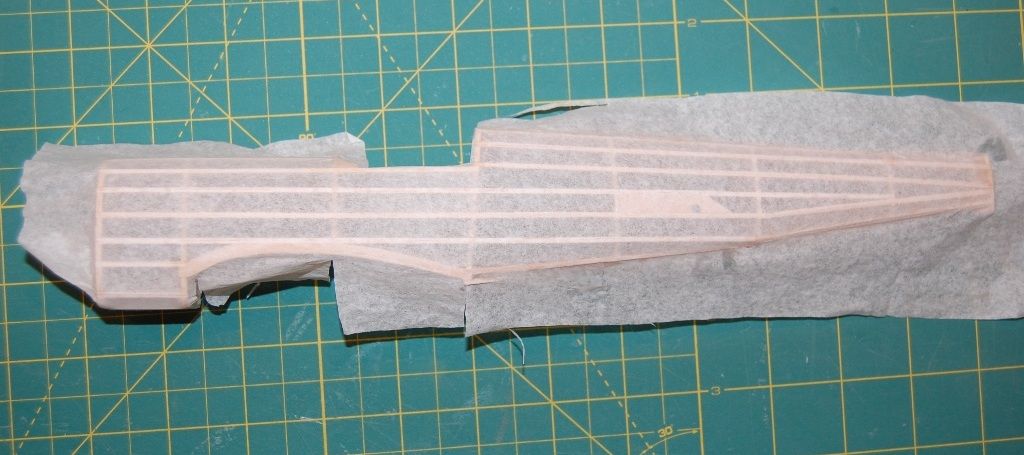
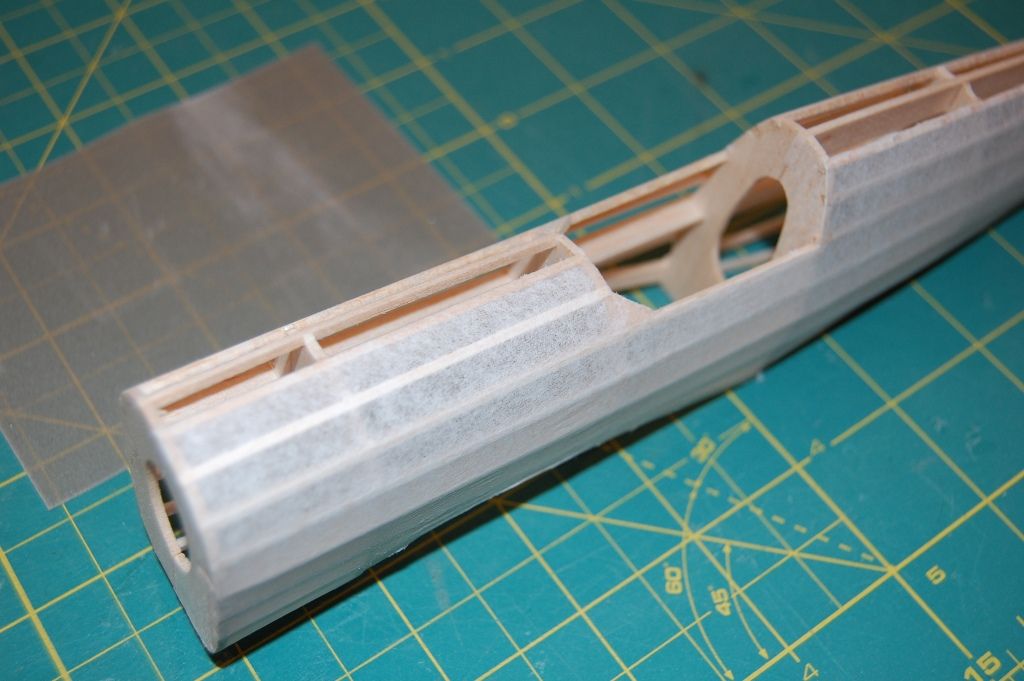
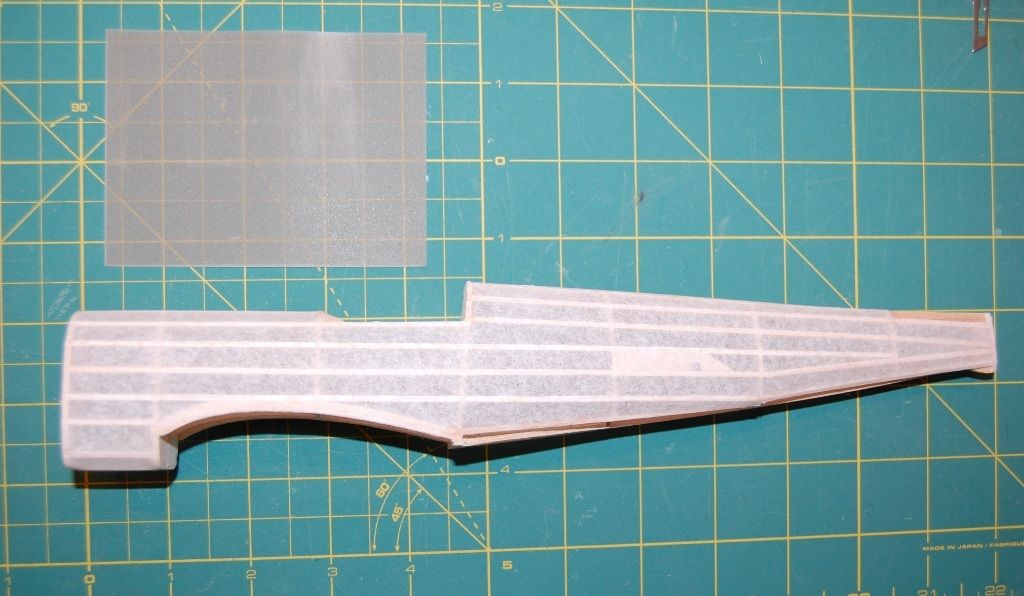
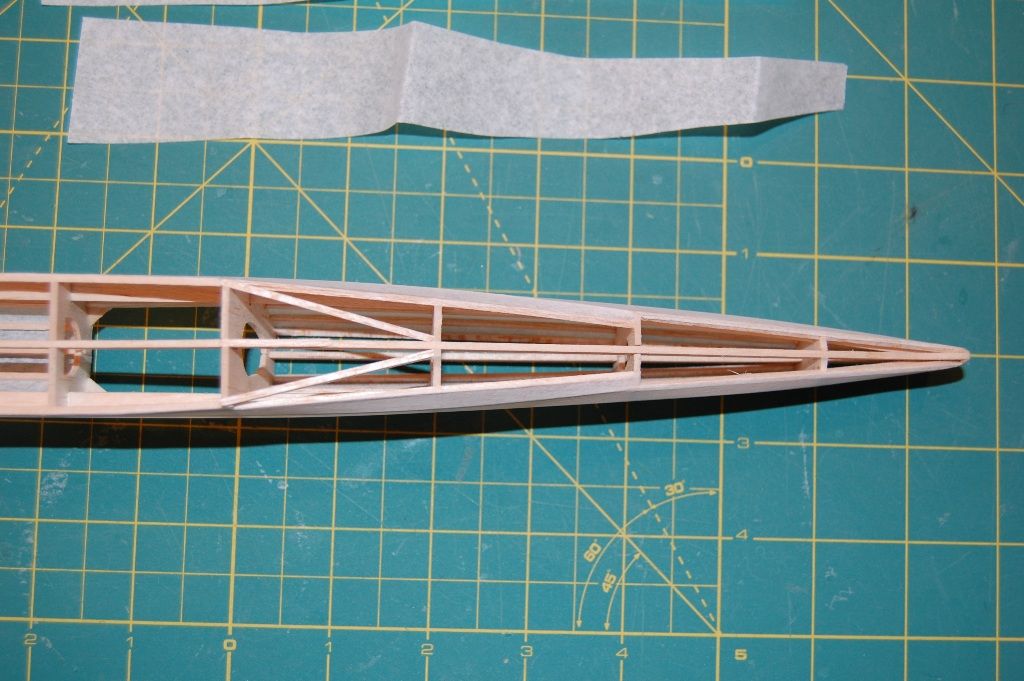
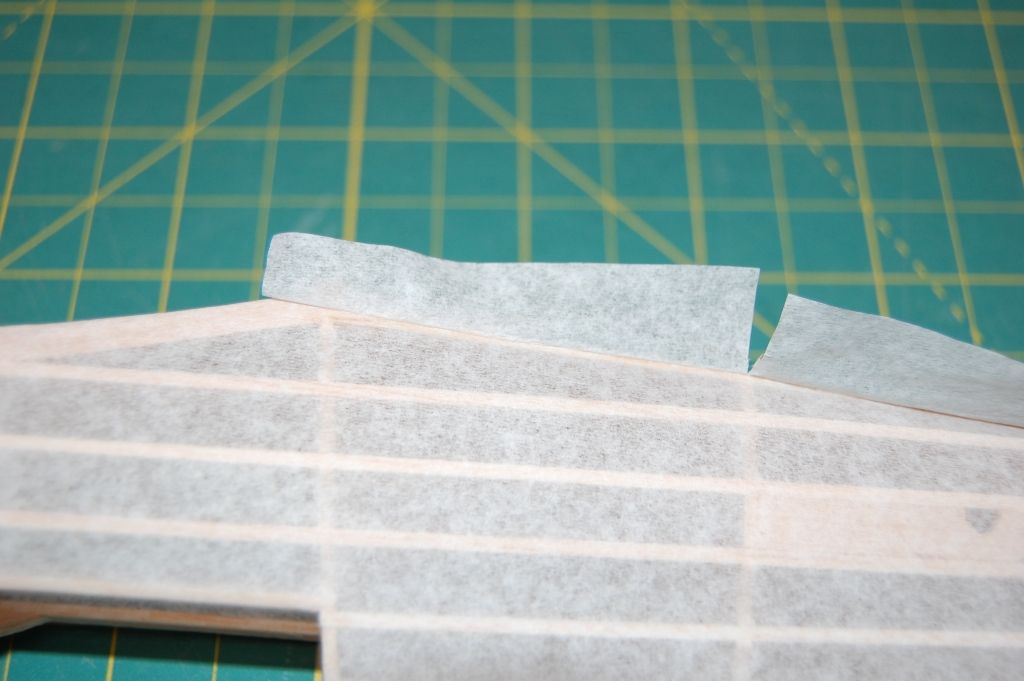
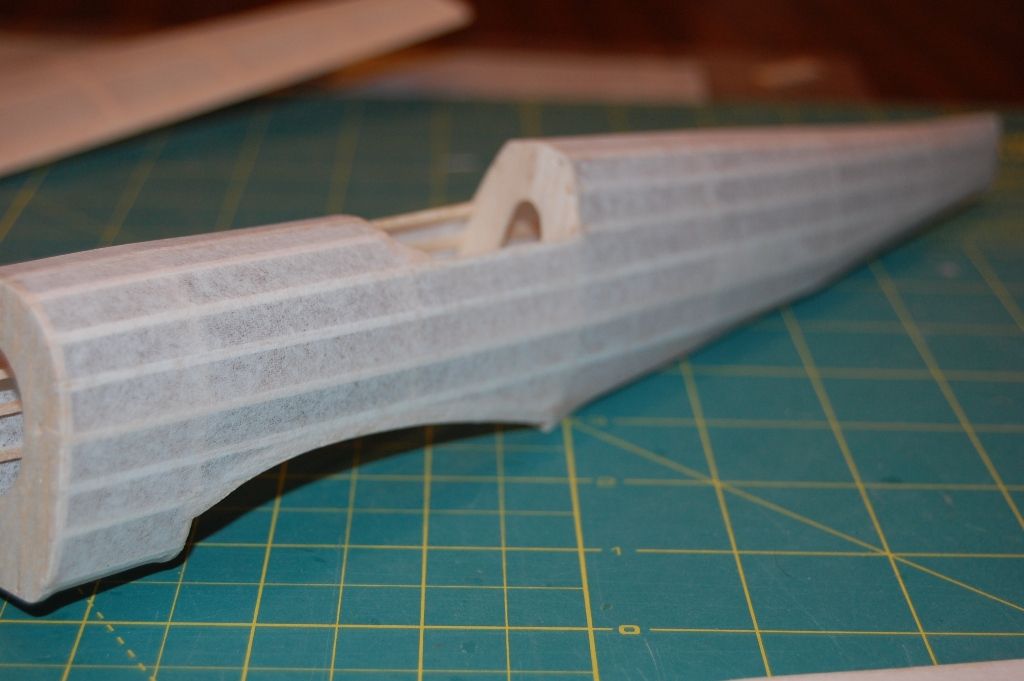
I started covering today, using the kit tissue and covering wet. I have had a few emails asking how to cover a model wet with domestic tissue. So I took some pictures while I was covering this bird. First I must say it takes practice and time since domestic tissue is fragile when wet. The tissue in the kit appears to be the same tissue I wrap my presents with, so it is nothing special. Esaki tissue is much easier to work with wet, domestic does work. I would not suggest the first time you try it on a new model. You can buy some cheap Guillows kits off Ebay and practice on those. Covering dry in sections will always produce a wrinkle free finish, but covering wet eliminates seams. I first start off by giving the balsa parts a good sanding with 320 grit, and then 600 wet/paper for a smooth finish. I also scalp the formers for a smoother fuselage. I do not seal the balsa before covering, I just start covering. I use a mixture of 50/50 Elmers Glue all and water. I use soft brushes to brush the Elmers on the frames. I only apply glue the outer edges. Make sure to keep your fingers moist with water at all time when adjusting the tissue around corners or you will tear the tissue with dry sticky fingers. Also keep a moist towel next to you so you can keep your fingers clean of glue. Also use scalpel blades to cut the tissue so you don't rip it.
I cover the wing, stab and rudder dry, if you cover with wet tissue, you will end up with a propeller.
1. Cover with one piece of tissue. Apply 1/8 line of glue mixture to outer edge of wing only.
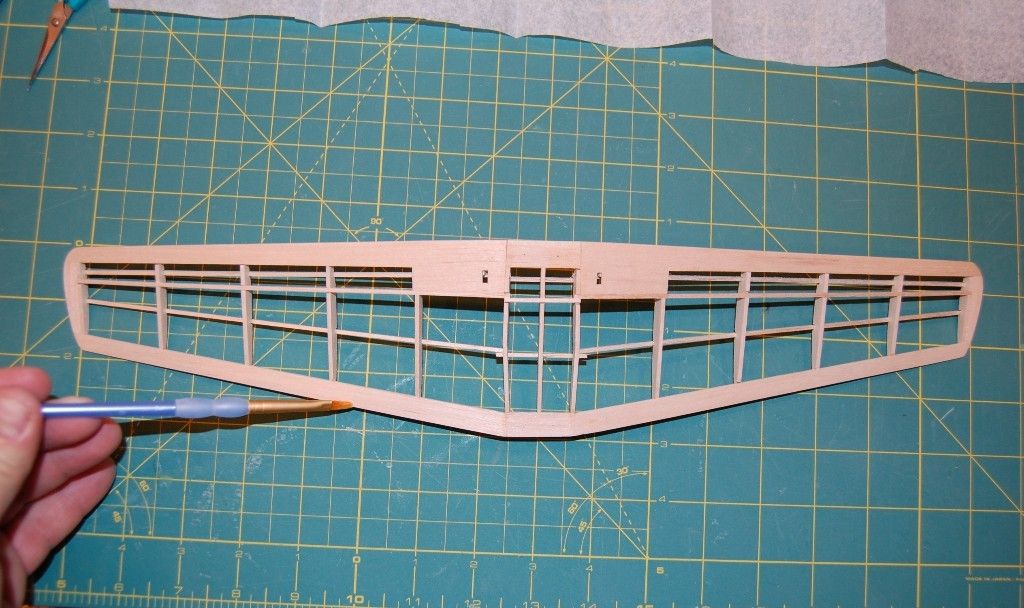
2. Smooth out the covering, but don't pull and tug too much or paper will rip. Allow to dry before trimming excess.
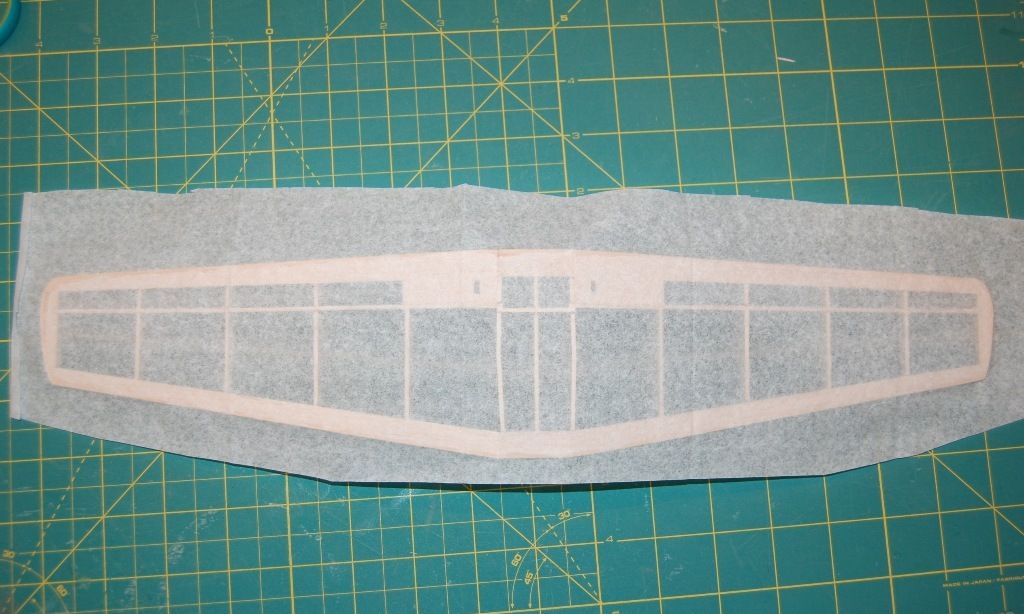
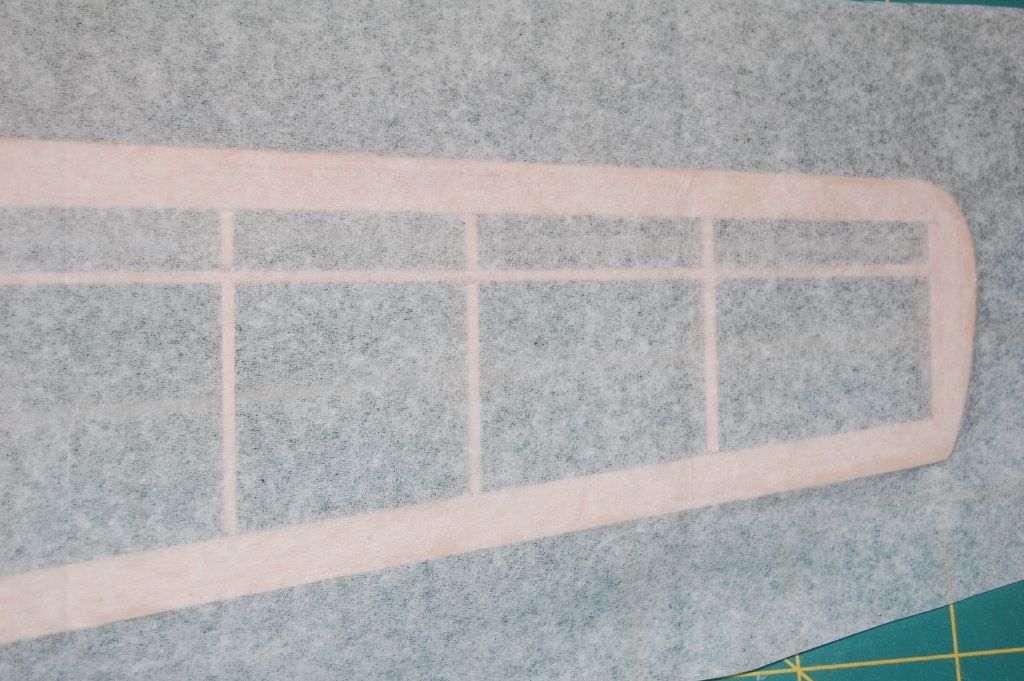
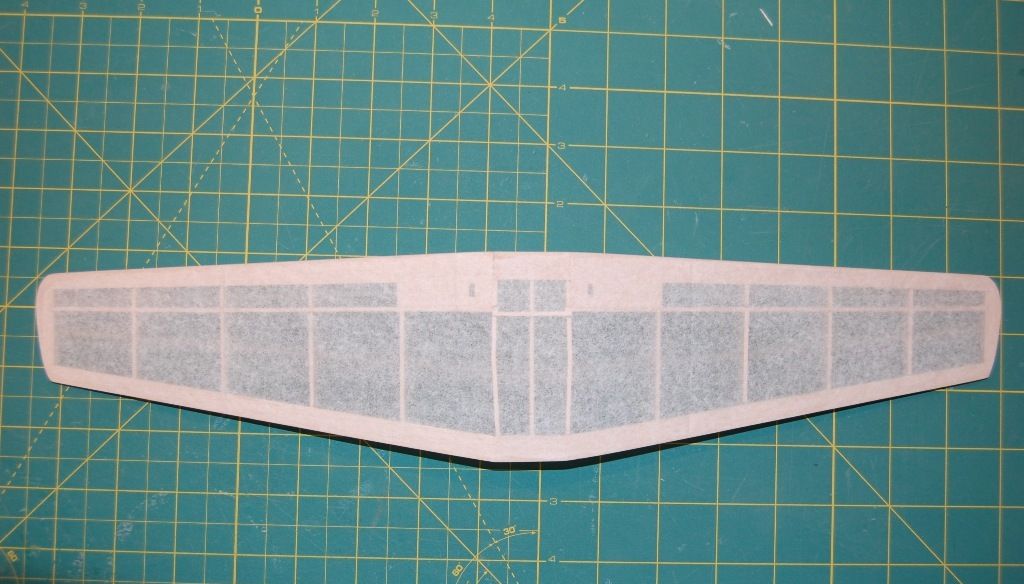
After trimming tissue, apply glue around edges to seal balsa and tissue.
Then after glue dries, sand smooth.
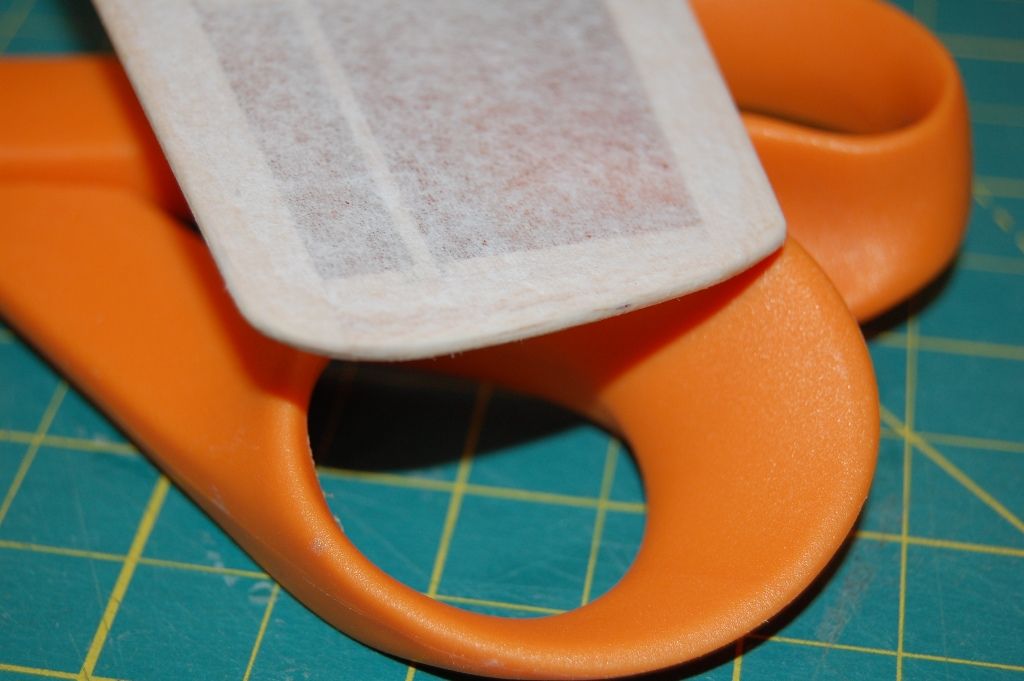
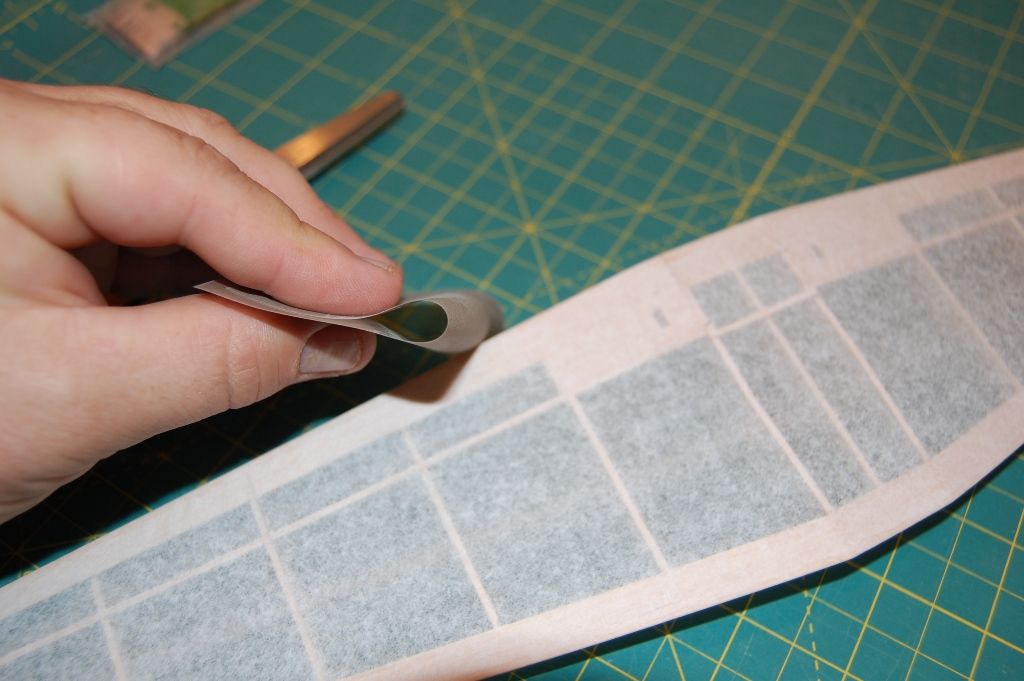
Cover top of wing with 3 pieces of tissue. First tack tissue to root rib, pull tight and tack to wing tip rib, then tack to middle of leading edge and trailing edge. You can see the wet spots in the picture where I tack it. Then let it dry.
