Guillows 504 spitfire- first build

Ask other modelers for a little help / knowledge ?

Guillows 504 spitfire- first build

Postby Scale Nut » Fri Feb 29, 2008 10:41 pm

heres a couple pics of my progress so far

Image

Image

My first question,
In the side view, I had to push down on the side keels (a4) to get them to fit right is this a problem or normal. the fuse looks strait to me

also when I lay the wing frame pieces on the board the parts don't match the drawing just right , should i just continue anyway?

thanks
Scale Nut
 
Posts: 15
Joined: Sat Feb 23, 2008 2:45 pm

Postby Scale Nut » Fri Feb 29, 2008 10:58 pm

heres what I mean about the wing frame pieces

Image

It looks to me like the inside tips of the frame pieces are too long( where pencil is pointing for example).. is this correct or do I need to trim all 4 ends back 1/16"?

also is it OK to poke thru the wood ? I notice some people anchor the parts with two pins in an X shape. the Guillows book shows the pins in the wood.
Scale Nut
 
Posts: 15
Joined: Sat Feb 23, 2008 2:45 pm

Postby SteveM » Fri Feb 29, 2008 11:44 pm

I had similar problems with my 500 series BF-109 when it came to the shape of the wood parts not matching the plans. All you can do is trim them to be as close as possible, or use the pattern on the plan to cut a new part.

Your problem with the side keel may have just been that the slots for it were too deep or too shallow or even that the formers and/or side keel are slightly off shape.

Now you know why some people love the Guillow's kits and why some people hate them. My understanding is that some kits are better than others but there will always be some trimming and sanding no matter the kit or manufacturer.

Looks like you're off to a good start despite the issues.
SteveM
 
Posts: 498
Joined: Wed Oct 24, 2007 1:06 pm
Location: Beaverton, OR

Postby Xanadu » Sat Mar 01, 2008 10:38 pm

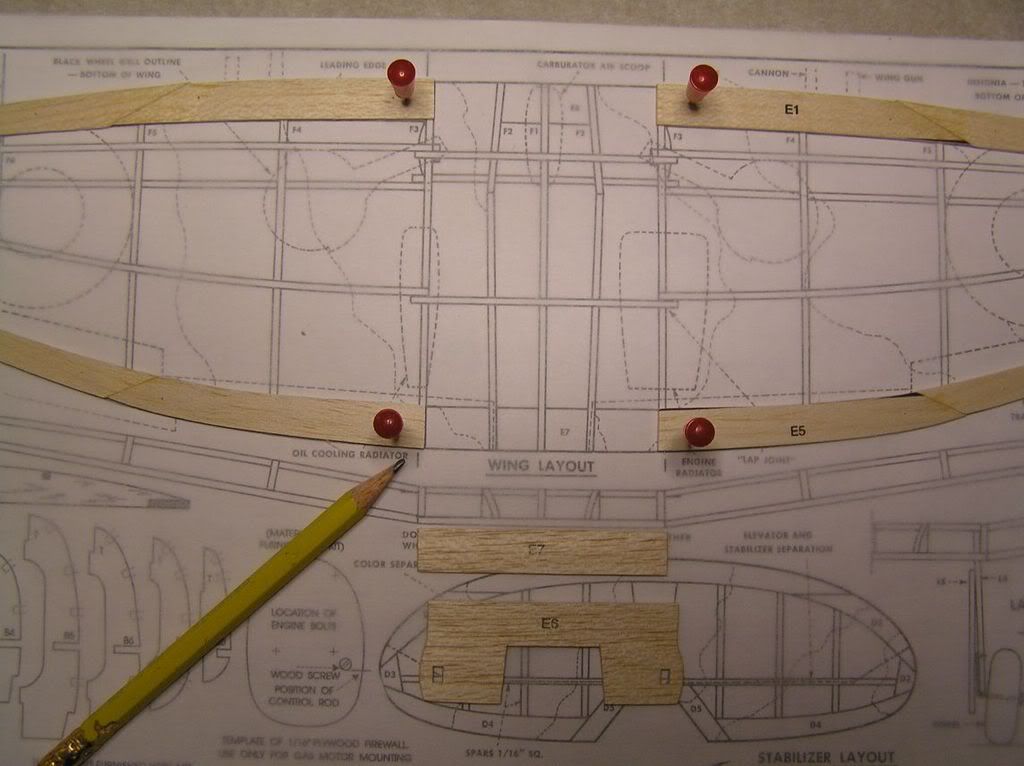
Most of the time, the keels do require a bit of twisting and bending to get them into the desired shape. Soak the pieces in some warm water for a few minutes and it will make them easier to bend without breaking them.
When they dry, it will hold the shape, and be just fine.

X-pinning is good in order you do not split the wood if you are concerned of doing so. Pinning through them is a last resort, but we all do it. Just be careful and use thin pins.

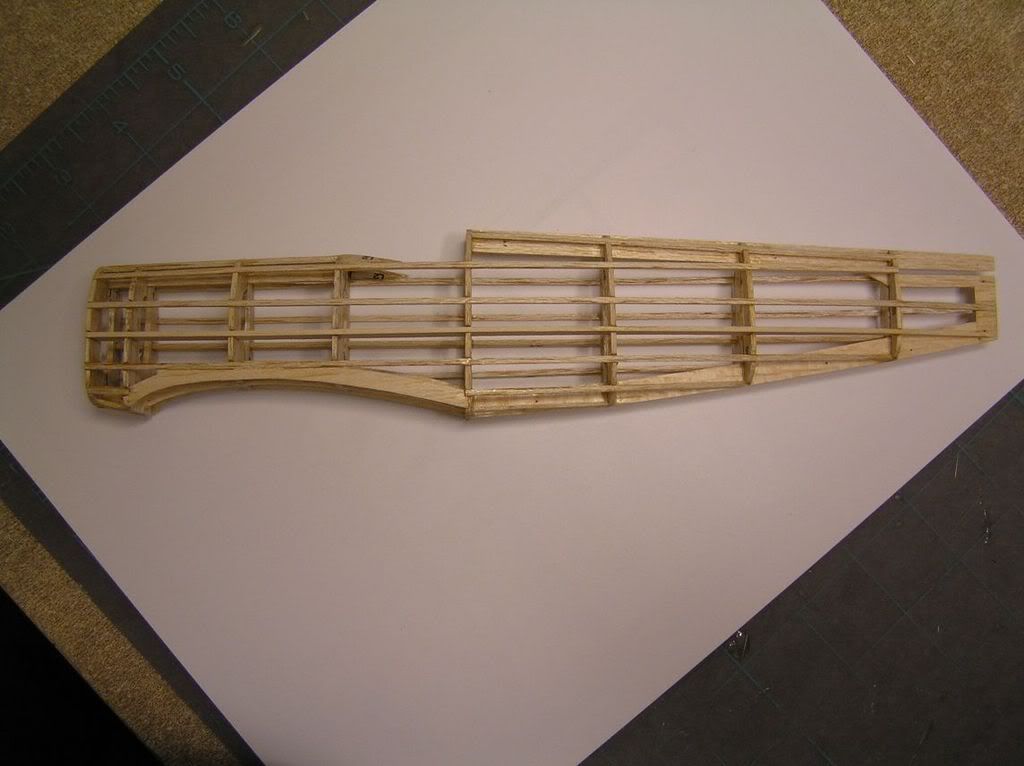
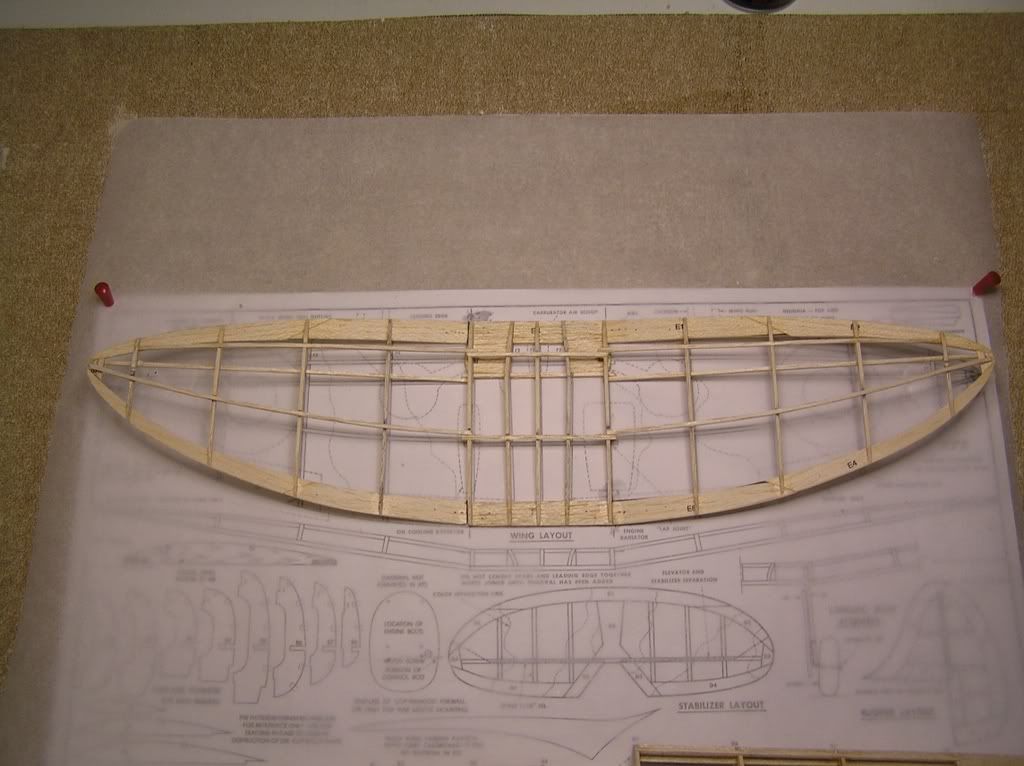
As far as the wing photo goes, where you are pointing to, I would leave it alone. The ribs need to mount on that portion, as shown in the photo.

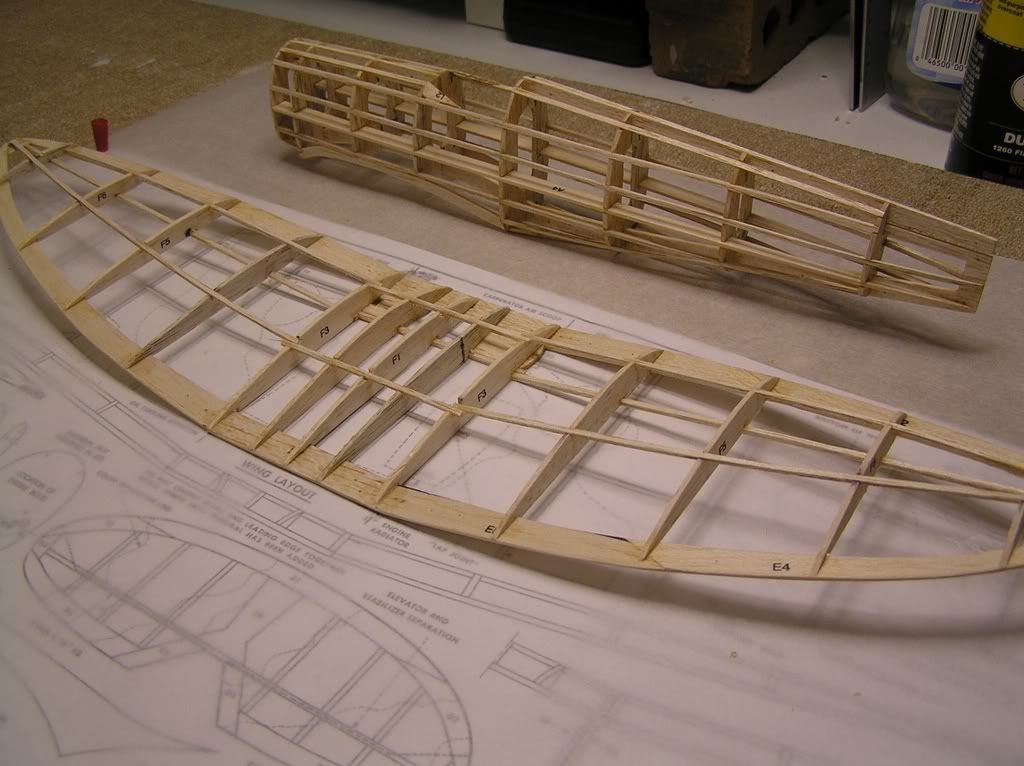
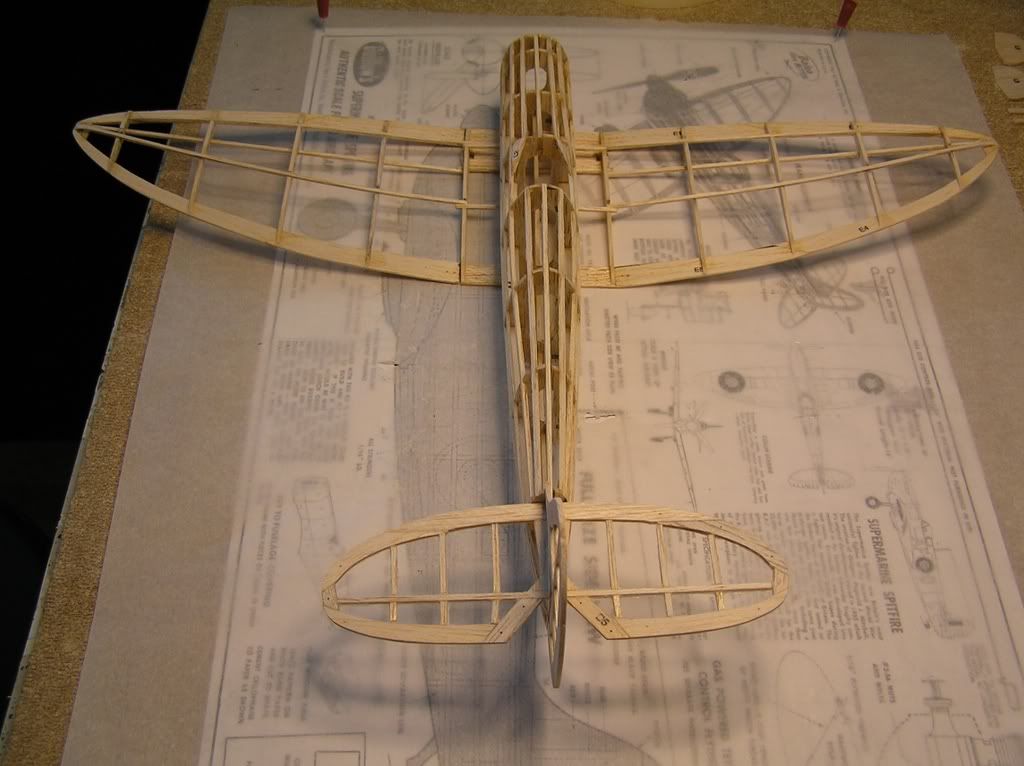
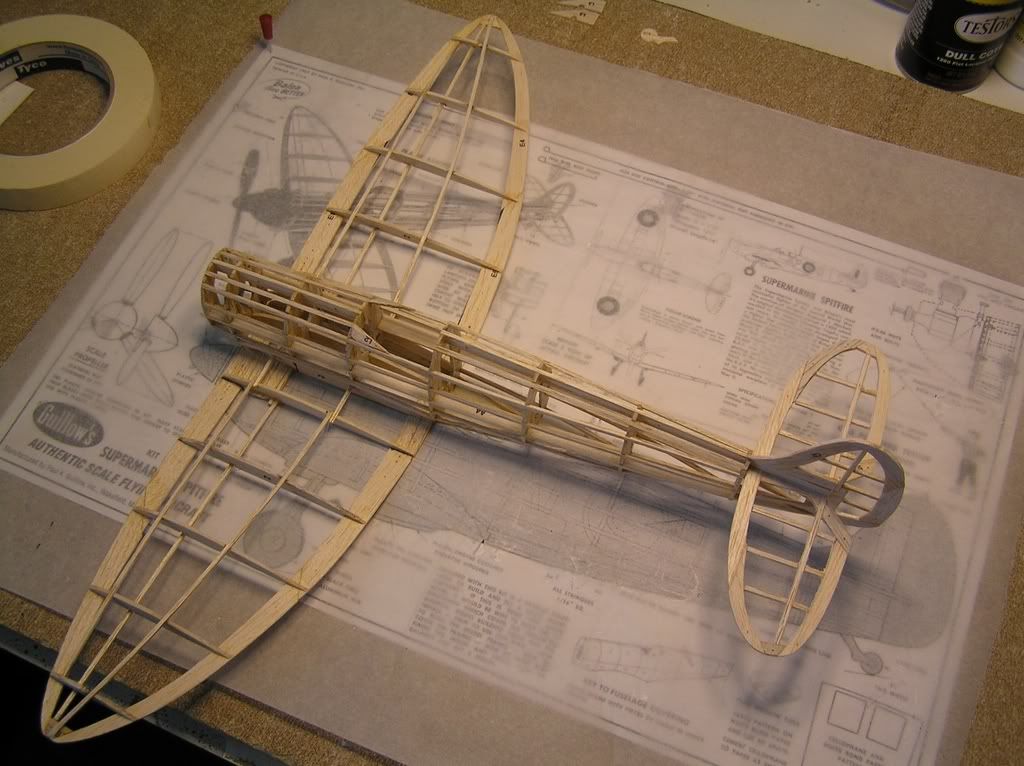
So far, things are looking pretty good for your first build. :D
Xanadu
 
Posts: 497
Joined: Wed Sep 27, 2006 9:48 pm
Location: Anola, MB, Canada

Postby Scale Nut » Sun Mar 02, 2008 12:13 am

thanks xanadu,
I'm moving ahead and got the wing done, I'm starting to get the hang of it now.

Image

Image
Scale Nut
 
Posts: 15
Joined: Sat Feb 23, 2008 2:45 pm

Postby Scale Nut » Sun Mar 02, 2008 12:25 pm

I'm having a little trouble with glueing.
I'm using balsa usa gold thin. but it's hard to keep from too much glue coming out. somtimes it even goes down the pin and into the workboard.
I have an extention tip but still too much comes out at a time.

should I even be using thin cya?

thanks in advance
Scale Nut
 
Posts: 15
Joined: Sat Feb 23, 2008 2:45 pm

Postby Scale Nut » Sun Mar 02, 2008 12:35 pm

I've dry fit the parts together , looking good so far, this is getting easier.

I guess people are right , the best way to learn is just do it. thanks for all the good advice so far.


Image

Image
Scale Nut
 
Posts: 15
Joined: Sat Feb 23, 2008 2:45 pm

Postby SteveM » Sun Mar 02, 2008 12:46 pm

You might try medium or thick CA (I have used medium CA with good results).

You could also try a different type of glue. A quick search of this forum turned up at least one thread on glues.
SteveM
 
Posts: 498
Joined: Wed Oct 24, 2007 1:06 pm
Location: Beaverton, OR

Postby scigs30 » Mon Mar 03, 2008 7:12 pm

It is true no matter what kit you buy parts don't always line up with the plans. This is the norm. Best thing to do is sand or add shims if necessary. The important thing is to keep everything straight. As far as glue goes I have great luck with Elmers Glue All or white all purpose Titebond.
scigs30
 
Posts: 844
Joined: Mon Nov 06, 2006 11:31 am

Postby Xanadu » Mon Mar 03, 2008 9:37 pm

Scale Nut wrote:I'm having a little trouble with glueing.
I'm using balsa usa gold thin. but it's hard to keep from too much glue coming out. somtimes it even goes down the pin and into the workboard.
I have an extention tip but still too much comes out at a time.

should I even be using thin cya?

thanks in advance


Use a Medium glue, you will get much better results. Thin is usually for very tight fitting joints, it seeps thru.

I actually use CA ony for tacking, and then finish up with a white glue called Weldbond. Dries clear, sands well.

Drop me a PM with your mailing address and I will send you a piece of small tubing I use for extensions on my CA bottles. Works very well, and small drops.
Its cheap to buy, and I have enough for quite a while.
Xanadu
 
Posts: 497
Joined: Wed Sep 27, 2006 9:48 pm
Location: Anola, MB, Canada

Postby Scale Nut » Tue Mar 04, 2008 8:47 pm

xanadu, thanks for the offer on the glue tip !

I actually have some weldbond and a good local source for it, I thought about using it but , It remains somewhat flexable when cured so i figured it wouldn't work well . now that I know someone is using it succesfully I'll try using it myself . thanks!

also, would thinned weldbond be good for sealing the balsa and applying tissue?
(it's great for cardstock models)
Scale Nut
 
Posts: 15
Joined: Sat Feb 23, 2008 2:45 pm

Postby Xanadu » Tue Mar 04, 2008 9:46 pm

Weldbond should work fine, just mix it 50/50 with water and go to it.

Lots of folks around here use white glue and water mixed for sealing and covering with.
Personally I still use old fashioned model dope.
Xanadu
 
Posts: 497
Joined: Wed Sep 27, 2006 9:48 pm
Location: Anola, MB, Canada


Return to General Building Questions

Who is online

Users browsing this forum: No registered users and 8 guests

cron