Spitfire Build

Ask other modelers for a little help / knowledge ?

Spitfire Build

Postby scigs30 » Wed Dec 05, 2007 12:54 am

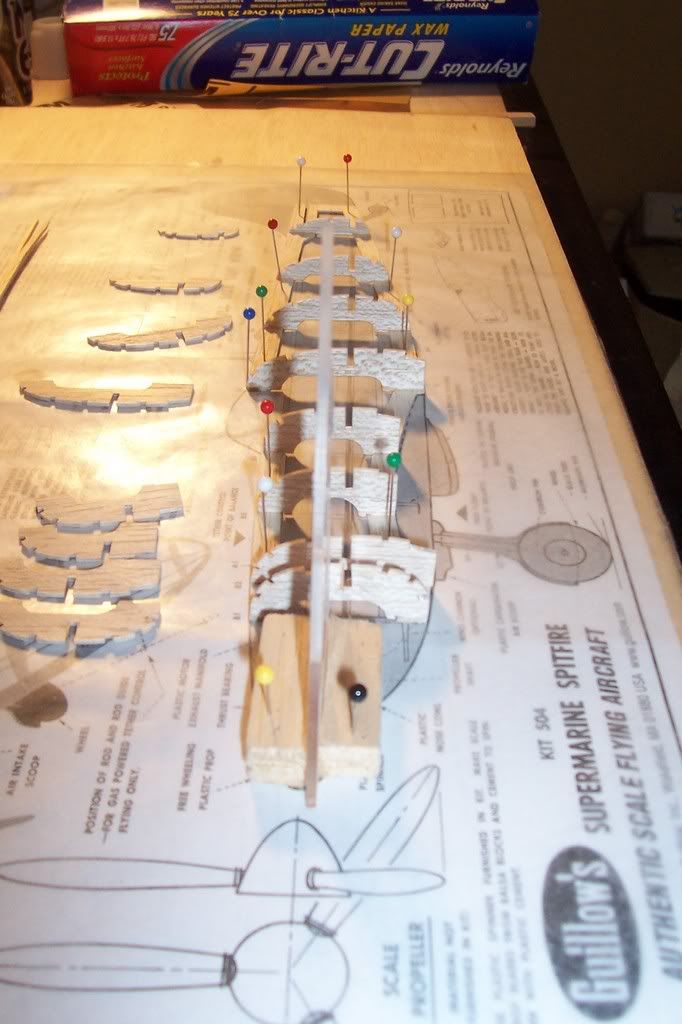
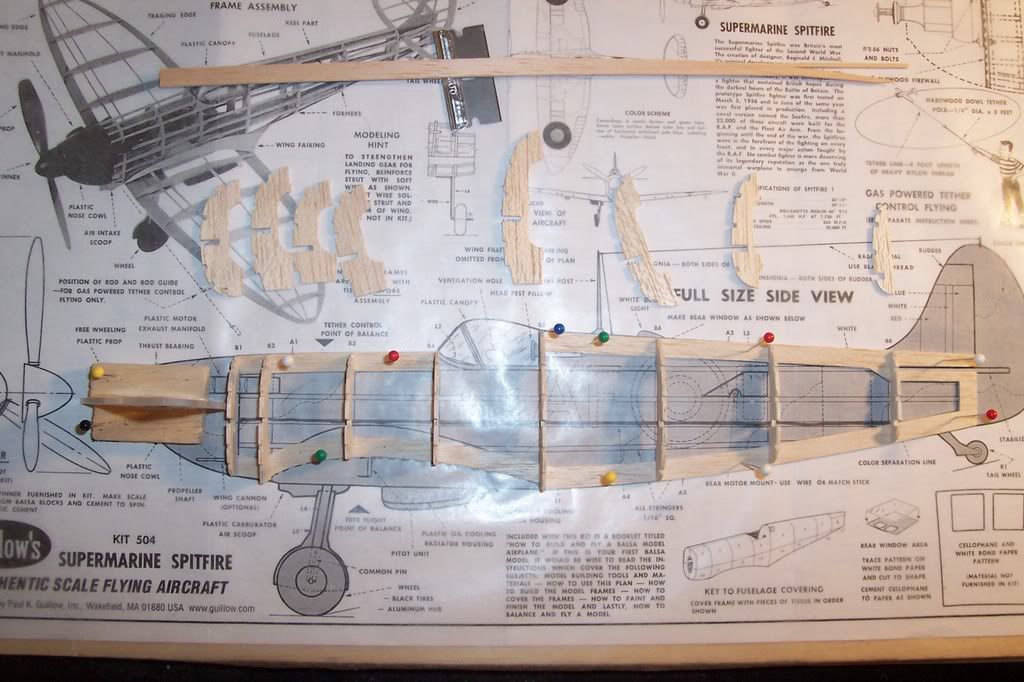
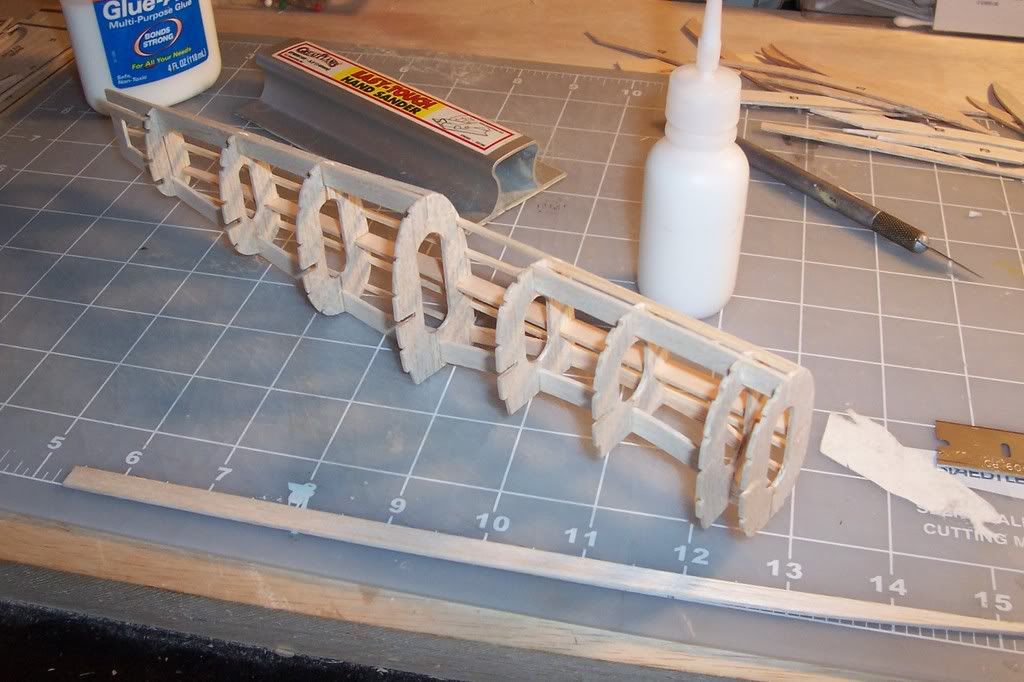
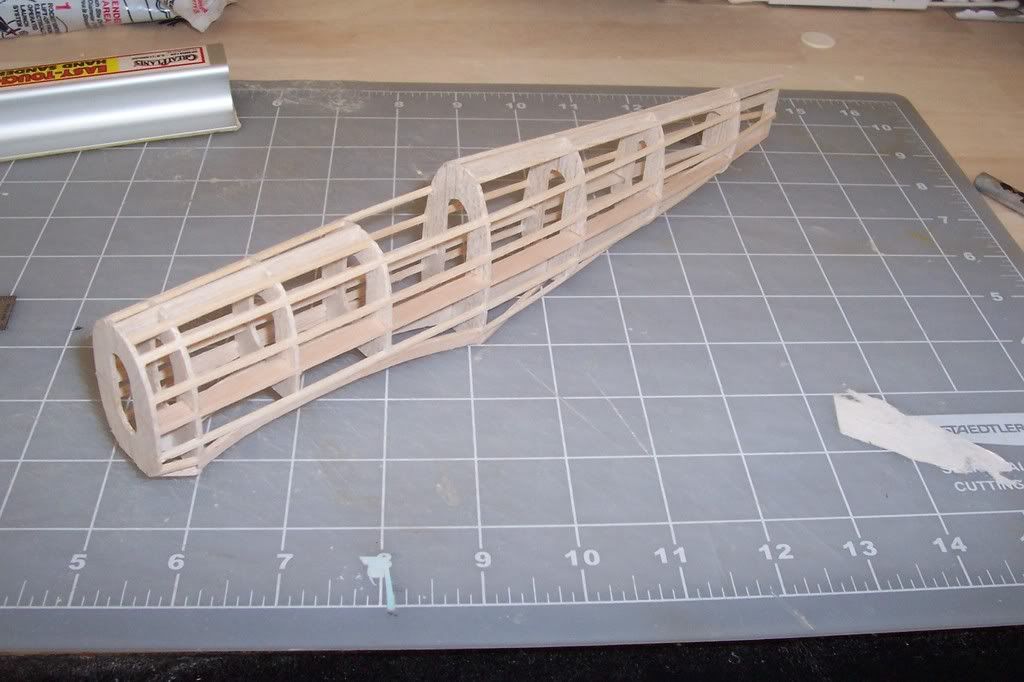
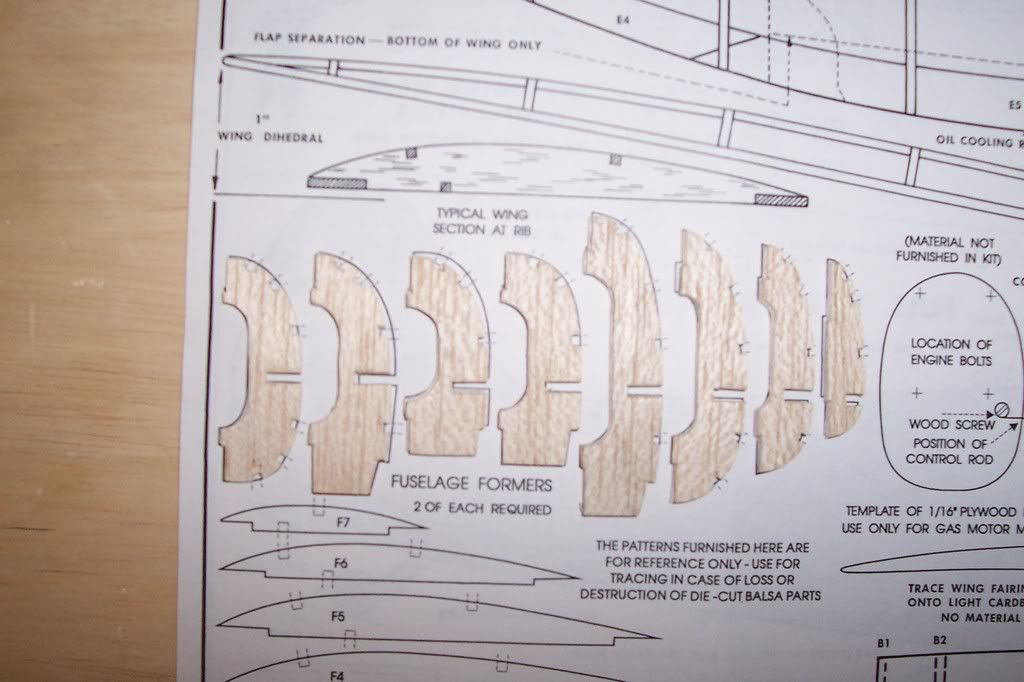
Well it has been awhile since I have had time to build, so I started my Guillows Spitfire a few hours ago. I wanted to post this build on Virtual Aerodrome, but I am still having problems. Sorry. The kit wood was OK but still not great. It is funny because I just bought the Guillow P40 400 series and the wood quality is great. I guess the more expensive the kit the better the wood quality. First I cut out all the parts and sanded them smooth removing the kit print. I like the fact that these kits don't have notches cut out because I like to do it myself, it is more accurate.
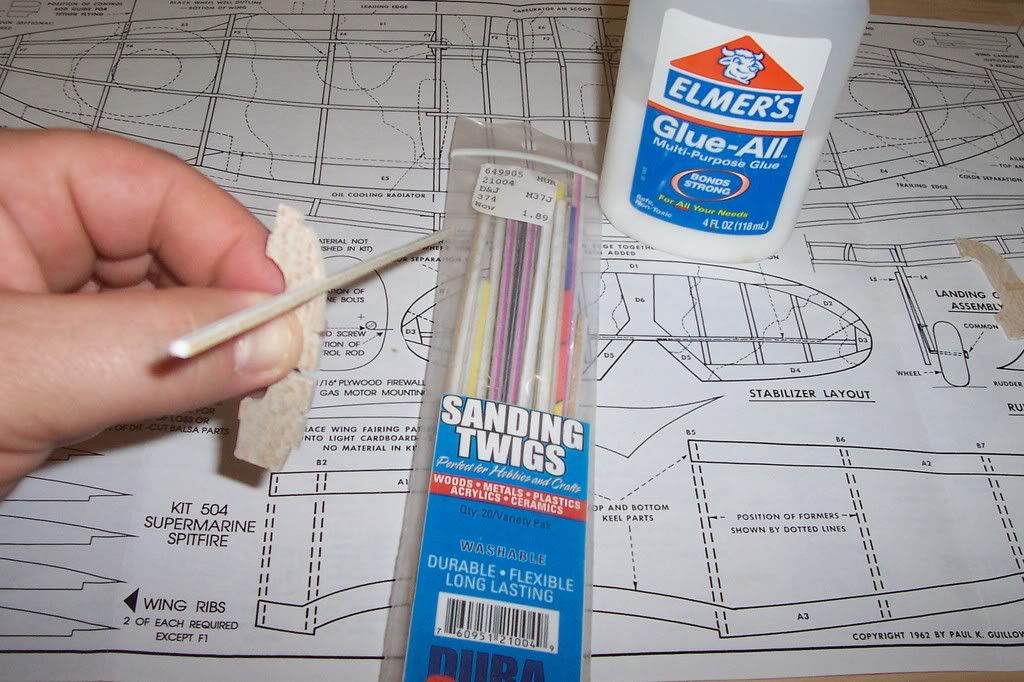
I use my sanding sticks to notch out the formers and sand the formers to be accurate. As you notice with Guillows kits the Die Cut formers are never exact to what is on the plans so you have to do something to make sure these kits come out straight. What I use is the side keels, I line up all the formers on the side keel stringer and mark where all the other stringers go and then sand the notches out. Yes it is true Guillows kits are heavy, but they can still fly if built straight. Airplanes don't fly well built like a banana. The best way to avoid the banana is make sure all the stringers fit perfect and are not forced to conform to the formers. More on that later. Here are some pictures.
Image

Image
scigs30
 
Posts: 844
Joined: Mon Nov 06, 2006 11:31 am

Postby scigs30 » Wed Dec 05, 2007 1:08 am

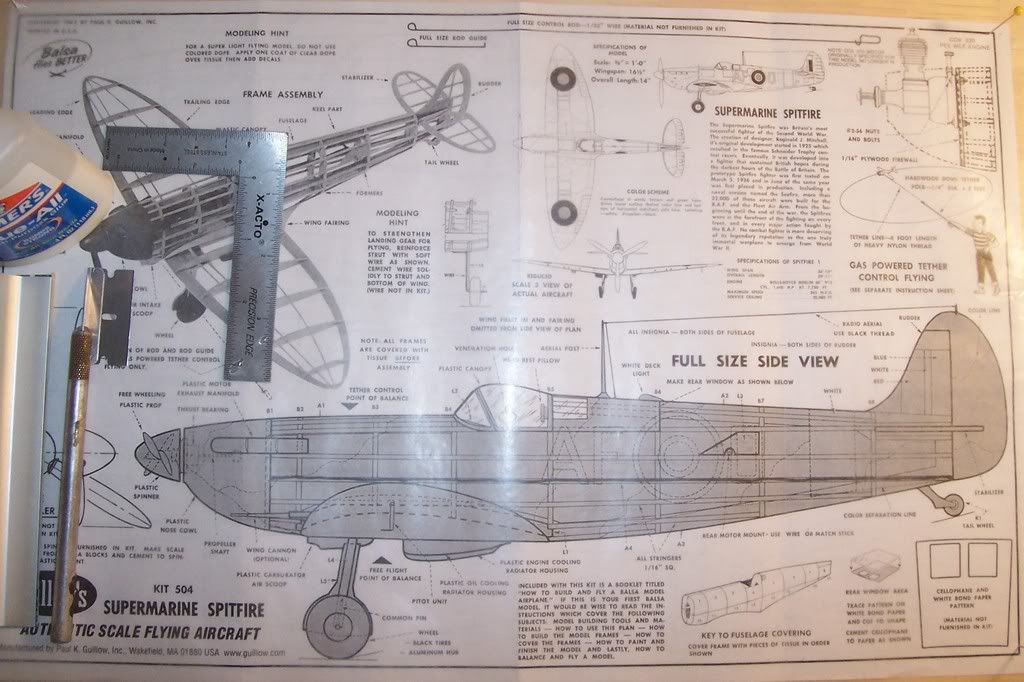
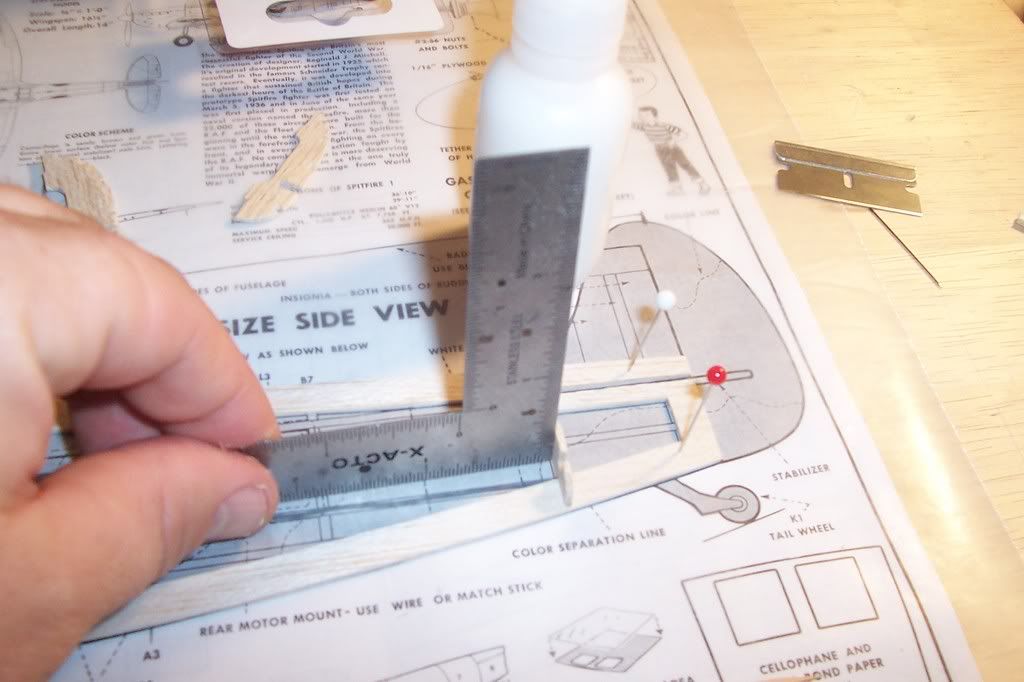
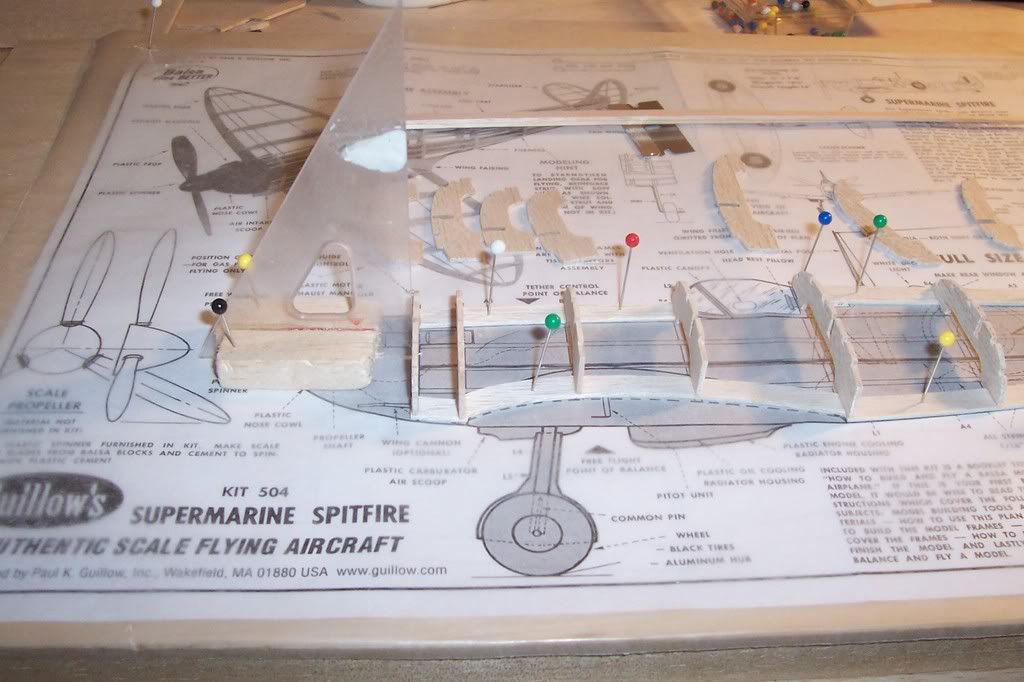
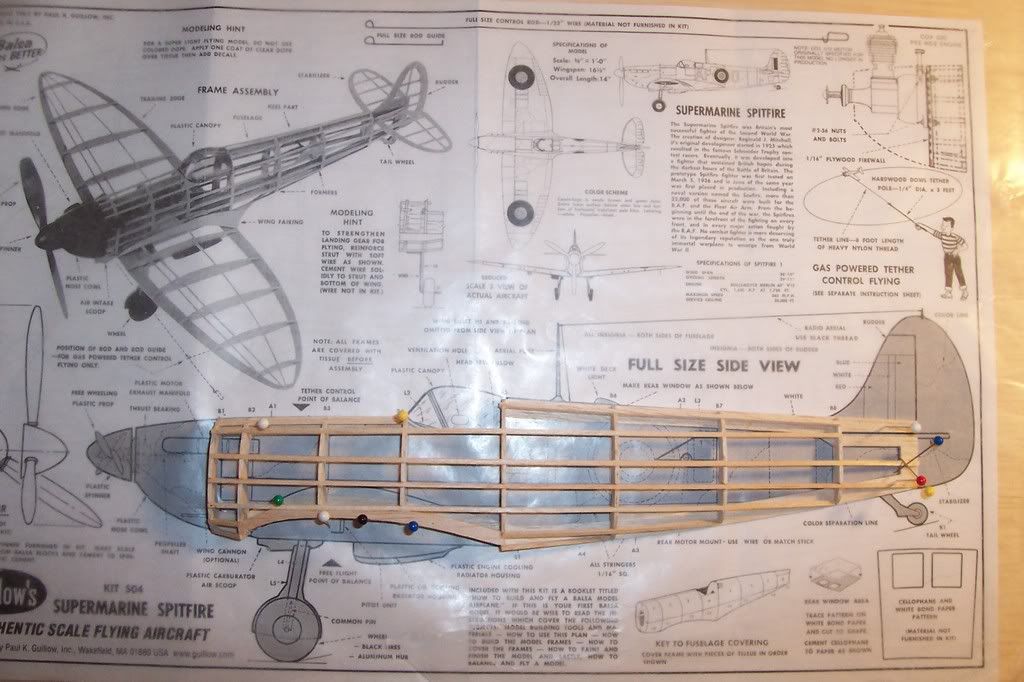
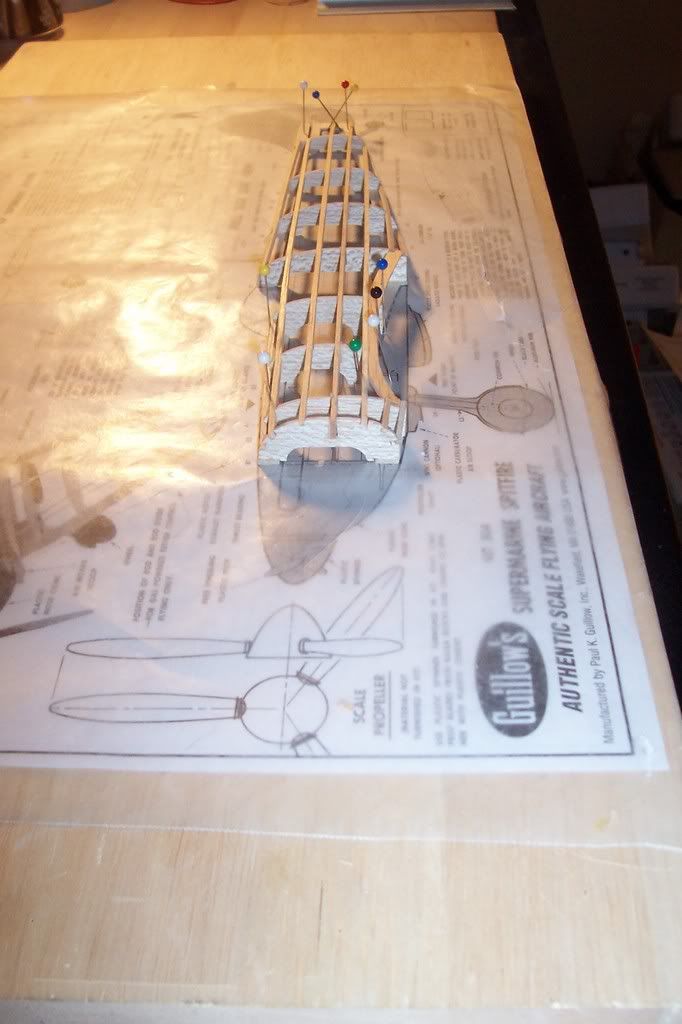
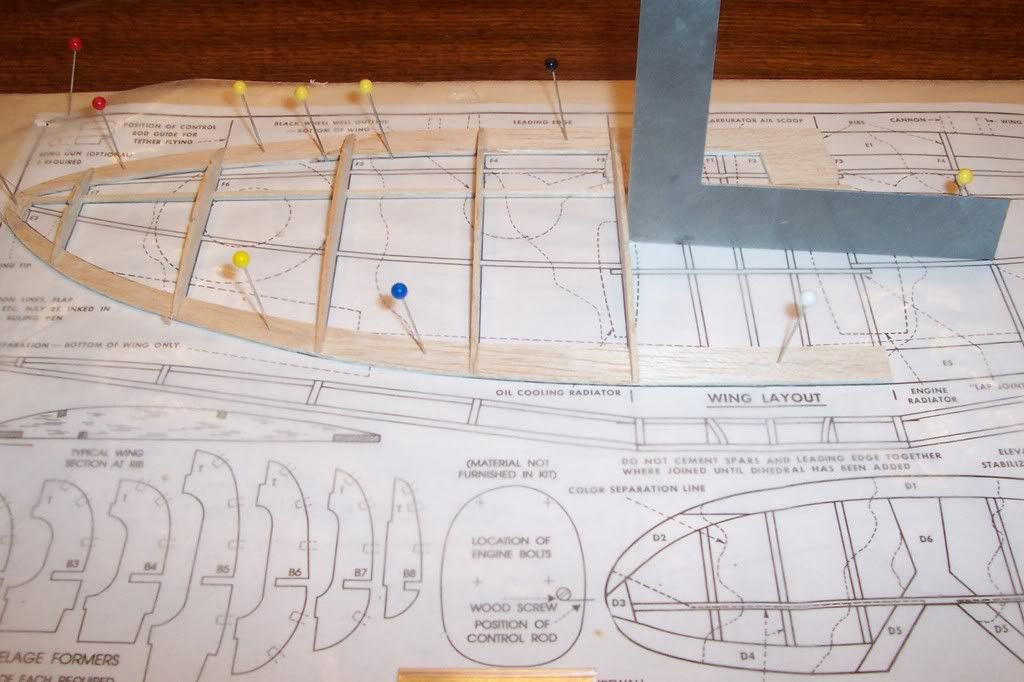
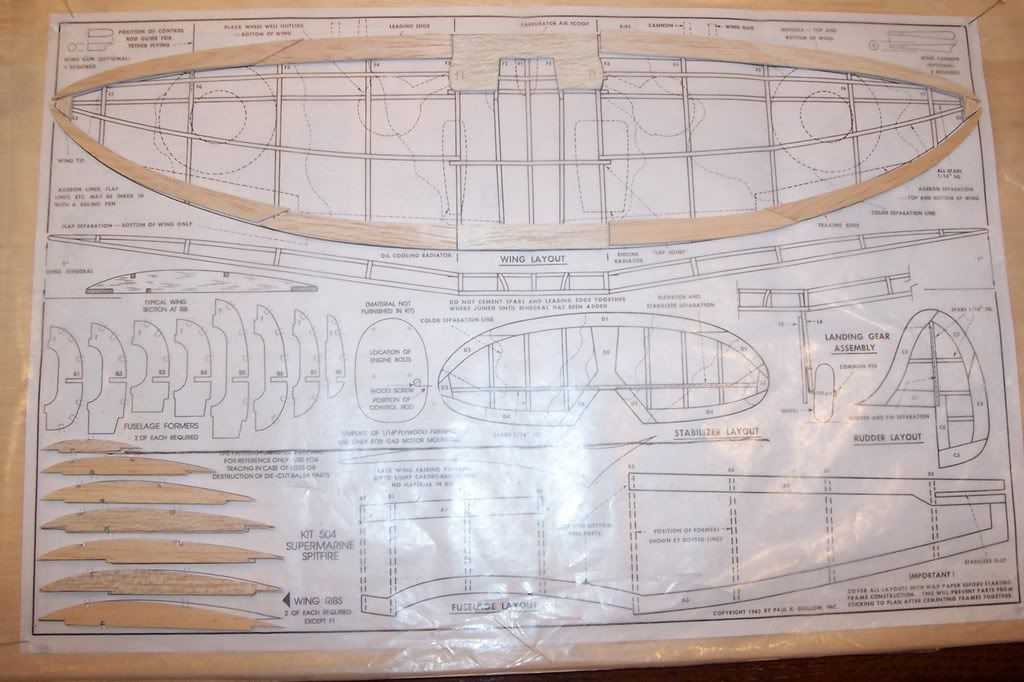
When I build these kits I build them on the other side of the instructions where the stringers are shown. This way I am able to line everything up so the fuselage comes out straight. Now you could make a jig for a nice straight fuselage, but with the Guillows kits that is unnecessary. I use jigs on light keel and former models where there is a strong chance of fuselage coming out crooked. Guillows kits have so much wood that they come out straight every time. I have found the easiest way to build a Guillows kit is to build the complete half when it is on the plans still. This way I can line up all the stringers. Since I lined everything up with the side keels I use the keel to keep all the formers in-line. Once the side keel is in place and straight I begin to apply all the other stringers. I use Elmers Glue so if I have to make slight adjustments I can. I don't start with the front former I start with the rear former. Some people say that building this way causes the fuselage to come out crooked, but if you have a straight board it wont be a problem.
Image
Image
Image
Image
scigs30
 
Posts: 844
Joined: Mon Nov 06, 2006 11:31 am

Postby scigs30 » Wed Dec 05, 2007 1:11 am

One good thing about Guillows kits is that they are fast to build. I have been using Elmers white glue and have more than half the fuselage done in a couple of hours.
Image
Image
Image
scigs30
 
Posts: 844
Joined: Mon Nov 06, 2006 11:31 am

Postby scigs30 » Wed Dec 05, 2007 1:14 am

Now that half the fuselage is done, the second half is easy. I just line the formers up with the first side and once again use the side keel to make sure that the formers are straight.

Image
scigs30
 
Posts: 844
Joined: Mon Nov 06, 2006 11:31 am

Postby SteveM » Wed Dec 05, 2007 1:40 am

Looks very straight. You also have some good tips on building, I will have to try some of them.

I have also been thinking of using white glue as a Guillow's pamphlet of mine says you can use it for assembly and in place of dope when sealing and covering with tissue. I am not a fan of CA.

Hopefully you can get the Virtual Aerodrome working soon.
SteveM
 
Posts: 498
Joined: Wed Oct 24, 2007 1:06 pm
Location: Beaverton, OR

Postby scigs30 » Wed Dec 05, 2007 10:40 am

I don't think there is anything wrong with Virtual Aerodrome , I think there is something wrong with me and my computer. The only reason I am able to post pictures here is because I use photobucket.com. I have never been able to send pictures via email either. I post pictures smaller than what is recommended and still nothing. My computer always comes up with an error message and closes out. Go figure. I have always used Elmer's white glue because I like how clean it looks when all built. I use 50/50 water and Elmer's to attach but then use Dope sprayed on the model. When I first started building when I was young Guillows and Comet kits are what I started on. My uncle tried to get be to build the Prairie Bird and other easy kits but I liked the looks of Comet and Guillows. He showed me how to build and stressed the importance of building a straight model. With his help all of my Guillows kit and Comet kits flew. He let me use domestic color tissue until I was good enough to use Esaki. I still think Guillows kits are great for beginners with the proper guidance. These kits use so much wood you don't have to worry about breaking while sanding or warping. When I was building on my own I tried other glues, CA, Testors, and my models came out crooked. That stuff dries so fast. I tried Elmers wood glue and I didn't like the yellow it leaves behind. Titebond also makes a great white glue. Here is a little trick to make white glue dry real fast: When you need to put a stringer into a notch and it keeps popping out, try this. Apply glue to the notch and place the stringer in the notch. Let the stringer pop out of the notch and wait about 2 min. Apply glue in the notch again and this time the stringer will stay without popping out. When I was younger I used to complain to my uncle that Elmers takes too long to dry. He showed me that trick and told me not to use so much. The best thing is that if you notice something is crooked you can adjust it before it dries, try that with CA.
scigs30
 
Posts: 844
Joined: Mon Nov 06, 2006 11:31 am

Postby scigs30 » Wed Dec 05, 2007 3:12 pm

The fuselage is almost all done. I will start on the wing, rudder and stabilizer today. Then it will be awhile until I can finish because of work. I still have to make the nose block and add a few pieces of balsa to the rear stabilizer area and add the motor mount. The motor mount with the kit is poorly designed. If you use it the way it is designed the motor mount would rip right out.

Image
scigs30
 
Posts: 844
Joined: Mon Nov 06, 2006 11:31 am

Postby scigs30 » Fri Dec 14, 2007 5:37 pm

Since it is the holiday season, I don't have much time to build. I started on the wing, rudder and stab. Once again I am working to keep my wing straight so I do not develop any warps. Like the fuselage if you try to force ribs and stringers in place, the wing will warp.

Image

Image
scigs30
 
Posts: 844
Joined: Mon Nov 06, 2006 11:31 am

Postby nevetsw18 » Wed Dec 26, 2007 8:06 pm

When I cut the notches in the formers every single one I cut cracked, and half broke. :cry:
I did some investigating and found that the grain was with the cut. I just glued all the formers with 2 coats of glue.
Moral of the story; check out the spitfire formers before cutting :!:
Building a B-25 & a Hurricane
-Steven
nevetsw18@yahoo.com
nevetsw18
 
Posts: 21
Joined: Tue Dec 25, 2007 4:15 pm
Location: Oregon

Postby scigs30 » Thu Dec 27, 2007 12:19 pm

I have never had good luck with cutting out my notches. That is why I use the sanding sticks.
scigs30
 
Posts: 844
Joined: Mon Nov 06, 2006 11:31 am

Postby supercruiser » Fri Dec 28, 2007 7:46 am

Another method to help keep the formers from breaking out when making the notches; glue a section of tissue onto the die-cut sheet to strengthen the formers.
supercruiser
 
Posts: 405
Joined: Wed Jun 15, 2005 8:47 am

Postby nevetsw18 » Sun Dec 30, 2007 12:32 am

I'm so excited, I did the tissue on the fuselage and it looks awesome. Yhe patch method work like a charm
Building a B-25 & a Hurricane
-Steven
nevetsw18@yahoo.com
nevetsw18
 
Posts: 21
Joined: Tue Dec 25, 2007 4:15 pm
Location: Oregon

Postby scigs30 » Wed Jan 02, 2008 11:58 pm

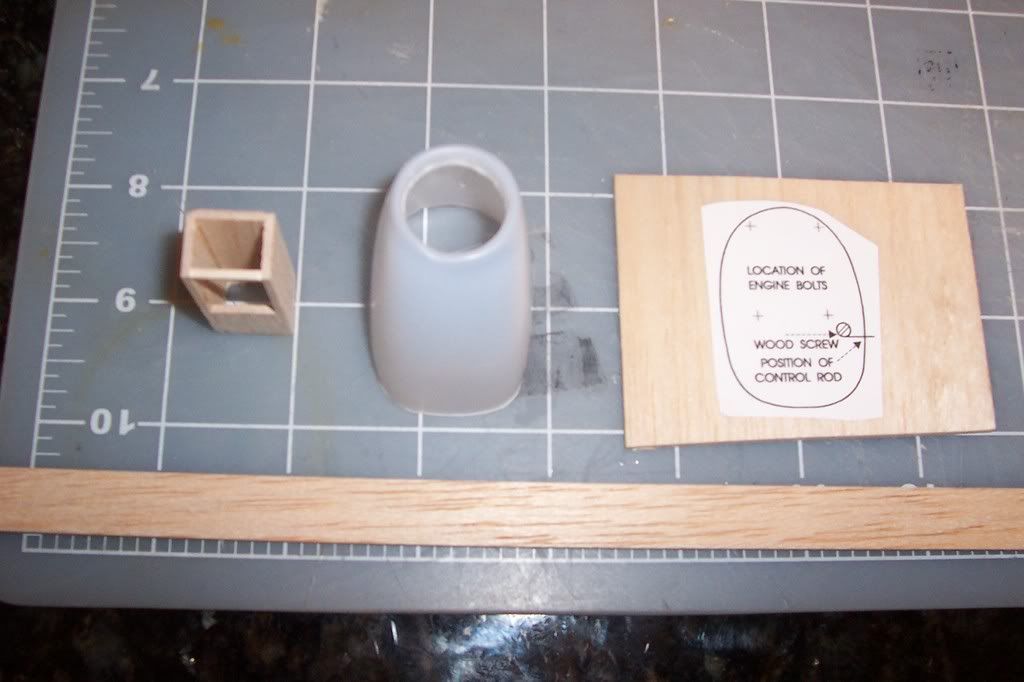
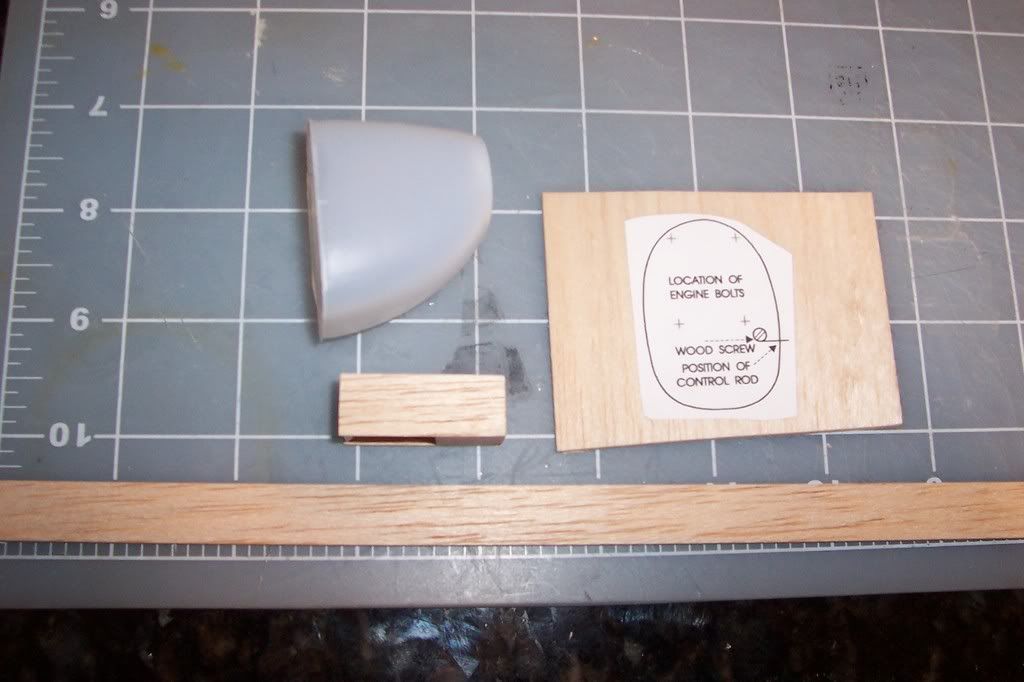
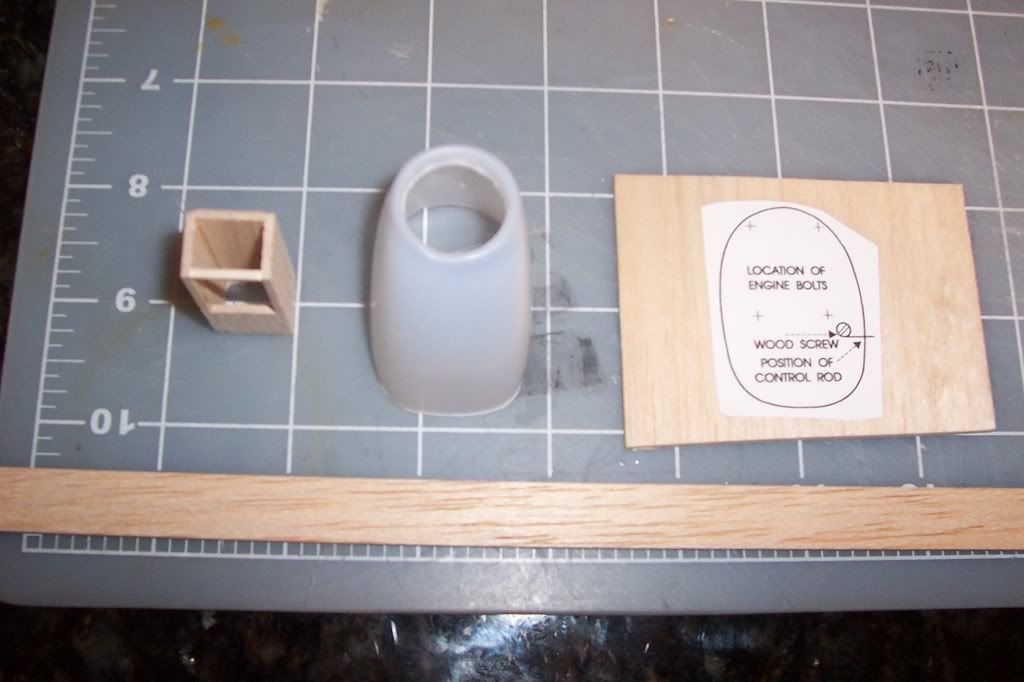
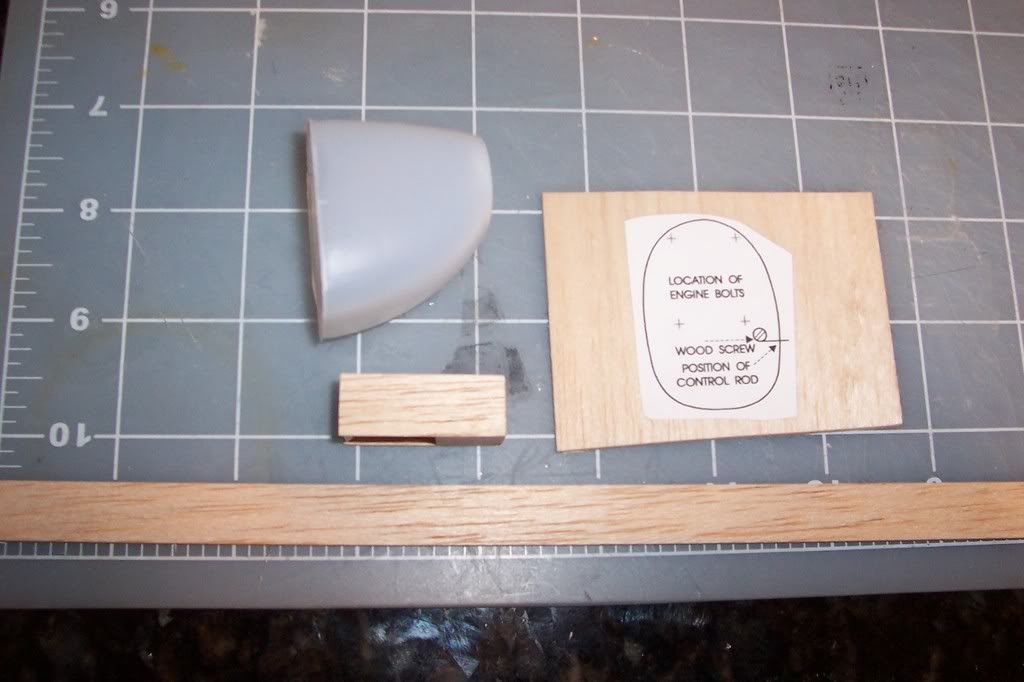
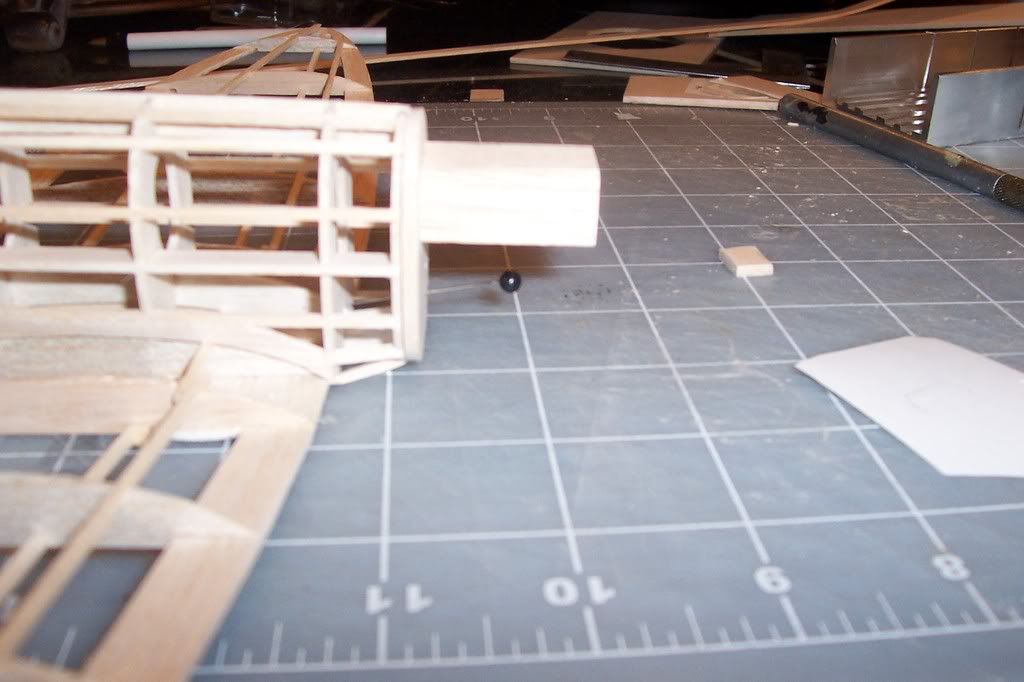
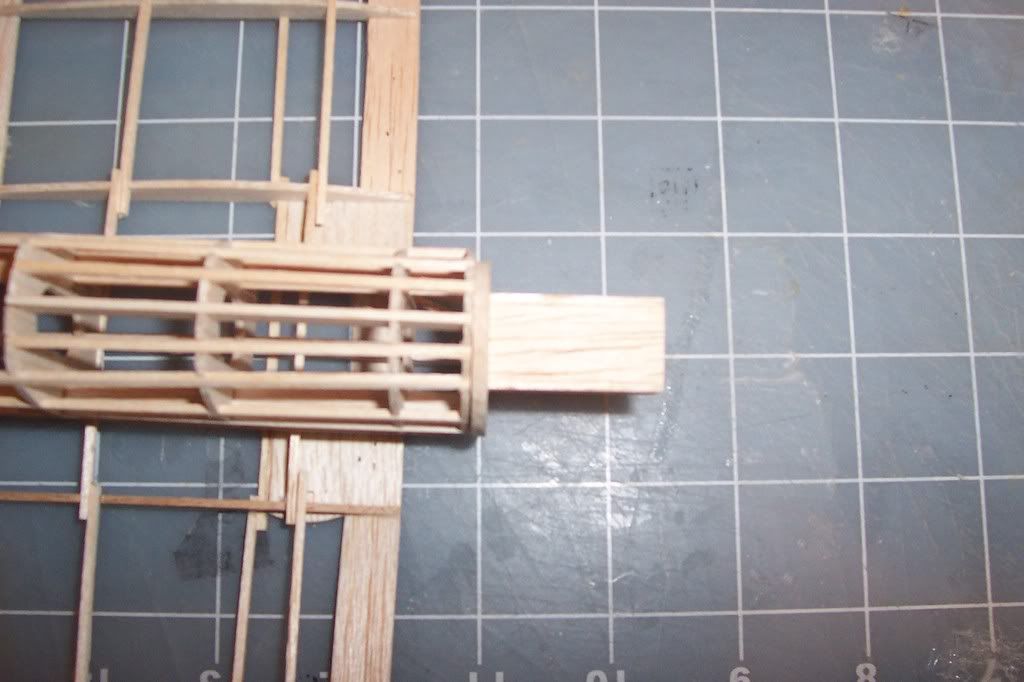
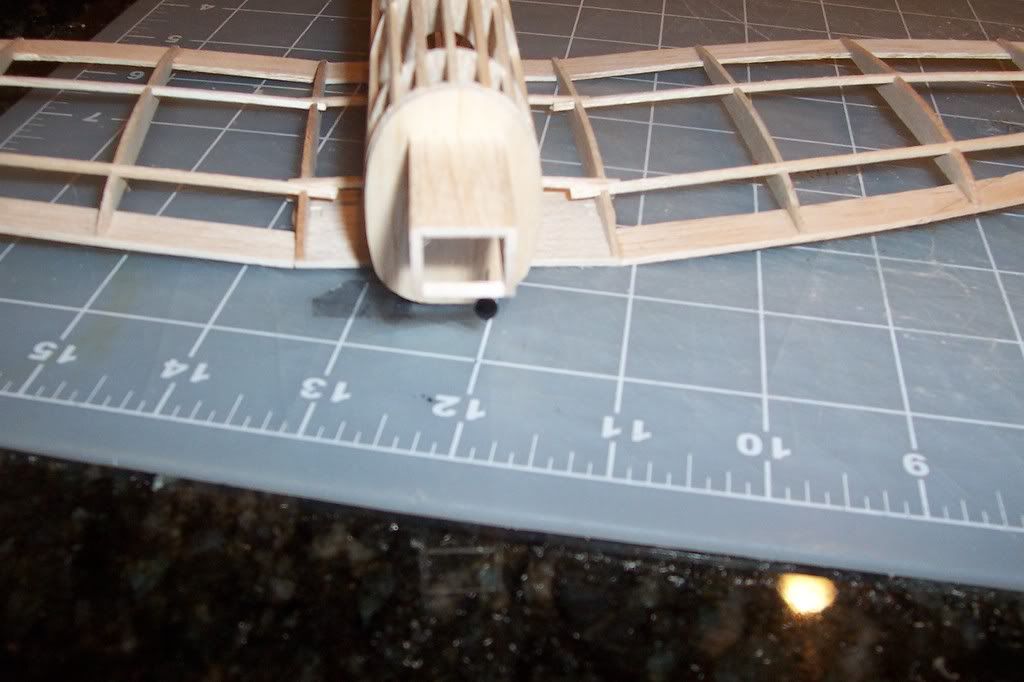
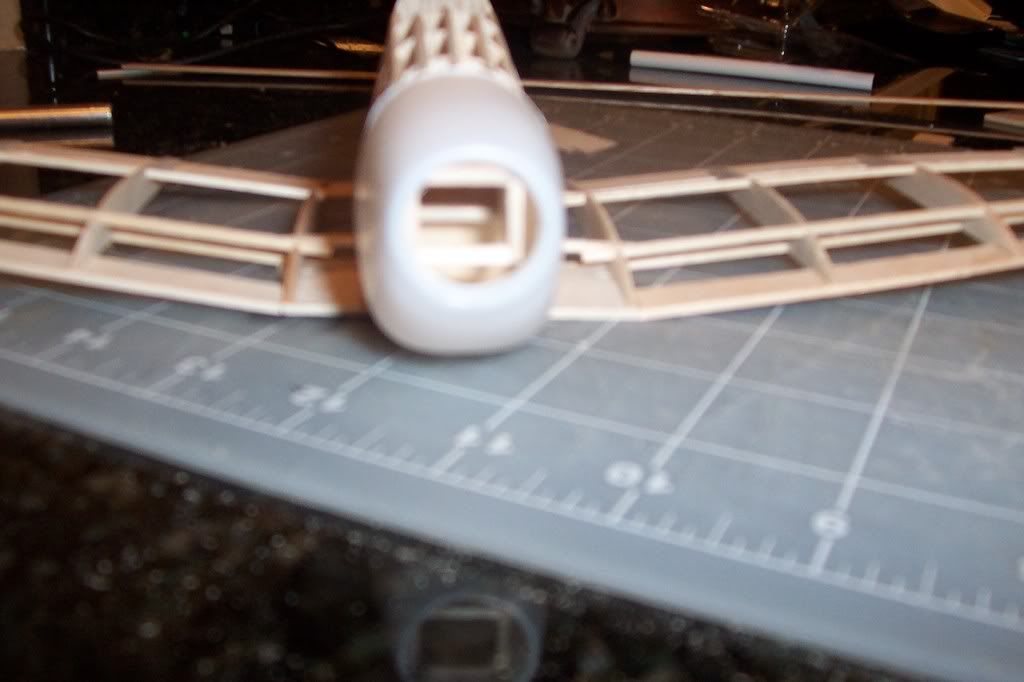
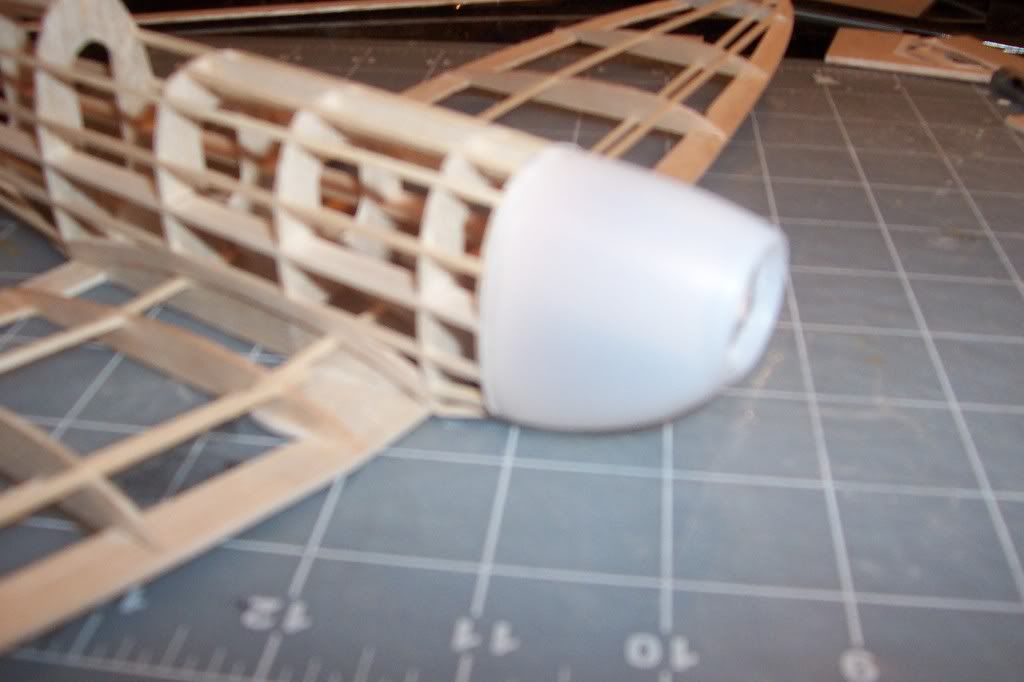
I have most of the Spitfire built, just have to do some final sanding and I will take a picture and began covering. People have asked how I make a functional box for the nose. This is one area that Guillows really needs to look at modifying. First thing I do is cut out the plastic cowling and cut out the plastic that holds the nose button. I then use the former shown on the plan used for a gasoline engine. This piece will fit inside the plastic cowl. I use soft 3/32 for this. I build my balsa box using 1/2 X 1/16 balsa. As you can see by the pictures, the front bottom of the box is open except for a piece of 1/16 sq at the front. This opening allows you to add clay in the nose when needed. The front of the box is beveled down slightly for down trust. I glue the box to the former and the plastic cowl slides over for a smooth fit. The only thing left is to make the nose out of balsa and use a nylon button. Now you have a removable nose block and you can add wt. to the front of the plane without removing the plastic cowl.
Image
Image
scigs30
 
Posts: 844
Joined: Mon Nov 06, 2006 11:31 am

Postby scigs30 » Thu Jan 03, 2008 12:03 am

Image
Image
Image
Image
Image
Image
Image
scigs30
 
Posts: 844
Joined: Mon Nov 06, 2006 11:31 am

Postby scigs30 » Mon Jan 21, 2008 4:17 pm

Posted some pictures of my Spitfire Build, I will start covering today.
http://virtualaerodrome.com/image_brows ... raft_id=57
scigs30
 
Posts: 844
Joined: Mon Nov 06, 2006 11:31 am

Next

Return to General Building Questions

Who is online

Users browsing this forum: No registered users and 7 guests