P-40 Warhawk kit #405

Ask other modelers for a little help / knowledge ?

P-40 Warhawk kit #405

Postby Ant » Thu Apr 10, 2014 2:47 pm

Hi All,

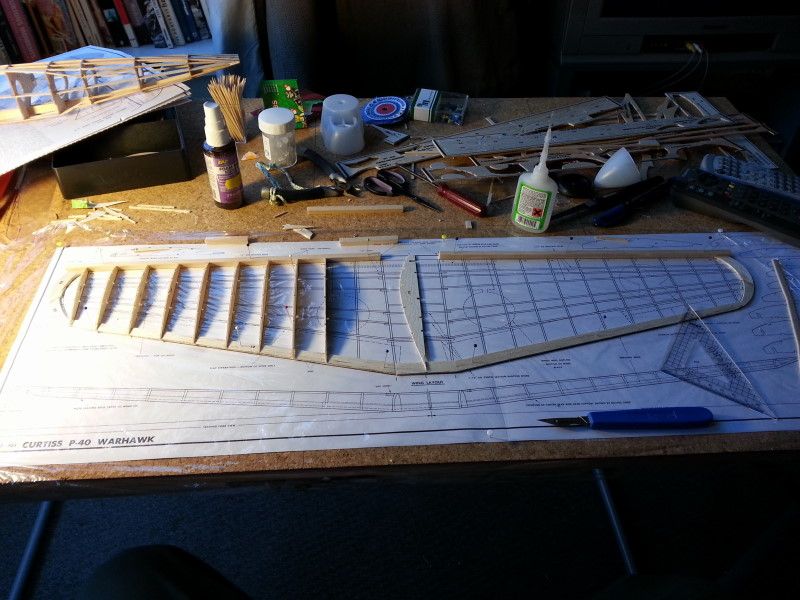
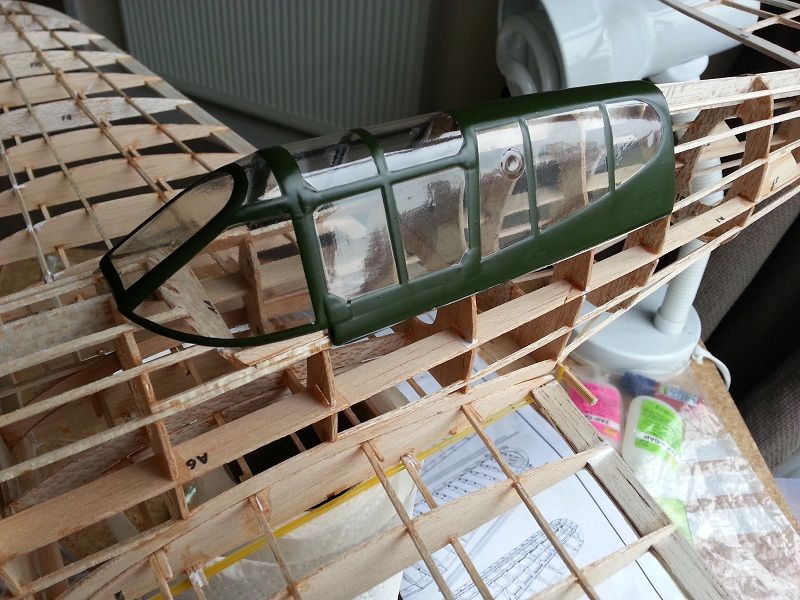
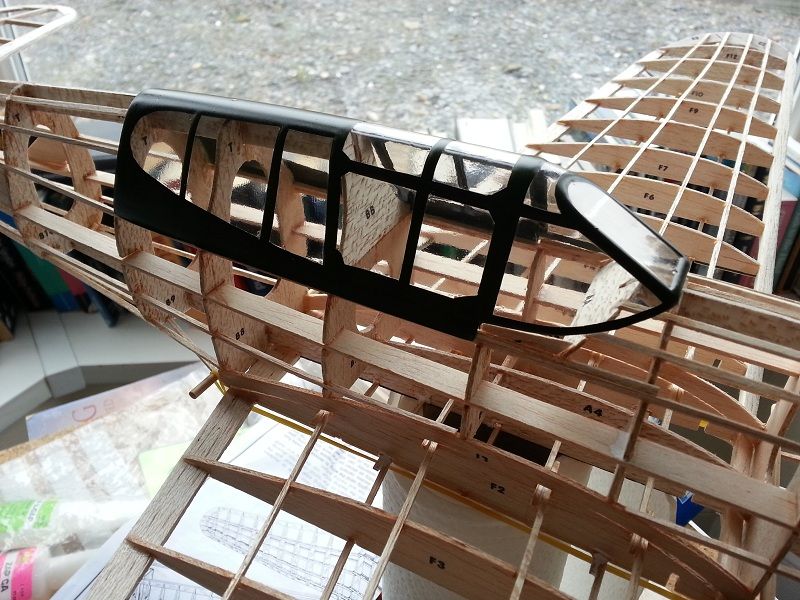
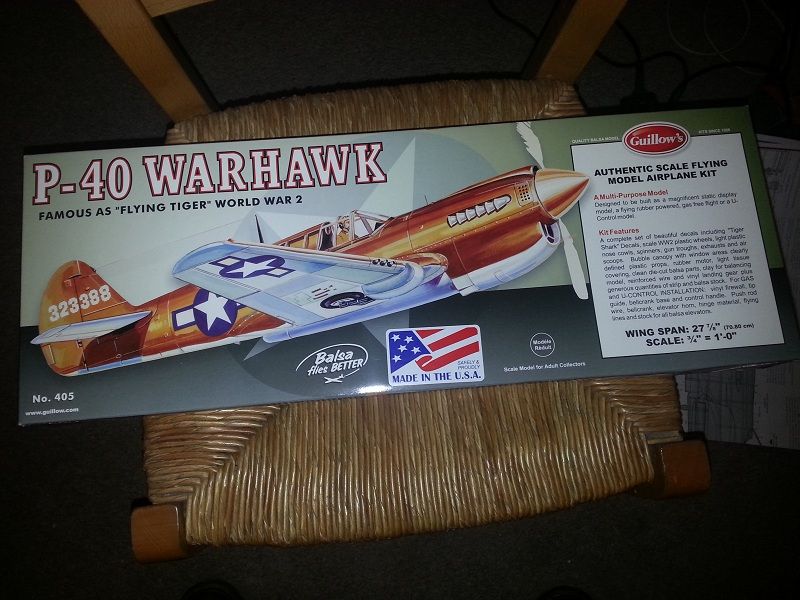
Thought I'd start a thread for my next build ... the Guillow P-40 Warhawk, kit #405 ...

Image

This is only my 2nd balsa kit, so any tips / advice / feedback is gratefully received.

My aim is to build this rubber-band powered, mostly as a test / learning exercise. I've got the P-51 Mustang kit to build after this one and will probably build that with movable surfaces and install some servos.

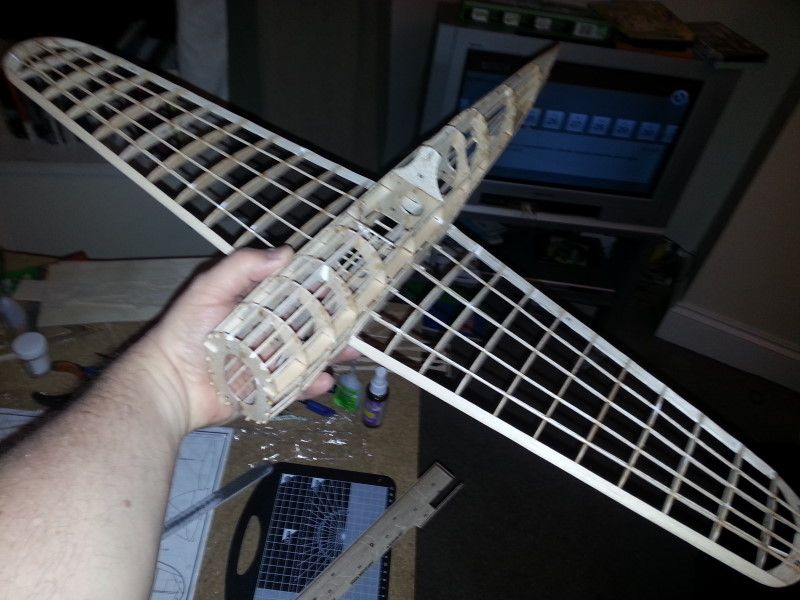
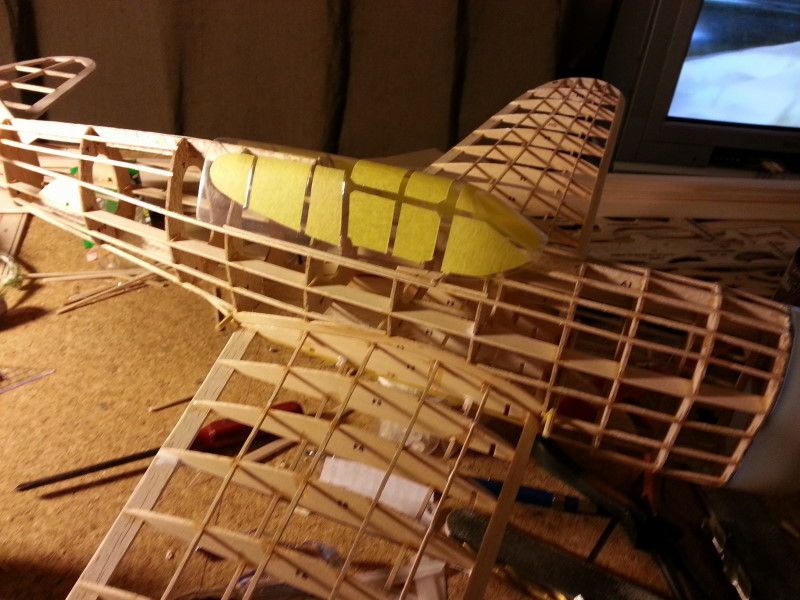
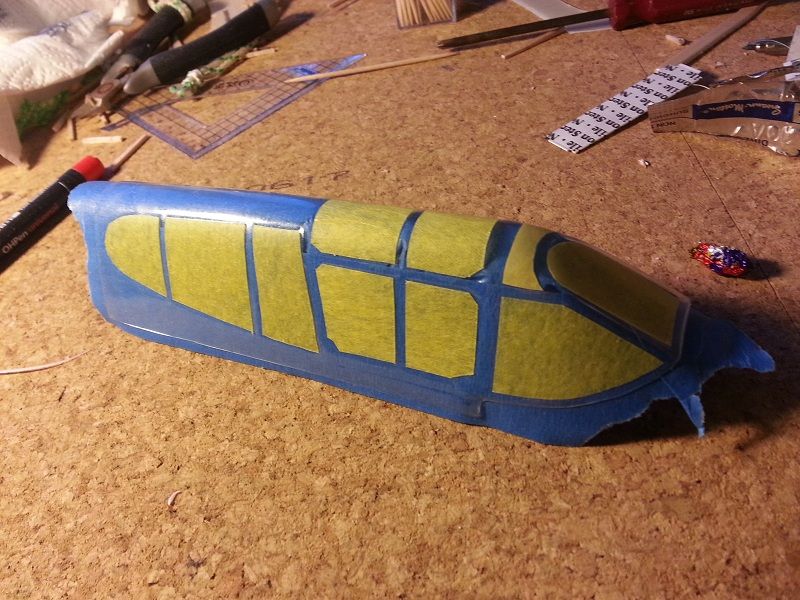
So, cork board at the ready, the fuselage is assembled ...

Image

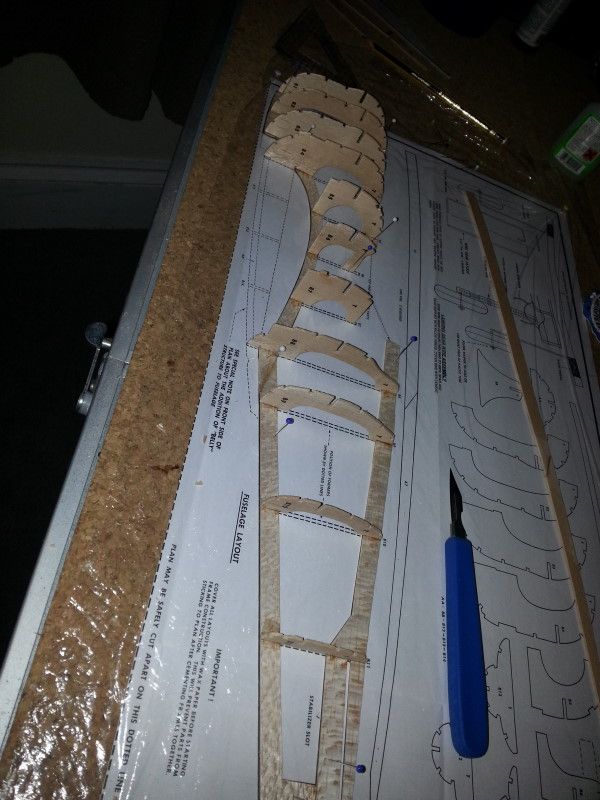
Pretty straight-forward so far ...

Image

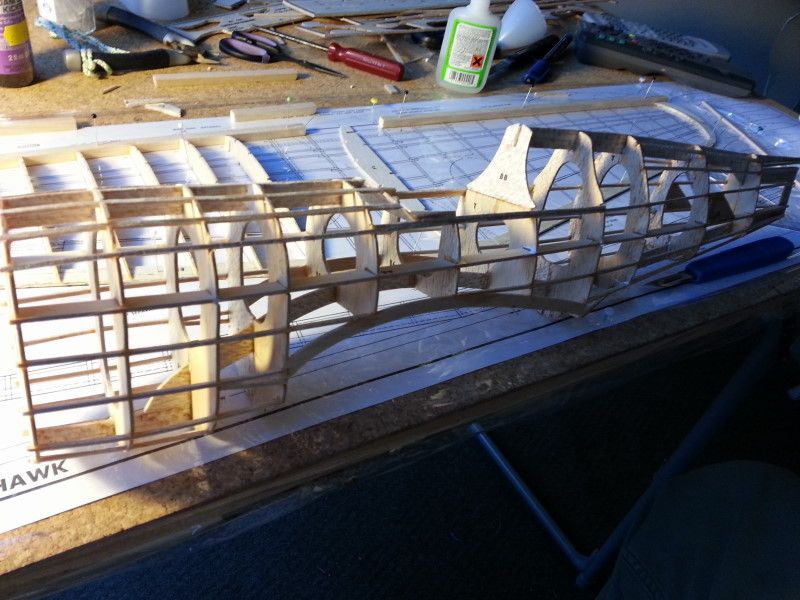
Stringers on next. I followed the instructions and did one each side to help avoid tension. I went to the trouble of lightly sanding the stringers before gluing them into position, to remove some of the fuzz and stringy bits. Not sure this was strictly necessary, but it made for a less fuzzy build.

Image

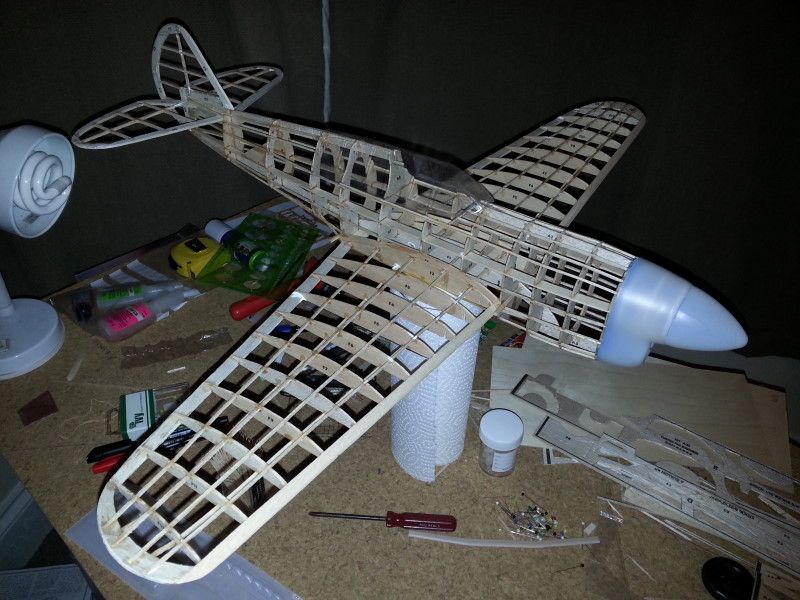
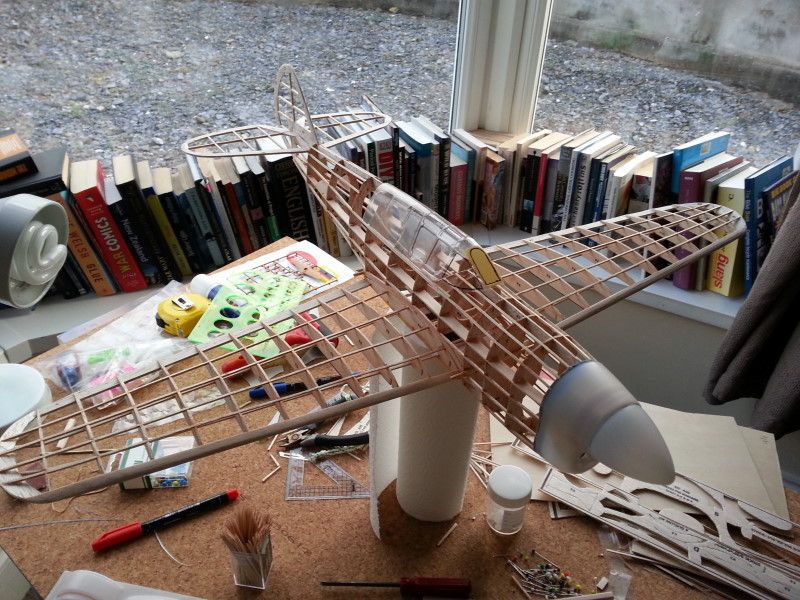
And with that all done, the wing was next ...

Image
Ant
 
Posts: 7
Joined: Sat Apr 21, 2012 4:51 pm
Location: Narberth, Wales, UK

Re: P-40 Warhawk kit #405

Postby Ant » Thu Apr 10, 2014 3:00 pm

I forgot to take 'in progress' pics of the wing, but suffice to say, it was easy enough to assemble. I used the little triangles included in the kit to set the wingtip angle which worked fine. Setting the main wing dihedral was also pretty easy once I found two suitable objects to prop up the wings at the same angle before gluing the centre section, setting the angle. I then used a small power sander (a Black & Decker Mouse) to sand the leading edges. I thought I might be being a bit reckless doing this, but it worked really well - the sander was easy to control and it was done in a jiffy.

Arms like a gorilla! ...

Image

Next up was the rudder and tail-plane. Both went together with little fuss and fitted fine. For strength and aiding with alignment, I used two pins with the heads cut off to fit the rudder to the spine of the fuselage.

Image

At this point, I decided I was unlikely to cover this model and leave it as a skeleton (my wife said she liked it that way, so it ups the chances of me being allowed to display it!!). So, I fitted two dowels into the fuselage so the wing can be attached using rubber bands, I also fitted the nose cone. I wasn't happy with it being hollow so built a structure inside to both aid with fitting the plastic part and strengthen it when the rubber-band is wound up.

Image

Next it was time to tackle the canopy.
Ant
 
Posts: 7
Joined: Sat Apr 21, 2012 4:51 pm
Location: Narberth, Wales, UK

Re: P-40 Warhawk kit #405

Postby Ant » Sat Apr 12, 2014 12:01 pm

For masking up the canopy I used a similar technique to the one I use for problematic plastic model canopies. First I draw in the frames on the inside of the canopy - I use a permanent pen for this which is easy to remove later with a drop of isopropyl alcohol on a paper cloth. Next I use Japanese kabuki tape (or Taimya masking tape) to mask the window panes. I used a tooth-pick to find the edges of the frames, which in this case wasn't easy, hence drawing in the frames. Next I use a brand new scalpel blade to carefully cut out the individual panes. Finally, I removed the permanent marker pen from the inside. Easy peezy.

Frames masked ...

Image

Inside masked to prevent over-spray on the inside, & ready to spray ...

Image

Ta-dah! This was sprayed using Tamiya acrylic 'olive green'. Once dry the masks were removed and the whole canopy was double-dipped in future floor polish to protect the paint and improve clarity of the canopy - it works a treat. For those of you not familiar with the wonderful future floor polish, google it and find out what modellers use it for!

Image

Image

Time to put some wheels on it.
Ant
 
Posts: 7
Joined: Sat Apr 21, 2012 4:51 pm
Location: Narberth, Wales, UK

Re: P-40 Warhawk kit #405

Postby davidchoate » Sat Apr 12, 2014 7:50 pm

I realy like your canopy tecnique. I have been using that very thin pinstripe tape from Great Planes with good results. But i am going to try your way for sure. I,ve been so busy with little size planes lately, and they are all cub type trainers without canopies, however I do have a FW190 400, and a spitfire 400 series in my vastly growing collection of kits. If I only had the time. If I ever win the lottery I'm gonna just build and fly models all the time. I have about 15 kits of all brands, as well as alot of rc gear, and recently have been acquiring CO2 stuff. some of the deals on EBAY are so good I just cant pass them up. I cant wait to try out my CO2 stuff. It is getting hard to find. Apparently TELCO was the only manufacturer of the stuff and they are out of business. If I had a little more business smarts I'd pick up the patrent and start making them. I remember when I was a kid putting a CO2 in a Guillows biplane (i cant remember what kind), but that thing flew so nice, and it adds weight to the nase, and I'm not knocking rubber power, but I just have'nt had good success with it so far. sorry for the rant. And I love your P-40. I recently did one for display (a 500 series), and it has beautiful lines. It just looks good from every angle.
You do not have the required permissions to view the files attached to this post.
davidchoate
 
Posts: 1263
Joined: Wed Aug 14, 2013 6:41 am
Location: PHiladelphia PA

Re: P-40 Warhawk kit #405

Postby Mitch » Sun Apr 13, 2014 9:24 pm

Looks very nice so far. I do not see any dihedral in the wing. Maybe it is from the angle of the photos. I have had ALL the 400 series fly when built to Guillow instructions. You can expect a modest flight in a schoolyard or play field. You will learn you can make improvements to the Guillow kits for better flight times.

Good Luck and Good Flying, Mitch
Mitch
 
Posts: 1347
Joined: Mon Aug 22, 2011 9:16 pm
Location: Kent, WA

Re: P-40 Warhawk kit #405

Postby r wheatley » Mon Apr 14, 2014 9:23 am

super nice build !!
r wheatley
 
Posts: 81
Joined: Wed Dec 05, 2007 11:15 pm
Location: alabama

Re: P-40 Warhawk kit #405

Postby davidchoate » Wed Apr 16, 2014 7:13 pm

Mitch is correct. I'm no expert, but, unless its a display, and I'm going for scale, You need proper dihedral for FF. On RC with ailerons not as critical, and as a matter of fact, when I do an RC conversion, I lessen it Quite a bit. The Edge being a good example.Even for FF I thought the Edge 540 dihedral was a bit much. Even scale aircraft use a dihedral. someday I will learn more about aerodynamics. I think dihedral adds stability though. Even birds have it. I want that Book from Don Ross I think, but when I try to find it on the Guillows site, I can only find model s, and parts. I wanted to buy a building board, and could not find out how to cart and buy it. does anyone know?
davidchoate
 
Posts: 1263
Joined: Wed Aug 14, 2013 6:41 am
Location: PHiladelphia PA


Return to General Building Questions

Who is online

Users browsing this forum: Bing [Bot] and 8 guests