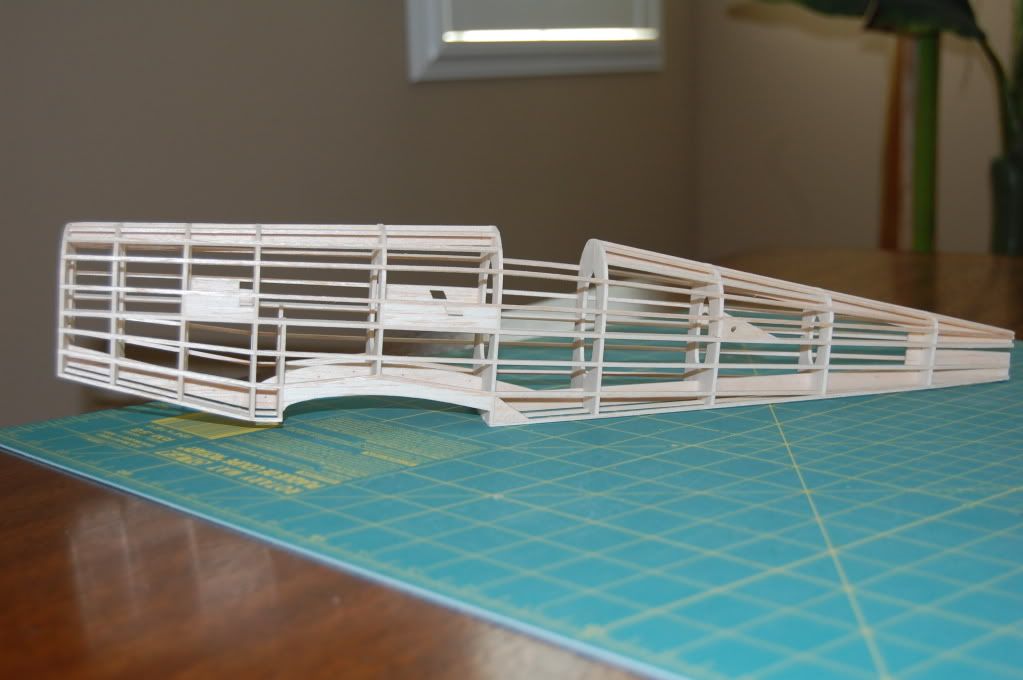
The last two fuselages I built (Sopwith Camel and Nakajima Rufe) warped slightly by the time I finished adding the stringers. Is there some way to avoid this in the future? I used a Guillow's building board and a steel square to make sure the formers were initially aligned. Everything was attached with Testor's wood cement.
-Ben
Warped Fuselages
8 posts
• Page 1 of 1
Warped Fuselages
![]() by BBreyer » Sun Aug 30, 2009 2:09 pm
by BBreyer » Sun Aug 30, 2009 2:09 pm
- BBreyer
- Posts: 2
- Joined: Tue Aug 04, 2009 9:46 am
- Location: New York, New York
![]() by scigs30 » Mon Aug 31, 2009 8:17 pm
by scigs30 » Mon Aug 31, 2009 8:17 pm
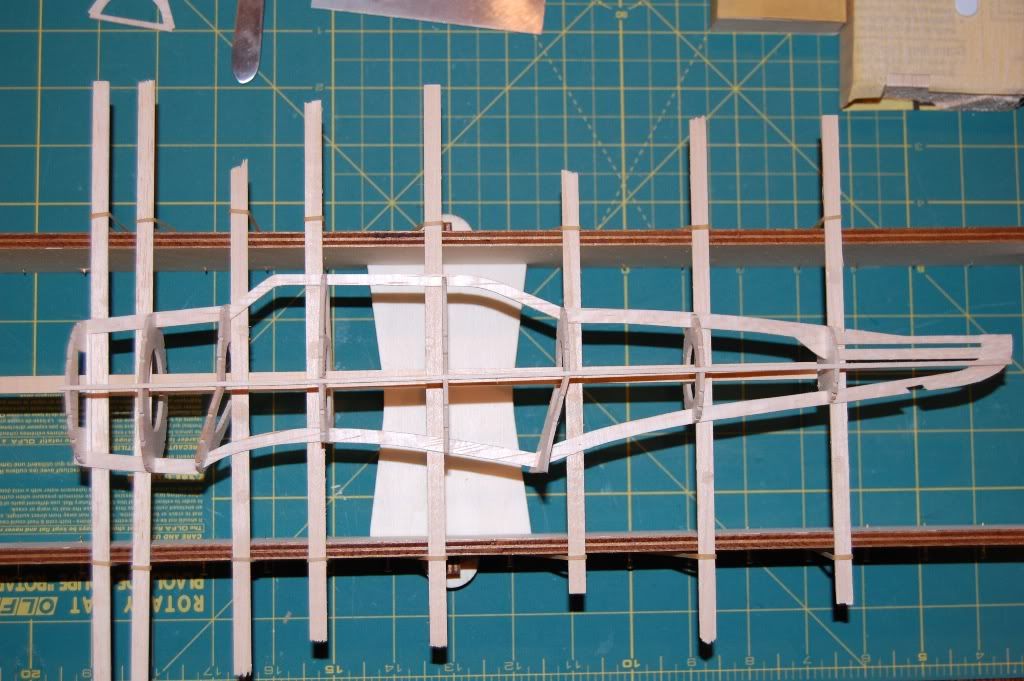
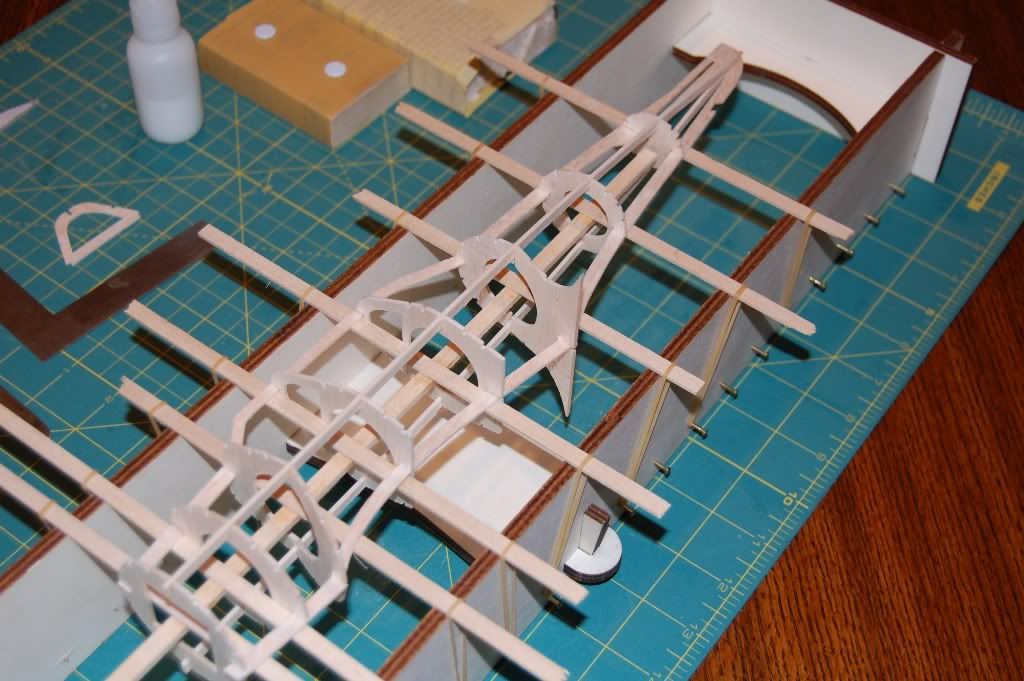
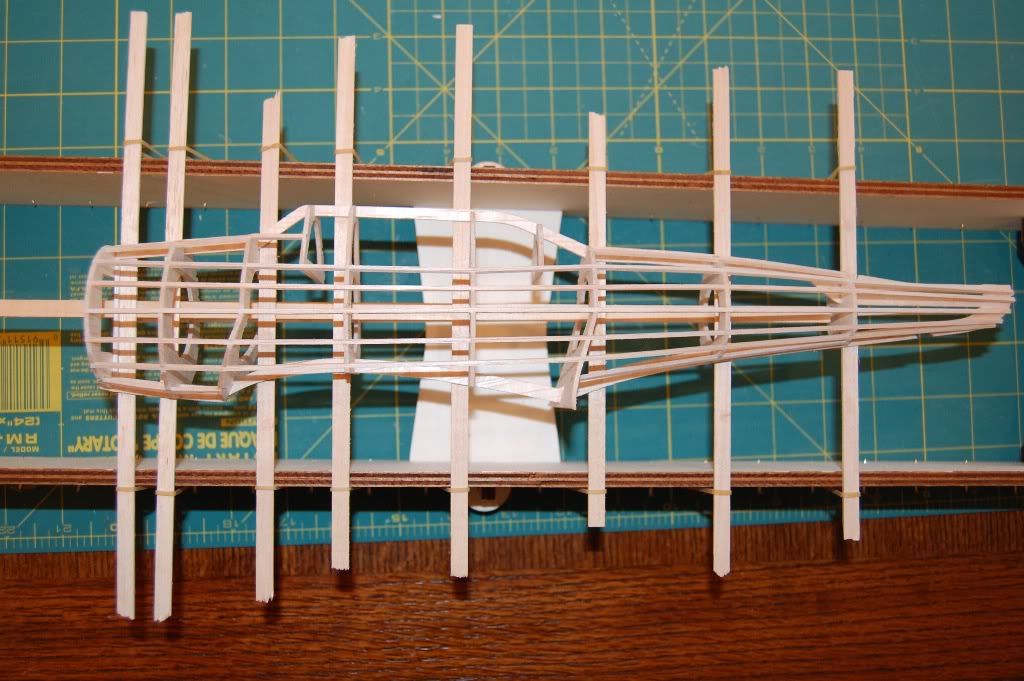
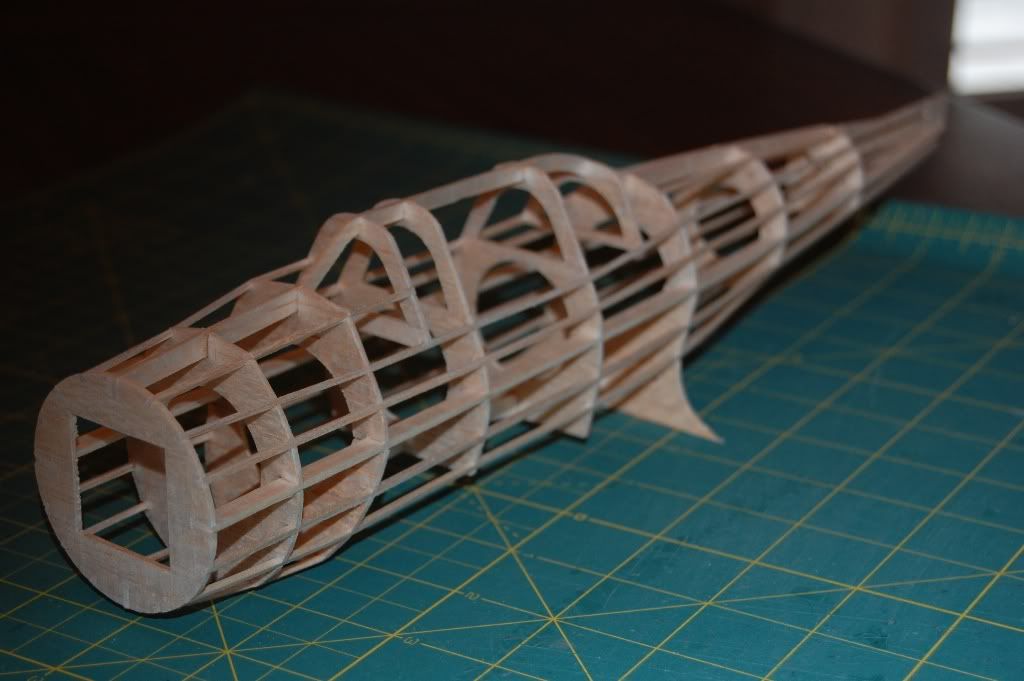
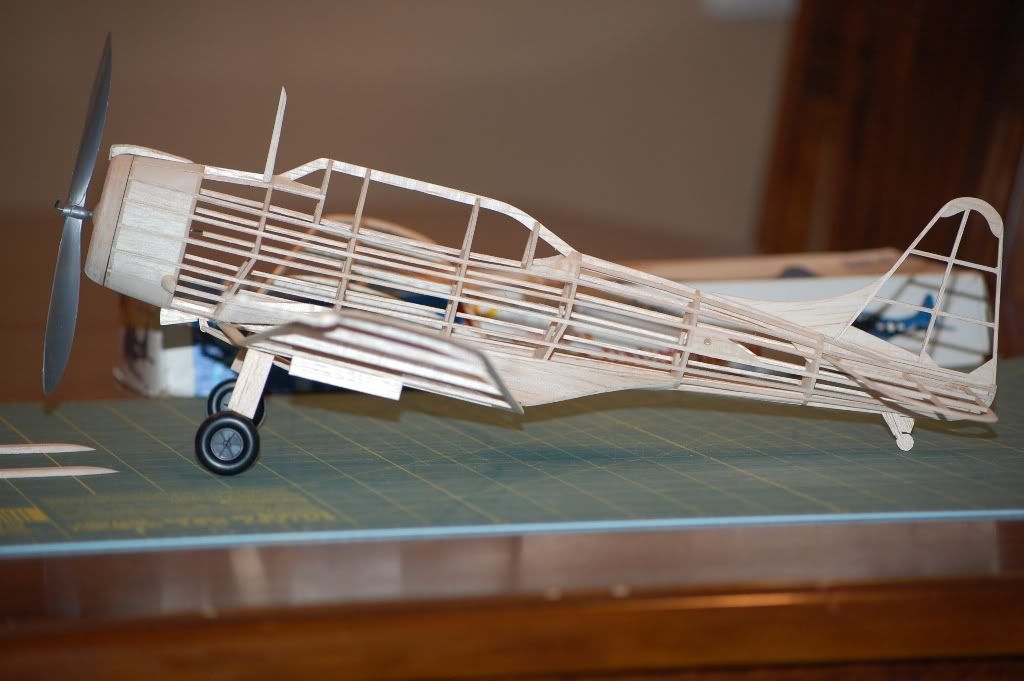
There are many tricks to building a straight fuselage that I have used over the years. After 25 plus years of building I came across a nice jig for building fuselages. It is from Rockytop models and I have used it 3 times now with excellent results. My fuselages have always come out straight but it did take planning and effort to do so.....Now with this jig I just build my plane and it comes out straight. Here is a picture of my current build, it is a Comet plane. Also I will post pictures of my other 2 birds built with the jig.
http://www.rockytopmodels.com/rta-004_details.htm
http://www.rockytopmodels.com/rta-004_details.htm
- scigs30
- Posts: 844
- Joined: Mon Nov 06, 2006 11:31 am
![]() by cliffm » Thu Sep 03, 2009 1:10 pm
by cliffm » Thu Sep 03, 2009 1:10 pm
I think we all have our unexplainable warps and bent pieces that thru all conceivable and reasonable efforts never seem to be "right". I found out about matching the "timber" on stringers by going thru the soul-searching "what did I do wrong?" and finally noticed the difference in the stiffness of some stringers that needed to be pinned in place to conform to the fuselage shape. This solved a great deal of the warpage. Also the integrity of your glue joints will make a difference. If you are gluing them so they are not butted on something to prevent shrinkage during drying and curing time you are open to movement during this process. And remember that nothing beats the paranoic act of checking it one more time. later
- cliffm
- Posts: 370
- Joined: Fri Feb 27, 2009 11:08 am
- Location: fairdale N D
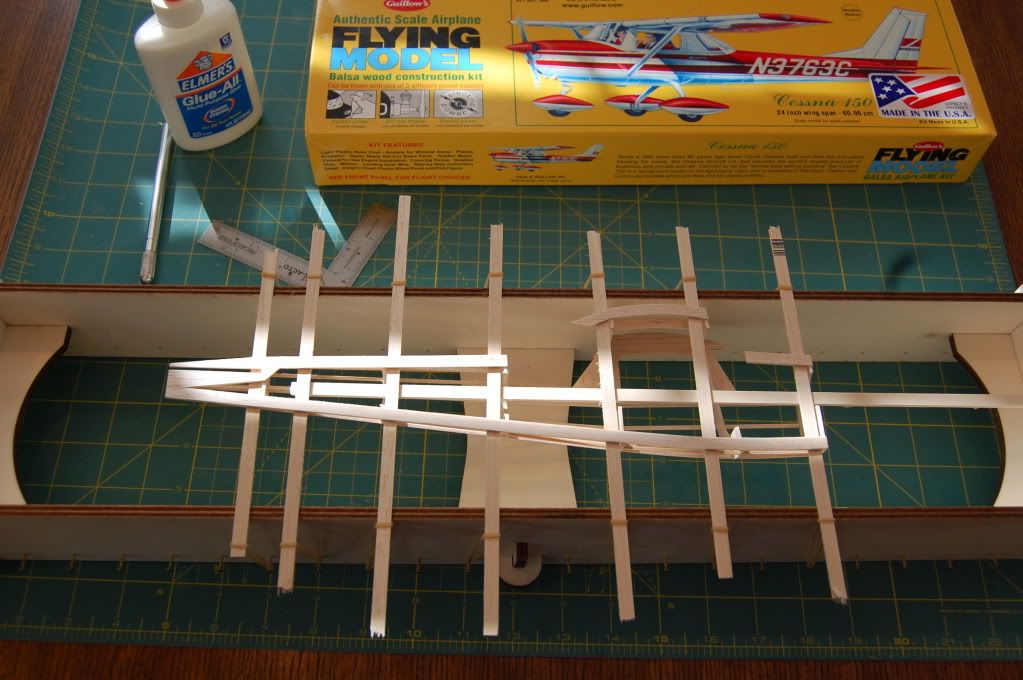
C-150 Formers
![]() by dano290 » Sat Sep 05, 2009 4:05 am
by dano290 » Sat Sep 05, 2009 4:05 am
I have had all kinds of problems getting my formers correct at 90 degrees I was thinking of gluing the formers together first so they are flat and streight then marking the side keels from the plans and then glue them on. This way I would make sure my formers were true and I would just have to take a small square to make sure there at 90 degrees...any thoughts? I really cant pay the money for a jig as the guillows kit was only 11 bucks
- dano290
- Posts: 3
- Joined: Sat Aug 29, 2009 4:38 pm
![]() by cliffm » Sun Sep 06, 2009 7:28 pm
by cliffm » Sun Sep 06, 2009 7:28 pm
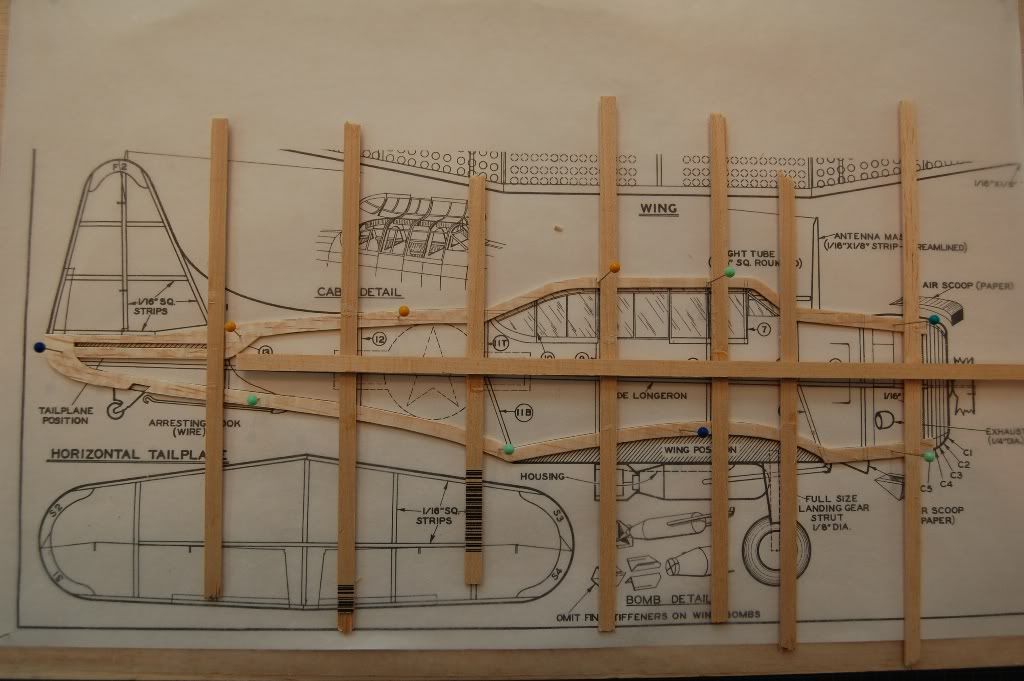
I found a couple of small paint bottles worked great for keeping the formers straight to the keels while drying on the plans. To get the other former straight I have tack glued stringers across the total width of the joined formers to insure a good flat across fit. You might also fab some clips of the same thickness as the formers using scrap to affect something on the idea of a clothepin. One of my most valuable finds was a bag of hairclips and pins found at a Salvation Army thrift shop. There are some made of aluminum that can be formed to meet "almost" every need. But,enginuity and some creative thinking are some of the most enjoyable moments in the modeler's hobby,and most rewarding are the problems you have solved on your own. Just kick back and take a look, you'll figure out something. Enjoy
- cliffm
- Posts: 370
- Joined: Fri Feb 27, 2009 11:08 am
- Location: fairdale N D
fus formers
![]() by dano290 » Sun Sep 06, 2009 8:22 pm
by dano290 » Sun Sep 06, 2009 8:22 pm
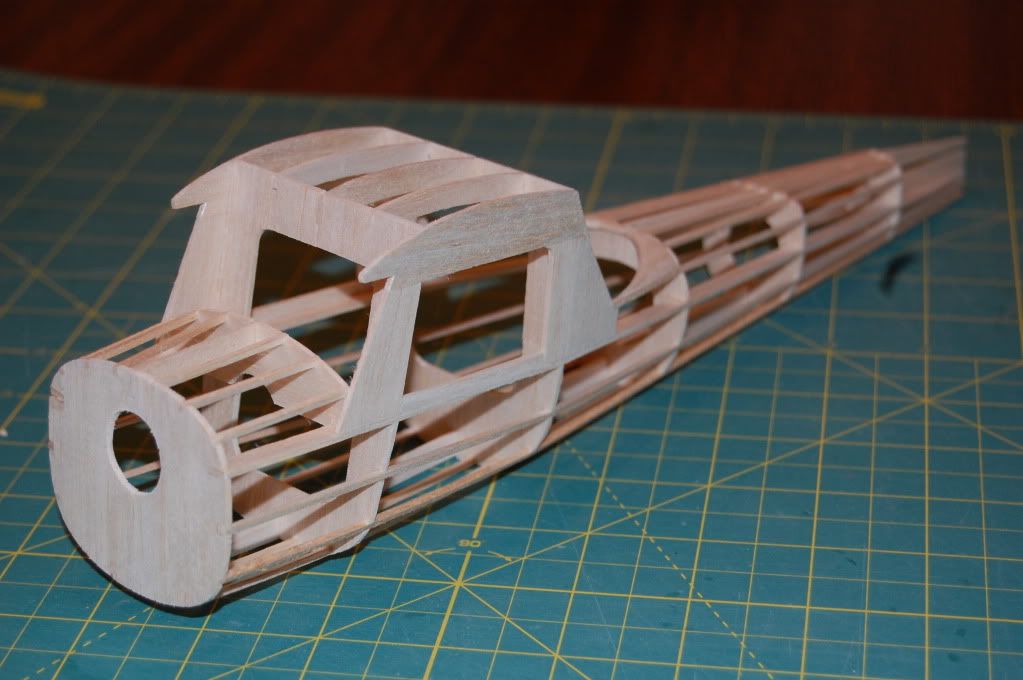
How right you are about figuring out problems.It does make it fun. The C-150 Im building is going to be a replica of the one I soloed 41 years ago just staic display. I plan to cover it with 1/32 balsa carve the wing tips plus make the stab and rudder with small ribs instead of just flat. Then I have to work out the gear problems but it sure makes you think. I saw somewhere on here where they covered it with balsa also but I cant seem to find it. Let me know if you can help out on the subject. Thanks
- dano290
- Posts: 3
- Joined: Sat Aug 29, 2009 4:38 pm
![]() by cliffm » Sun Sep 06, 2009 8:51 pm
by cliffm » Sun Sep 06, 2009 8:51 pm
I haven't looked into all of the old threads on this form but some exploring here might help along with www.virtualaerodrome.com has a lot of helpful material as well. goodluck
- cliffm
- Posts: 370
- Joined: Fri Feb 27, 2009 11:08 am
- Location: fairdale N D
Re: Warped Fuselages
![]() by scalemodeller » Tue Sep 08, 2009 12:07 am
by scalemodeller » Tue Sep 08, 2009 12:07 am
BBreyer wrote:The last two fuselages I built (Sopwith Camel and Nakajima Rufe) warped slightly by the time I finished adding the stringers. Is there some way to avoid this in the future? I used a Guillow's building board and a steel square to make sure the formers were initially aligned. Everything was attached with Testor's wood cement. One thing I've done in the past and seems to work OK. Put down some wax paper on top the drawings before pinning down the to protect the drawings. Put down the keels and longerons and then put all the stringers and parts that you can while the part is pinned in place. After the glue is dry, take a wet cloth and soak the stringers in place and let them dry. This will take some of the tension out of any bent wood. Hope this helps, Bill
-Ben
Been building stick and tissue since buying a Guillow's Nieuport 11 back in 1966. Like to fly em control line with Cox .049s. Really enjoy watching these models on youtube. My favorite is the P-47. Bill
- scalemodeller
- Posts: 2
- Joined: Tue Aug 18, 2009 11:07 am
- Location: Tucson Az.
8 posts
• Page 1 of 1
Return to General Building Questions
Who is online
Users browsing this forum: No registered users and 52 guests