Rubber Powered SE-5 Build

Ask other modelers for a little help / knowledge ?

Postby scigs30 » Sun May 31, 2009 11:13 pm

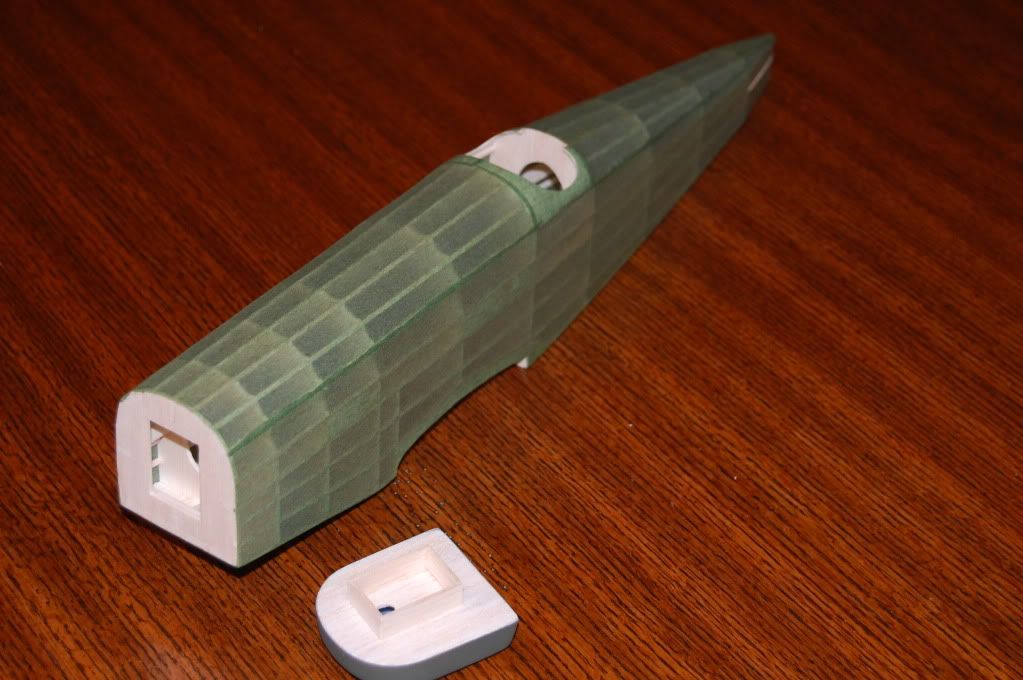
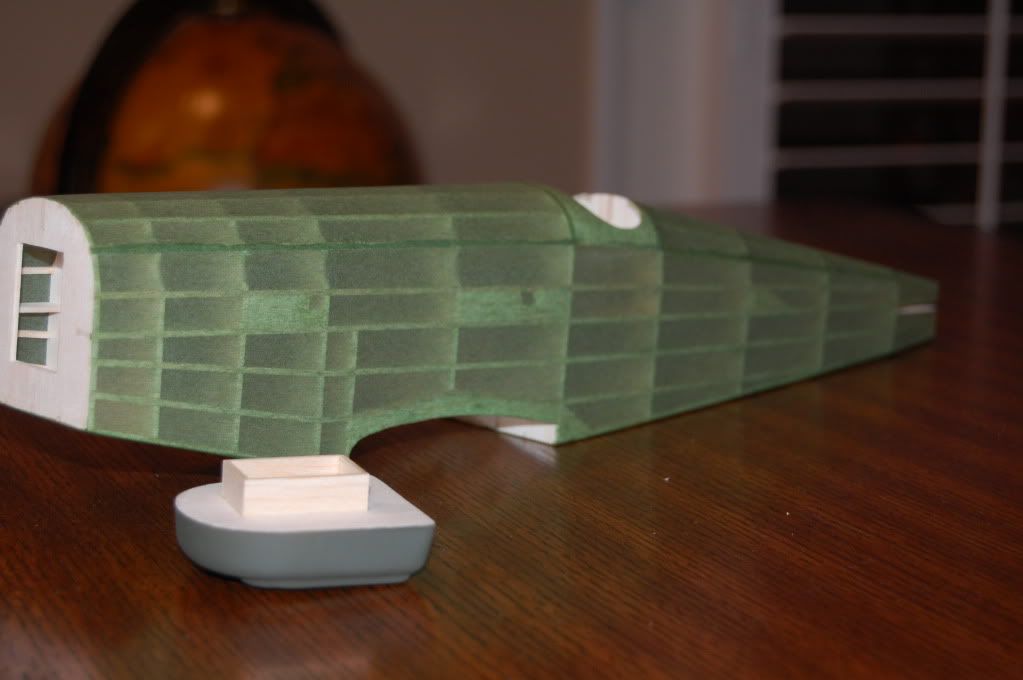
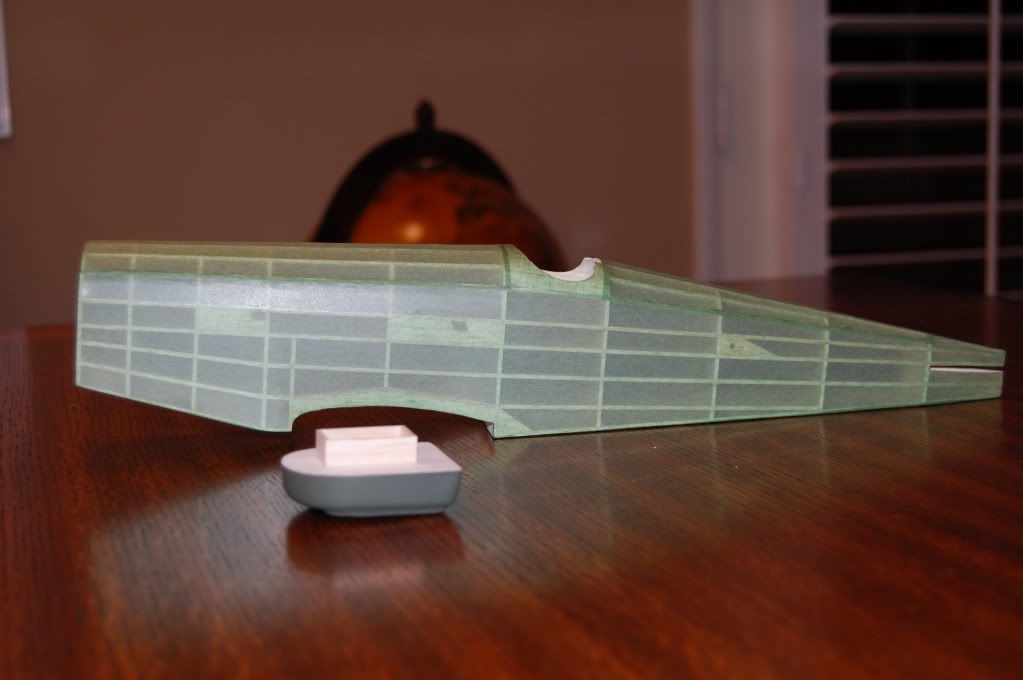
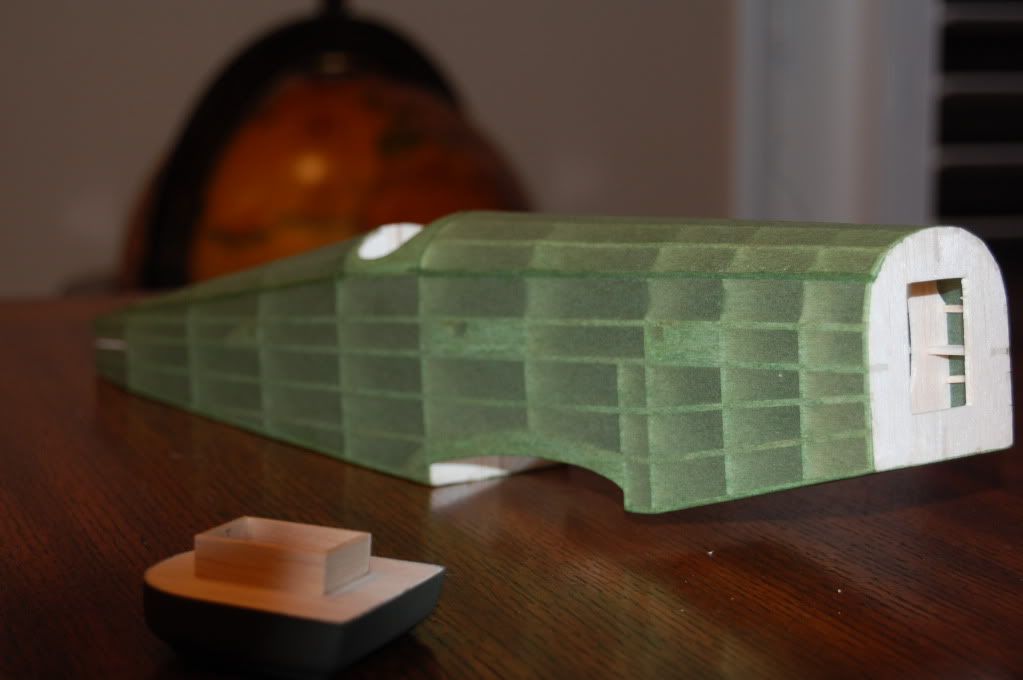
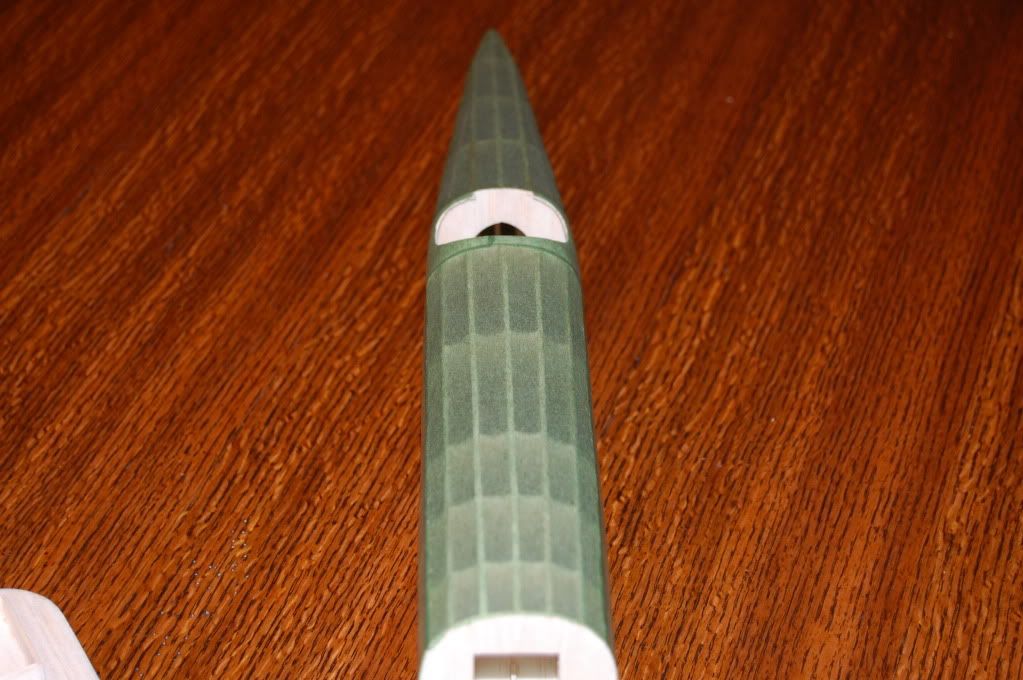
Well I removed all the covering, sanded and covered today using 50/50 Elmers/Water technique. Covering came out with no wrinkles. I still have to apply dope after I finish the head rest portion. I figured I would give the glue stick method a try, but it just did now work out for me. Oh well, why mess with something that works.
Image
Image
Image
Image
Image
scigs30
 
Posts: 844
Joined: Mon Nov 06, 2006 11:31 am

Postby flash52 » Mon Jun 01, 2009 2:11 pm

Nice save. Do you use japanese or domestic tissue? What would you suggest for removing tissue from framework ? I have and old embryo suffering from a bad case of hanger rash. I've repaired the wood work but the tissue residue is being a real pain.
flash52
 
Posts: 67
Joined: Tue Mar 10, 2009 5:31 pm
Location: Wichita,KS

Postby scigs30 » Mon Jun 01, 2009 5:46 pm

This is Esaki tissue, but my last few models have been done with domestic. Domestic is ok but Esaki is much easier to work with. I just sand the tissue off, no real secrets. Just have to be careful when sanding not to sand too much.
scigs30
 
Posts: 844
Joined: Mon Nov 06, 2006 11:31 am

Postby thymekiller » Mon Jun 01, 2009 10:11 pm

Your work is amazing. Period. Your work is the main reason I keep coming back.
We try new things to eighter learn a new trick or confirm an old one.

Stay the course. Cant imagine any way to improve.

thymekiller
"...the road goes on forever, and the party never ends..."
thymekiller
 
Posts: 331
Joined: Fri Sep 12, 2008 7:50 pm
Location: Springfield, MO.

Postby scigs30 » Fri Jun 12, 2009 1:42 pm

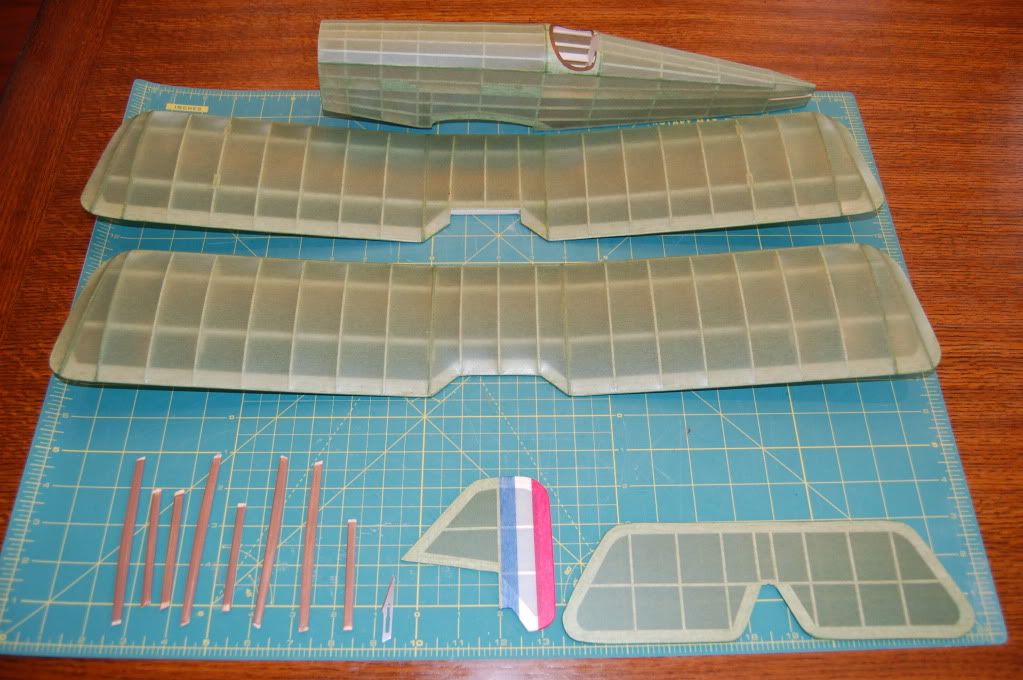
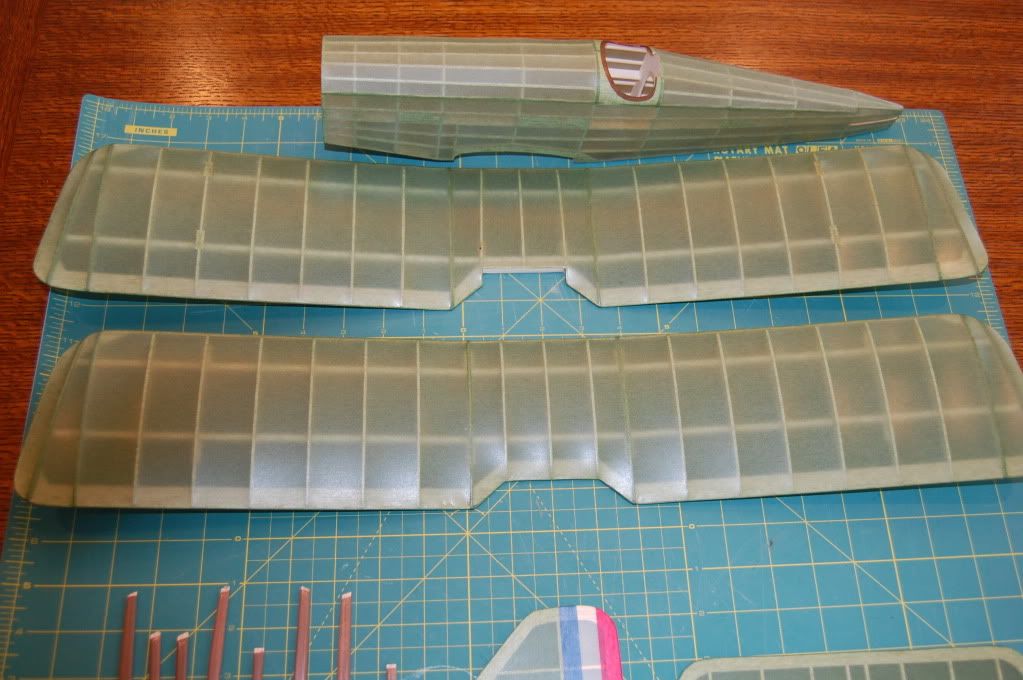
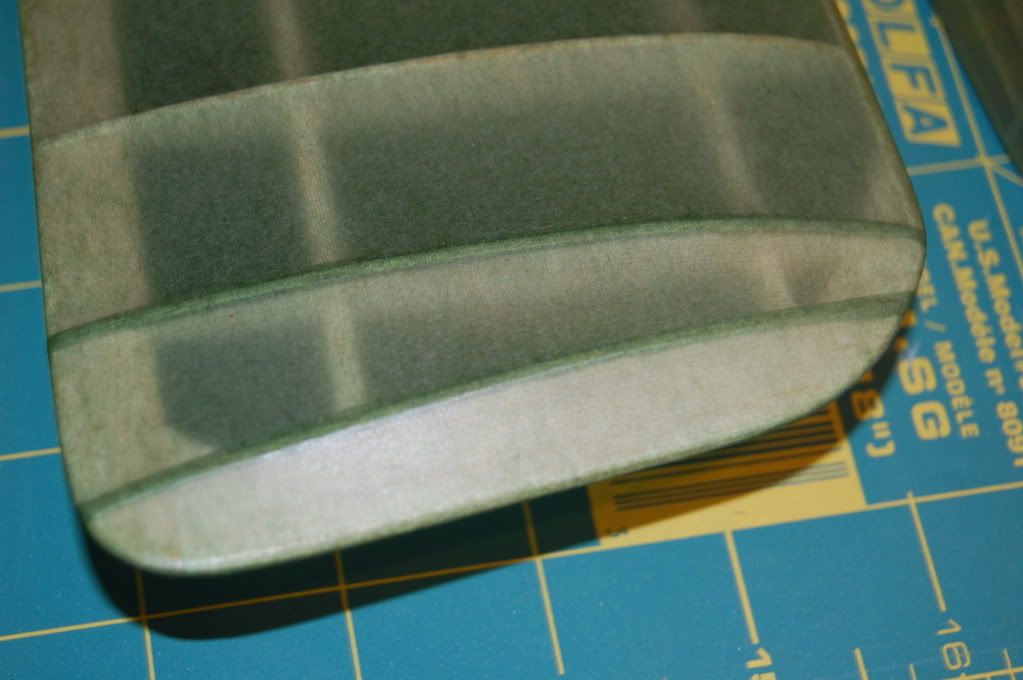
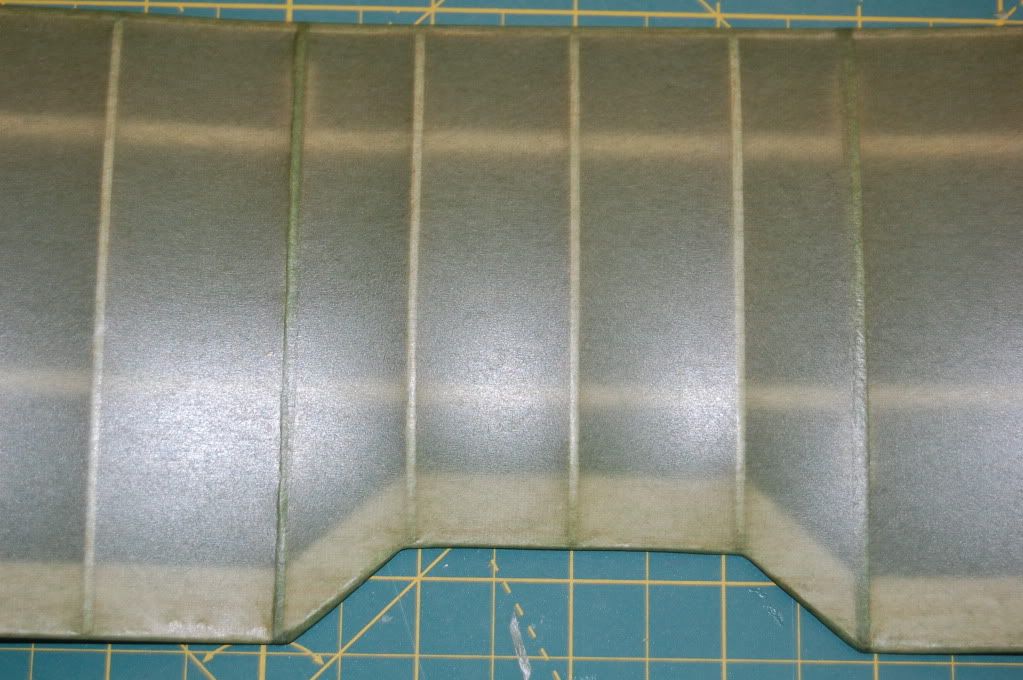
I have all the surfaces covered and 2 coats of clear dope added to the tissue. I am still on schedule and should have this done by the end of the month. I kind of lost my momentum after the glue stick fiasco, I will never try that again. Same thing happened when I tried the Krylon Clear instead of dope. I was not happy with its sealing qualities when compared to dope. Any way I stripped all the covering off, sanded and went back to my Elmer's and water application to attach the tissue. I will add the head rest, decals and put this bird together. There won't be much detail added since I want this bird to fly. Also I plan on building most of the Guillows, Sterling and Comet kits, so I don't have much time to spend on detailing. Or at least that is my excuse for being lazy. :lol:
I used Esaki Tissue so I pre-shrunk the tissue first and applied it tight so I would not develop wrinkles.
Image
Image
Image
The tips and center portion were a little of a challenge to make smooth.
Image
Image
Image
scigs30
 
Posts: 844
Joined: Mon Nov 06, 2006 11:31 am

Postby scigs30 » Fri Jun 12, 2009 1:49 pm

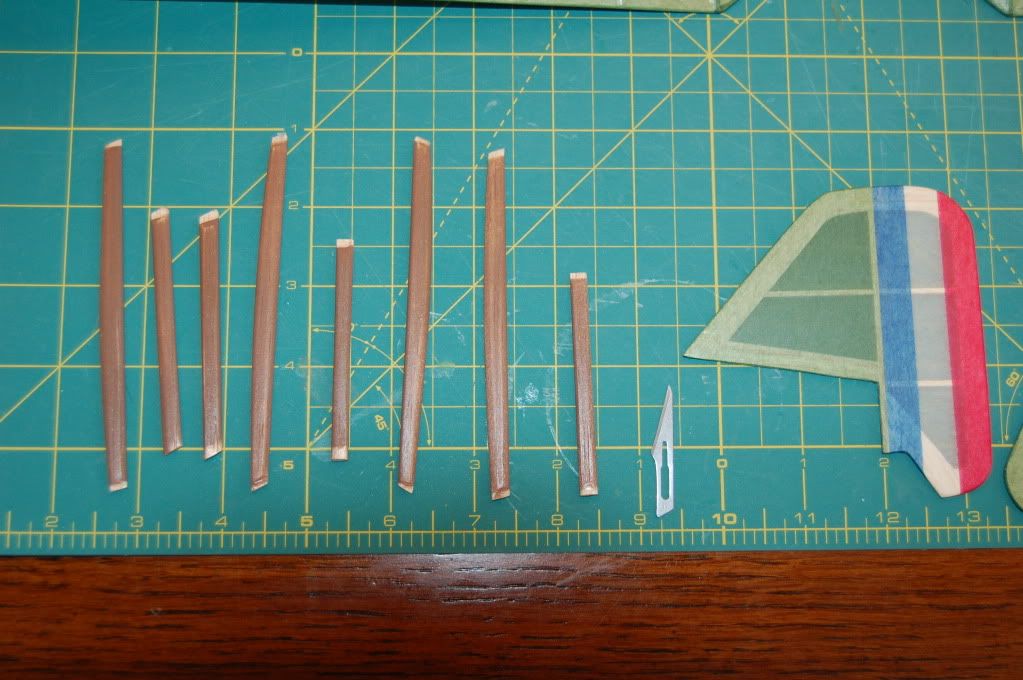
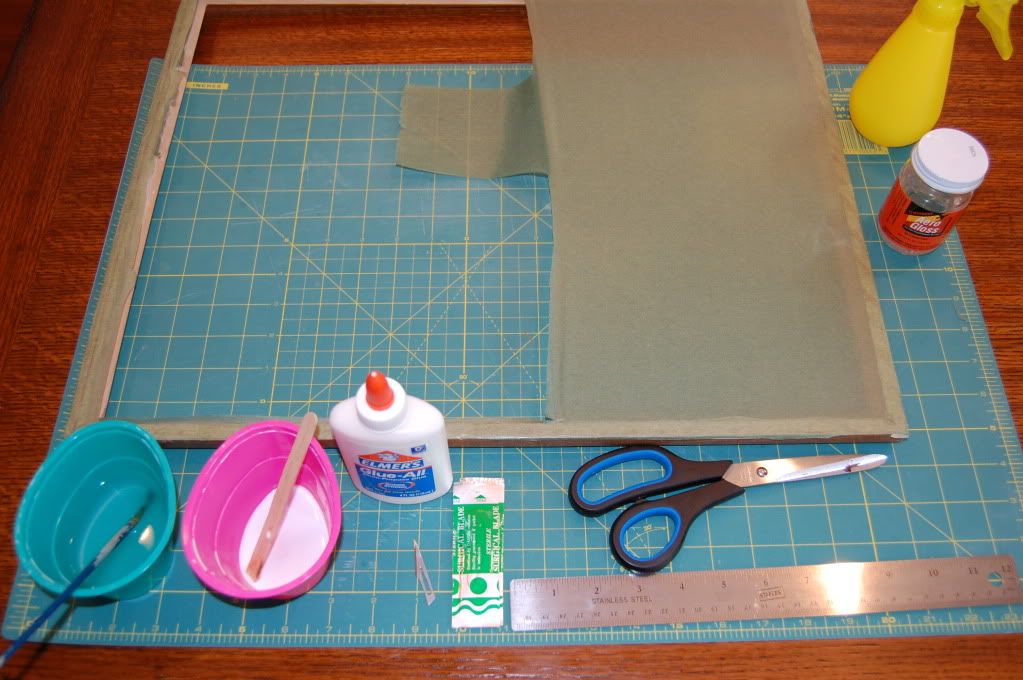
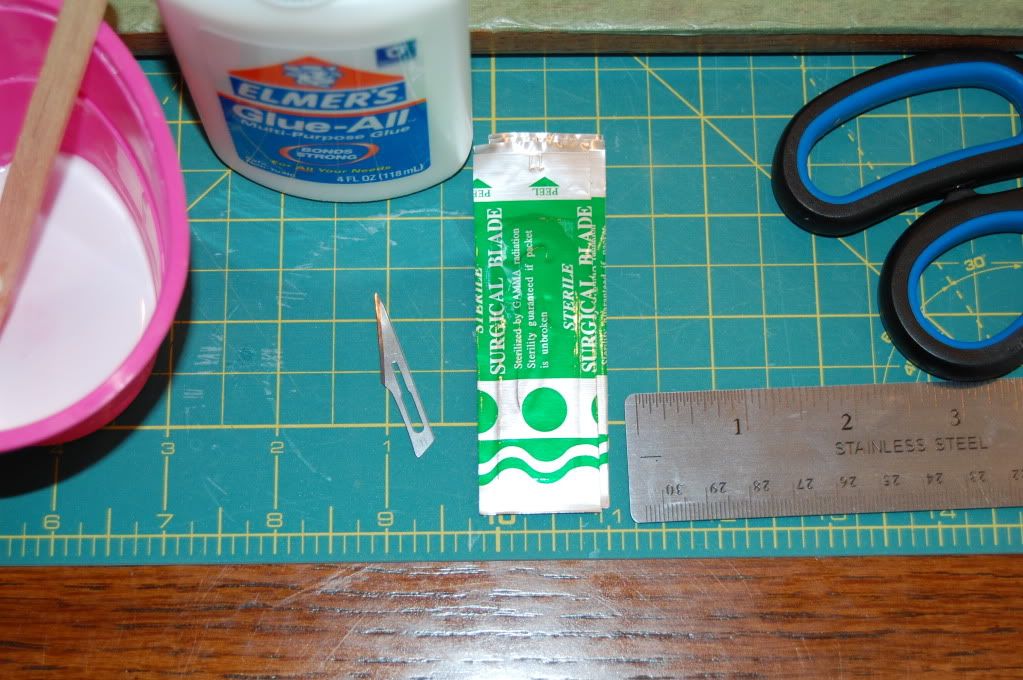
Here are some basic tools I used for covering.
The surgical blades are awesome, I buy them via EBay at 1000 blades in a box. I will go through several of these on just one covering job.
Of course Elmer's Glue All, I use this for everything.
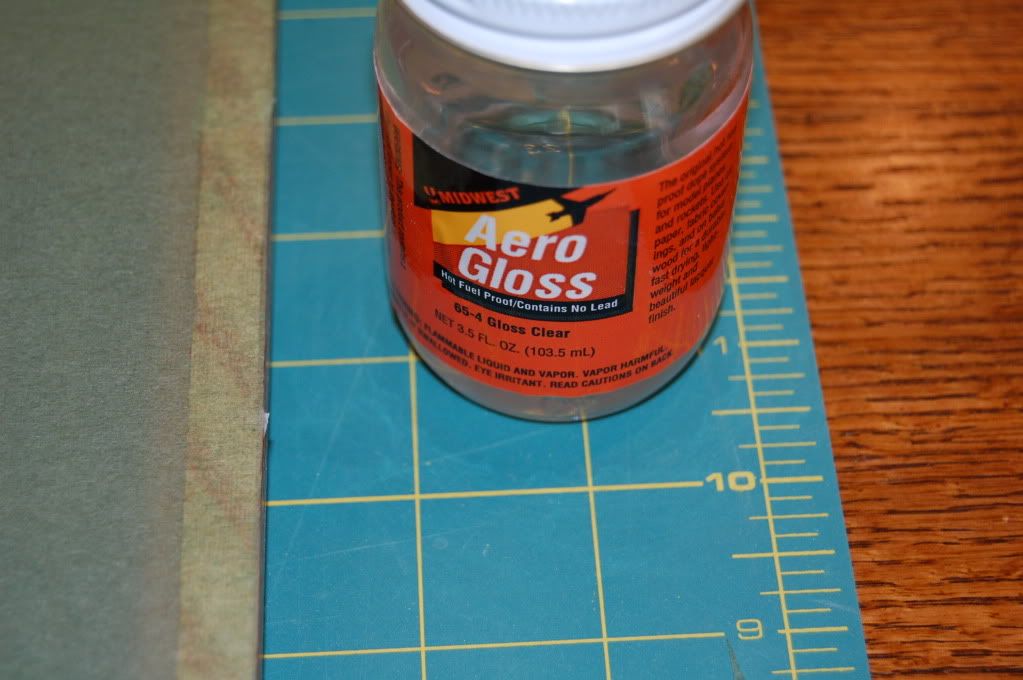
Now I know this is not the best Dope, but I love Aero Gloss products. I have been using this since I was a kid, so the smell brings back memories. I have never had any issues using this stuff to seal my tissue. This is the picture frame that I use to pre-shrink my tissue. I only do this with Esaki tissue.
Image
Image
Image
scigs30
 
Posts: 844
Joined: Mon Nov 06, 2006 11:31 am

Postby Scirocco14FP » Fri Jun 12, 2009 2:32 pm

awesome, just awesome! Inspirational!

Mark :->
Mark C.
Asheville, NC
Scirocco14FP
 
Posts: 10
Joined: Tue Feb 17, 2009 9:48 pm
Location: Asheville, NC

Postby scigs30 » Fri Jun 12, 2009 8:02 pm

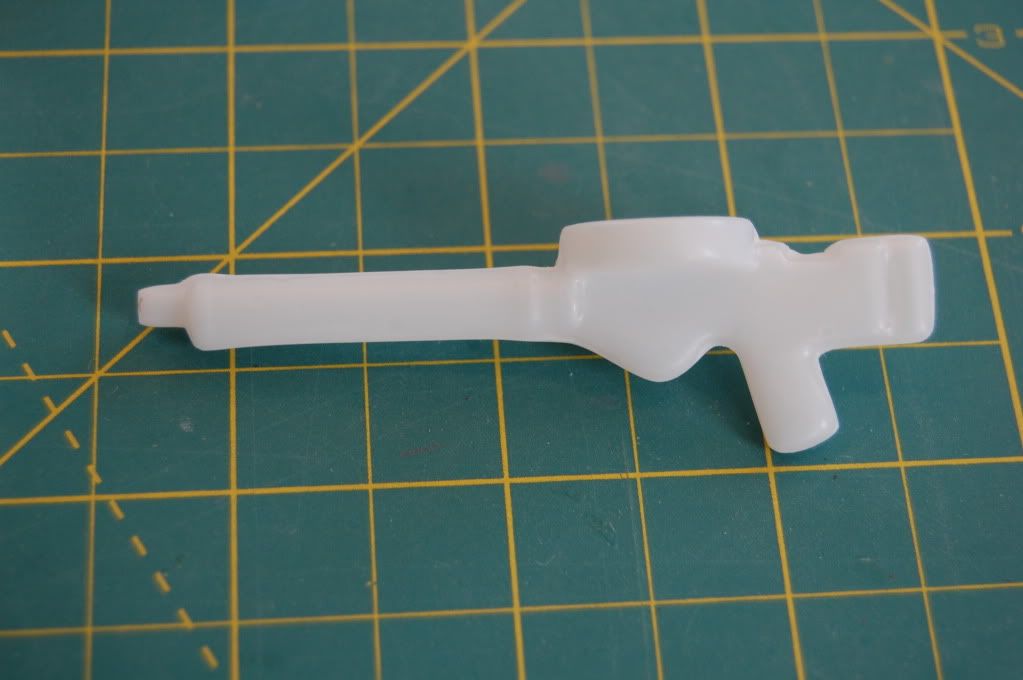
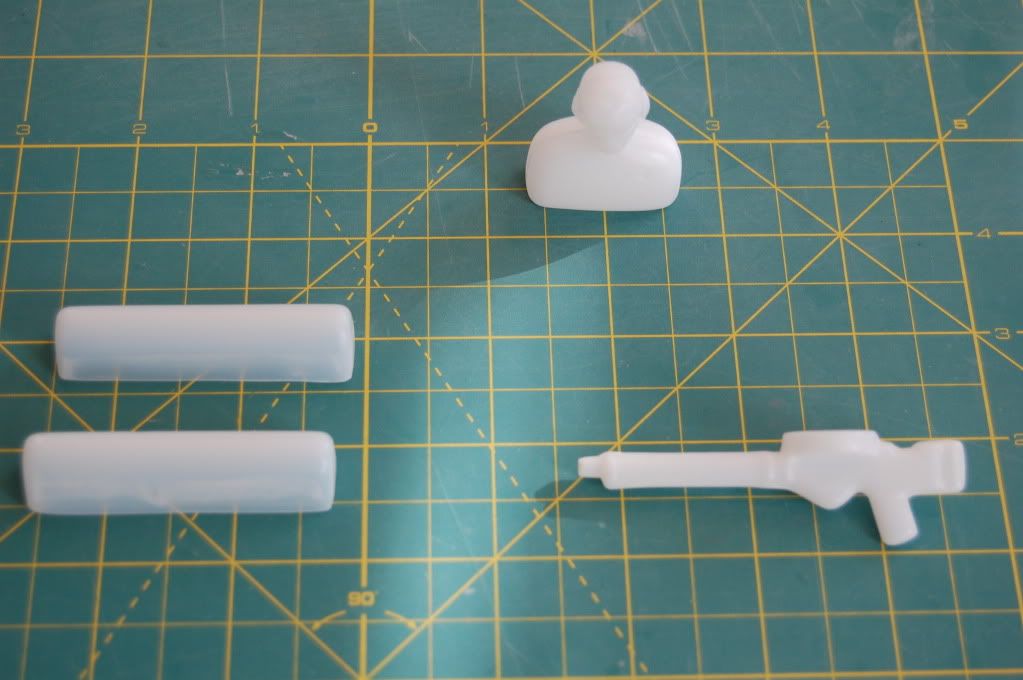
I tried to apply the decals, but they did not go on smooth so I took them off. I will make my own with my Alps printer. I did manage to cut out the plastic parts, now I just have to sand them and paint them. I really like the plastic parts in Guillows kits.
Image
Image
scigs30
 
Posts: 844
Joined: Mon Nov 06, 2006 11:31 am

Postby bsadonkill » Sat Jun 13, 2009 9:44 am

When you cover using Elmers glue all, do you paint the surfaces to seal the wood first? Or do you just flat glue the tissue to the border of the surface you are covering?
bsadonkill
 
Posts: 24
Joined: Sat Feb 28, 2009 11:22 am
Location: INDIANA

Postby John G. Jedinak » Sat Jun 13, 2009 10:15 am

Always...basically no matter what you are using...you need to paint/seal the bare balsa as the first step..............Luck, JGJ
John G. Jedinak
 
Posts: 160
Joined: Mon Dec 19, 2005 6:50 pm
Location: Fort Wayne, Indiana

Postby scigs30 » Sat Jun 13, 2009 10:52 am

I do not seal the balsa first. I dilute Elmers with water 50/50 then brush it on the surfaces. I then immediately attach the tissue. On fragile surfaces such as the rubber and stab, I apply glue to all the sticks then attach the tissue, this prevents warps. I saw this clip on you tube some time ago and it is the exact technique I use to apply tissue, been doing it this way for over 25 years.

http://www.youtube.com/watch?v=erxs74Vi9wI
scigs30
 
Posts: 844
Joined: Mon Nov 06, 2006 11:31 am

Postby scigs30 » Fri Jun 19, 2009 12:03 am

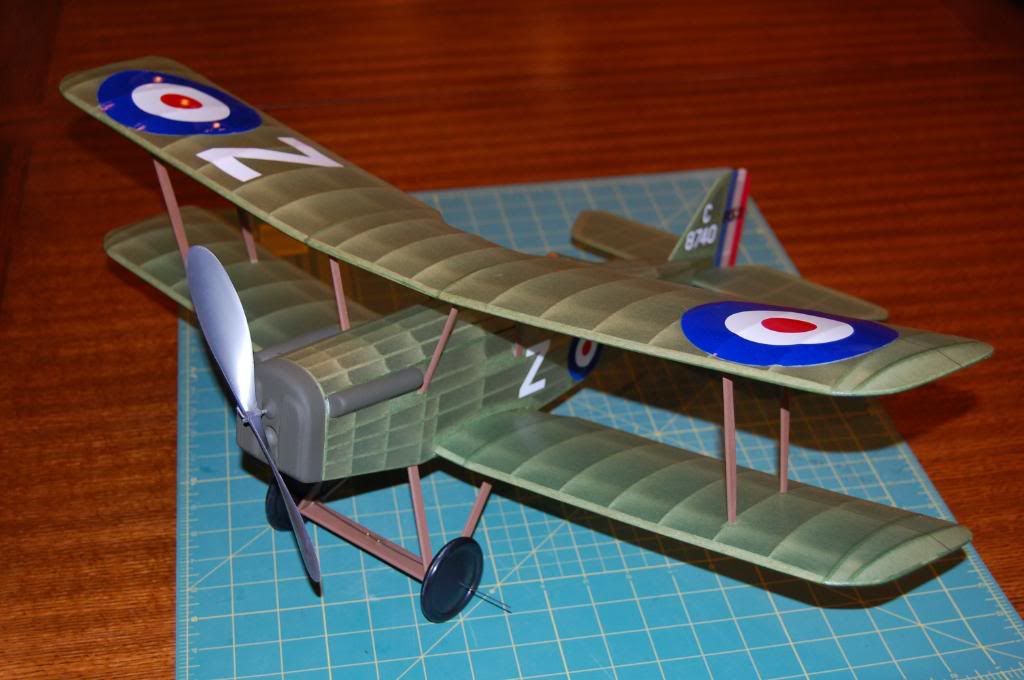
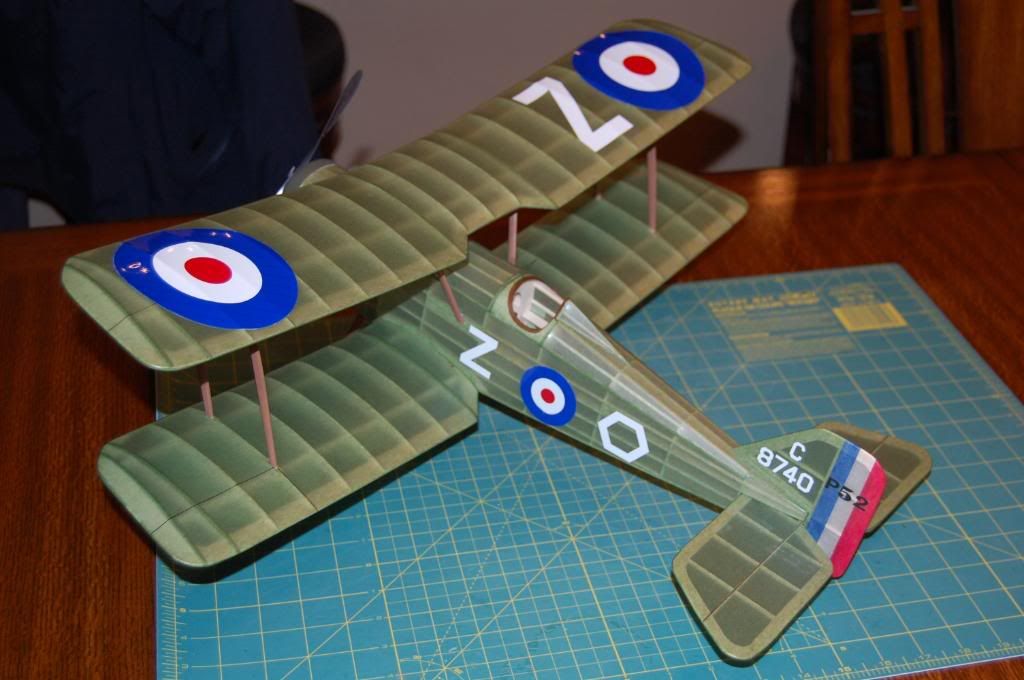
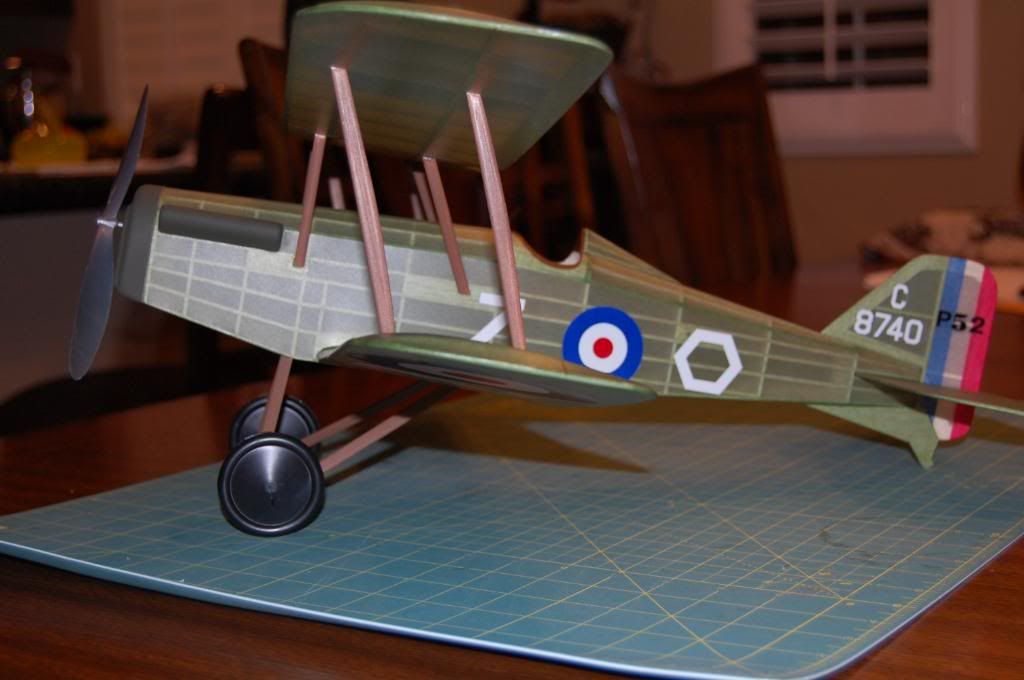
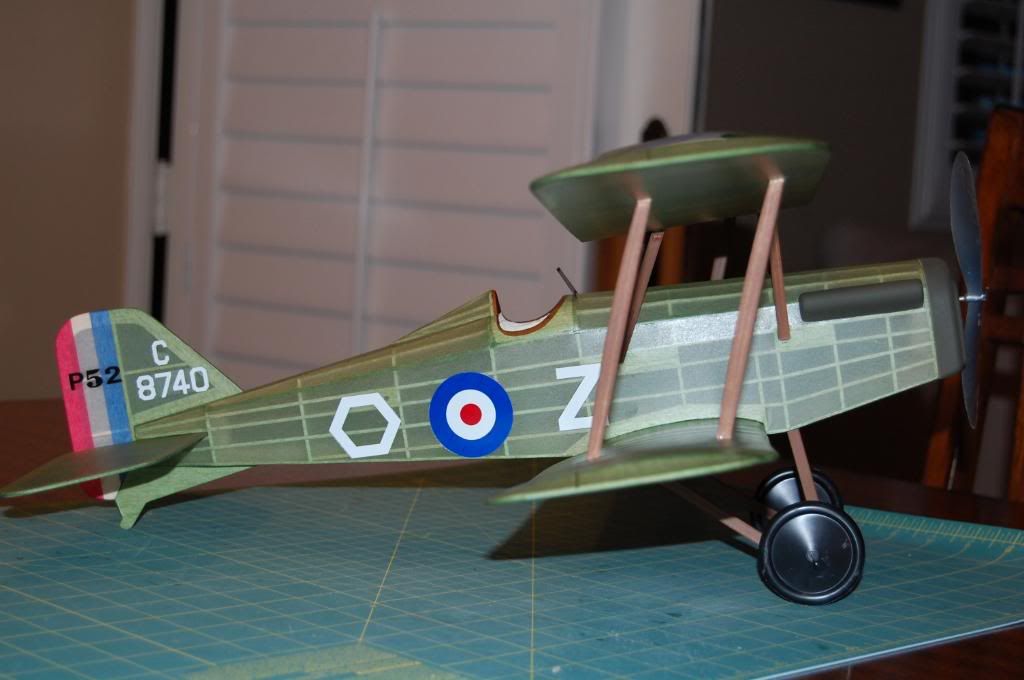
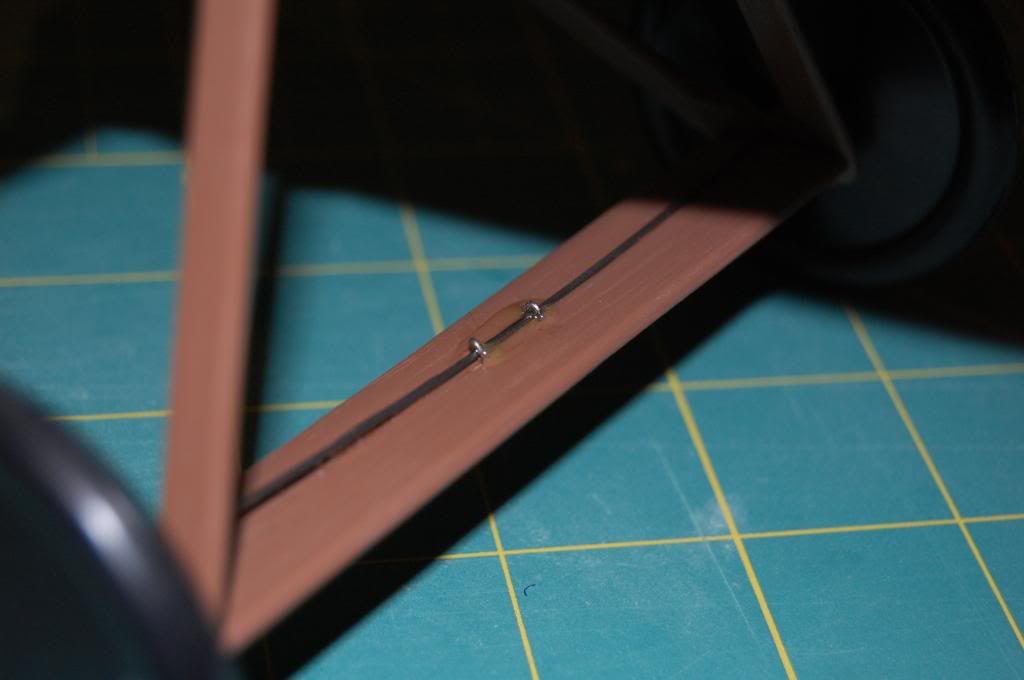
I am almost done with this fun build. I still have to install the rest of the engine, pilot and gun. So far she does not feel too heavy but is weighing in at 54 grams. I am confident she will be a decent flier. The Guillows decals did not go on very smooth so I made my own. I put everything together with Elmers Glue All, but used CA on the plastic parts and Epoxy on the landing gear. As soon as I am done here I will start on my Cessna 150, all the parts have been cut out already.
Image
Image
Image
Image
Image
scigs30
 
Posts: 844
Joined: Mon Nov 06, 2006 11:31 am

Postby thymekiller » Fri Jun 19, 2009 6:35 am

Fanstatic. !!!
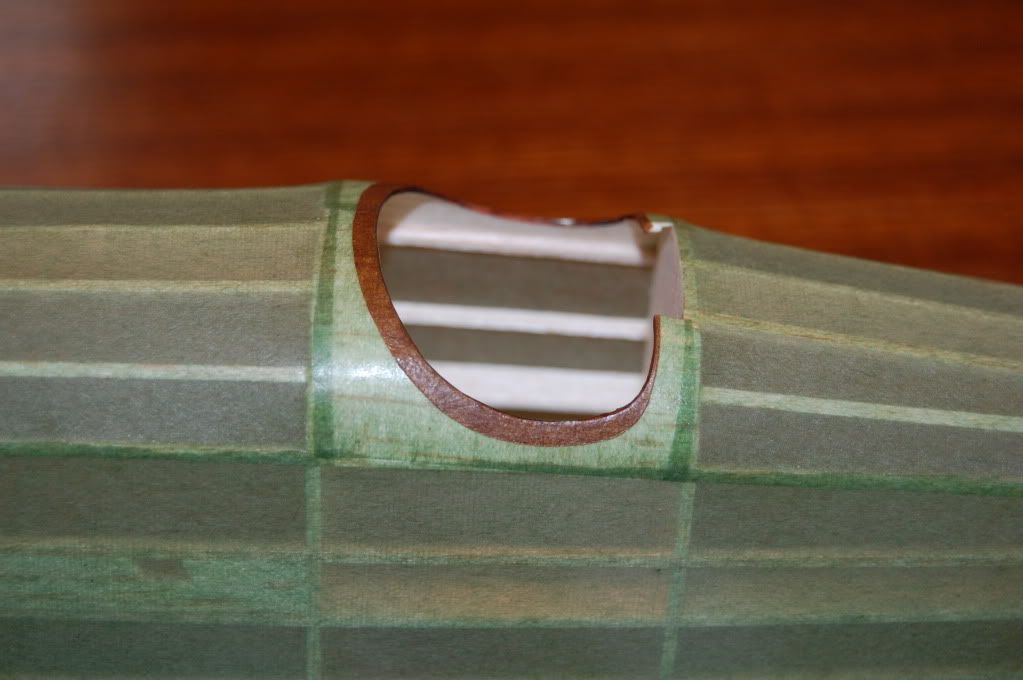
Need to know, please. How did you do the combing around the cockpit ? Also, I see that you attached the landing gear to the center of the spreader bar. Is that to allow some "give" at the wheels ?
Will you be flying with the gun and pilot, or are they for display ?
Thanks for sharing your work. It is first rate.

thymekiller
"...the road goes on forever, and the party never ends..."
thymekiller
 
Posts: 331
Joined: Fri Sep 12, 2008 7:50 pm
Location: Springfield, MO.

Postby scigs30 » Fri Jun 19, 2009 8:09 am

I enlarged the cowling "cockpit" opening from the plans on a copier machine and printed it out. Then I placed brown tissue over the print out and cut out the oval. Then doped it into place and cut out the center. Yes the fastening of the landing gear wire will provide enough give on landings so I won't rip of the struts. The entire landing gear is glued with Epoxy for strength. I am almost done with the pilot and machine gun. If they don't weigh too much I will fly the SE5 with them in place. I have to be careful with the weight since it is getting up there. I did add some nose clay and gave it a little test glide....just couldn't resist :wink: ......It has a nice slow glide so I think it should fly fine. I used 4-8 lb balsa on this build and it is still a little heavy. I couldn't imagine this kit flying using the kit wood. My next build is the Cessna 150 and I am using quality wood for that build. That is a great design by Guillows and flies pretty darn well if kept light.
scigs30
 
Posts: 844
Joined: Mon Nov 06, 2006 11:31 am

Postby cliffm » Fri Jun 19, 2009 8:28 am

Sorry , I'm sitting here chuckling about your misfortune with the gluestick as I can relate to your trying another method that "works so well" for other people. Recently, February, I regained my interest in stick models and got into the white glue methodology. My first 3 airplanes went quite well considering the experimenting with dry times and application procedures and than I got my #4 and the tissue was a differentn type than Guillows supplies. To my chagrin the stuff would not shrink up after painting no matter what I tried. Then!!! I read the directions. It is colored tissue and not meant for painting it seems. Luckily for me I had enough left over tissue from my preceeding 3 to cover this one. After numerous broken stringers and survival of attempted incineration the model lives on my ceiling, a much needed lesson in patience and anger management. My wife was amazed at the completion of my first one. Patience has never been my long suit but this hobby is showing me what it looks like on me. Later
cliffm
 
Posts: 370
Joined: Fri Feb 27, 2009 11:08 am
Location: fairdale N D

PreviousNext

Return to General Building Questions

Who is online

Users browsing this forum: Bing [Bot], Scott and 57 guests