Rubber Powered SE-5 Build

Ask other modelers for a little help / knowledge ?

Rubber Powered SE-5 Build

Postby scigs30 » Sat Apr 25, 2009 9:26 pm

I have been real busy lately but I will slowly attack the Guillows SE-5. I am building per the plans except I will be using my own wood. The laser cut kit is great but the wood is still too heavy for a rubber powered bird. You can see the difference in weight between the two formers. The new laser cut kit is great for static builds, electric and RC builds. I own all the new laser cut kits and maybe someday I will build them as electric RC. For now I just want to build the rubber powered version of all the kits including some of the OOP Guillow kits.
Image
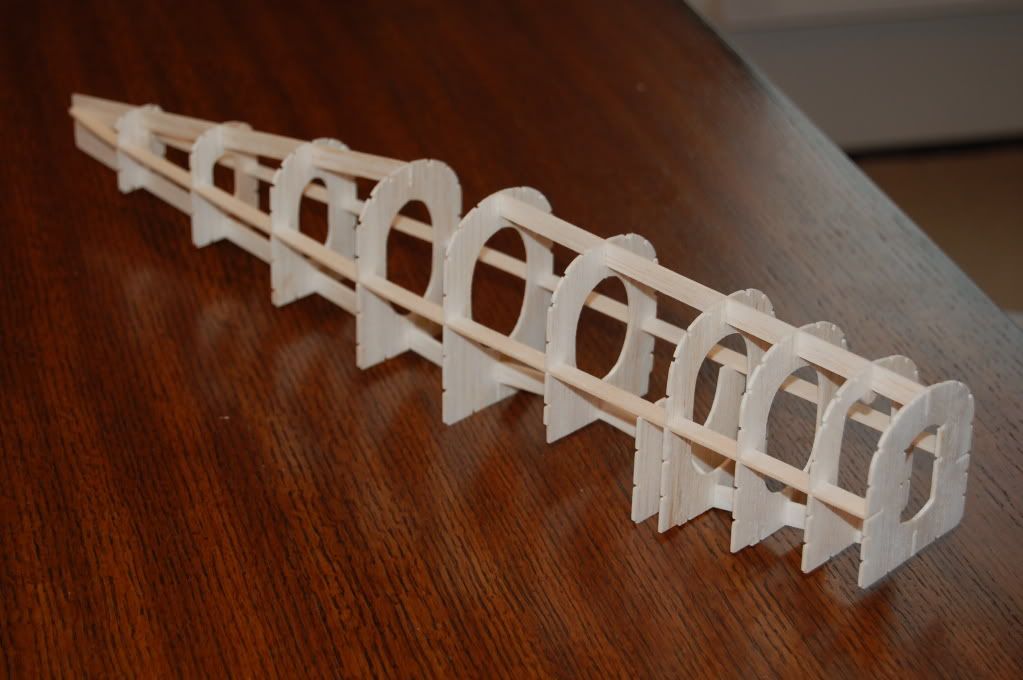
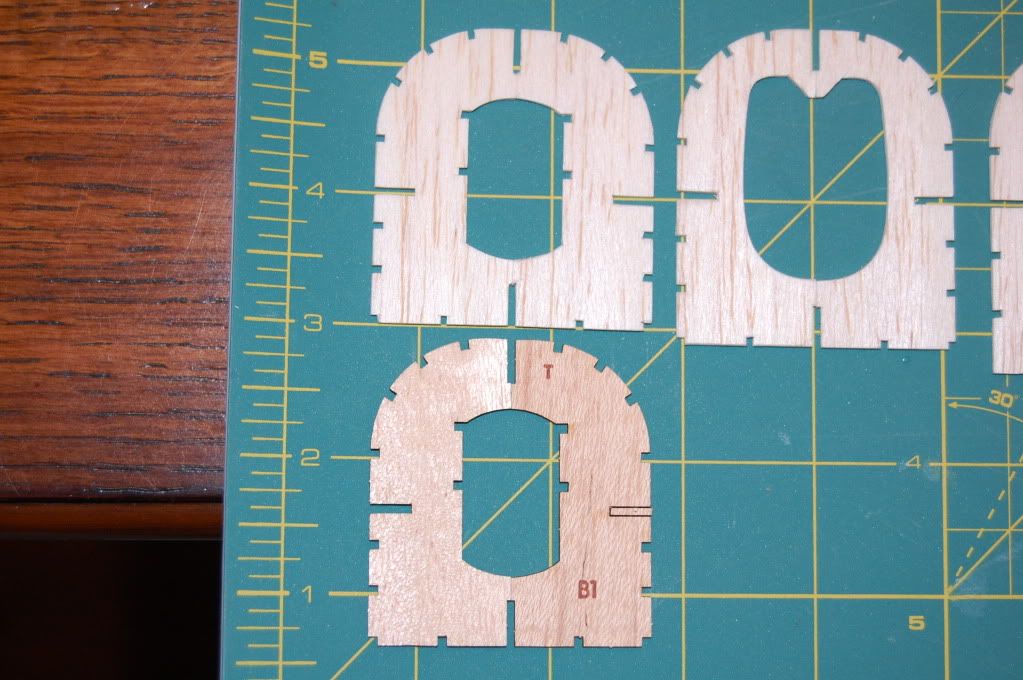
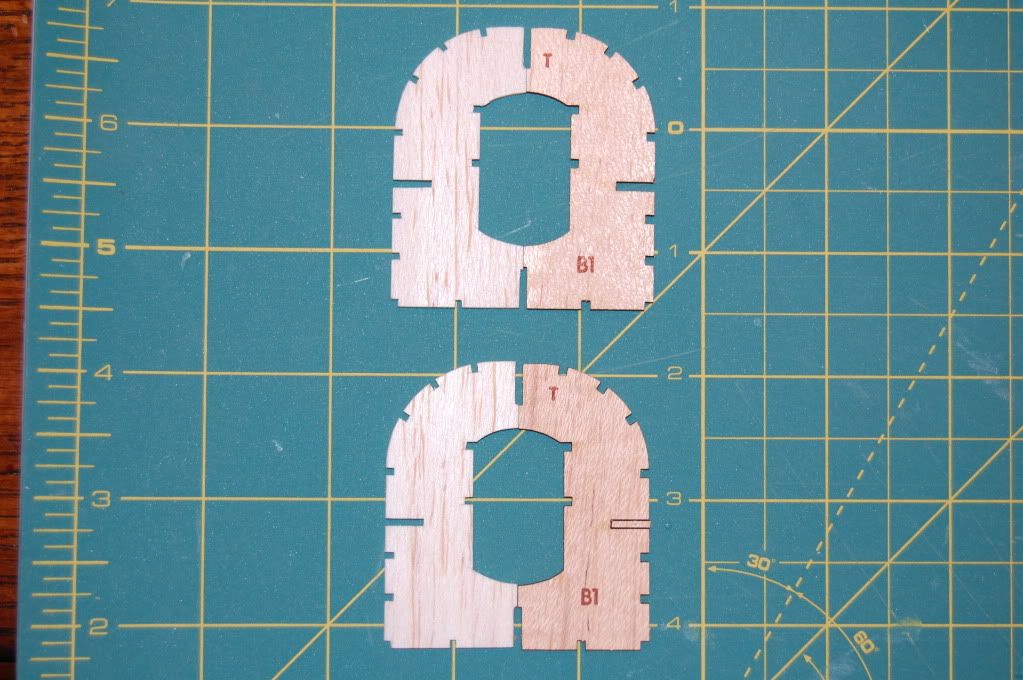
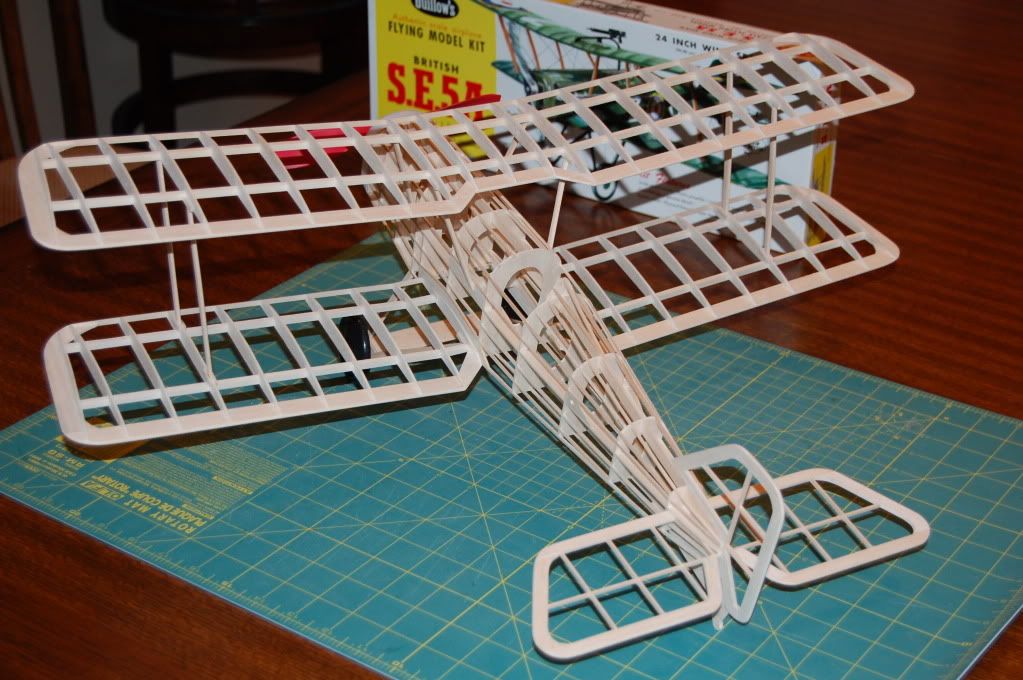
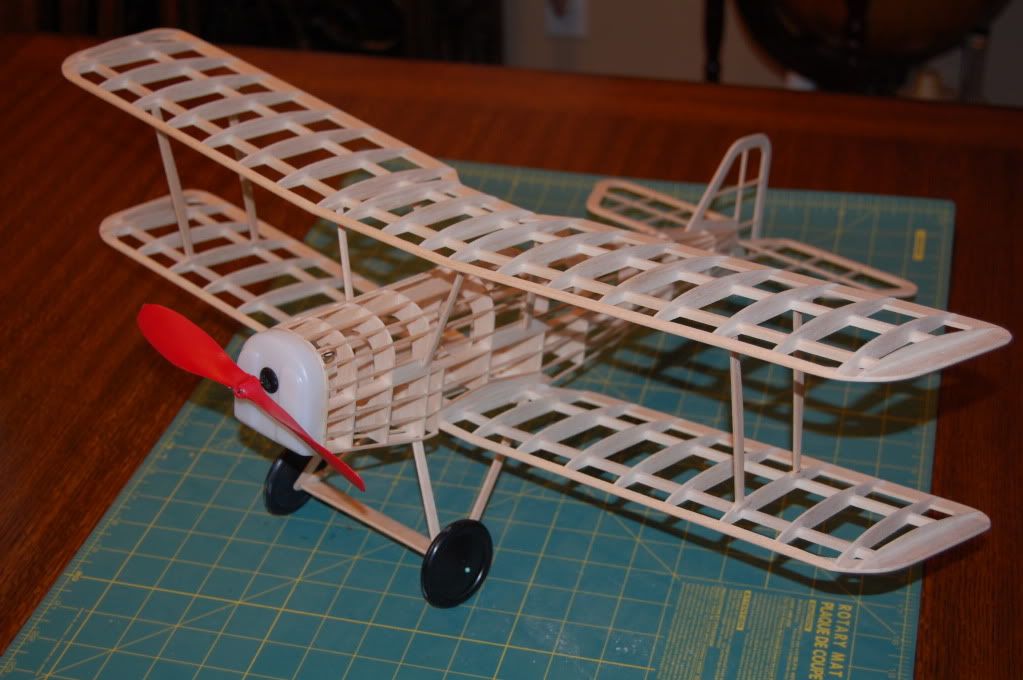
My cut is not too bad compared to the perfect Laser cut part
Image
Image
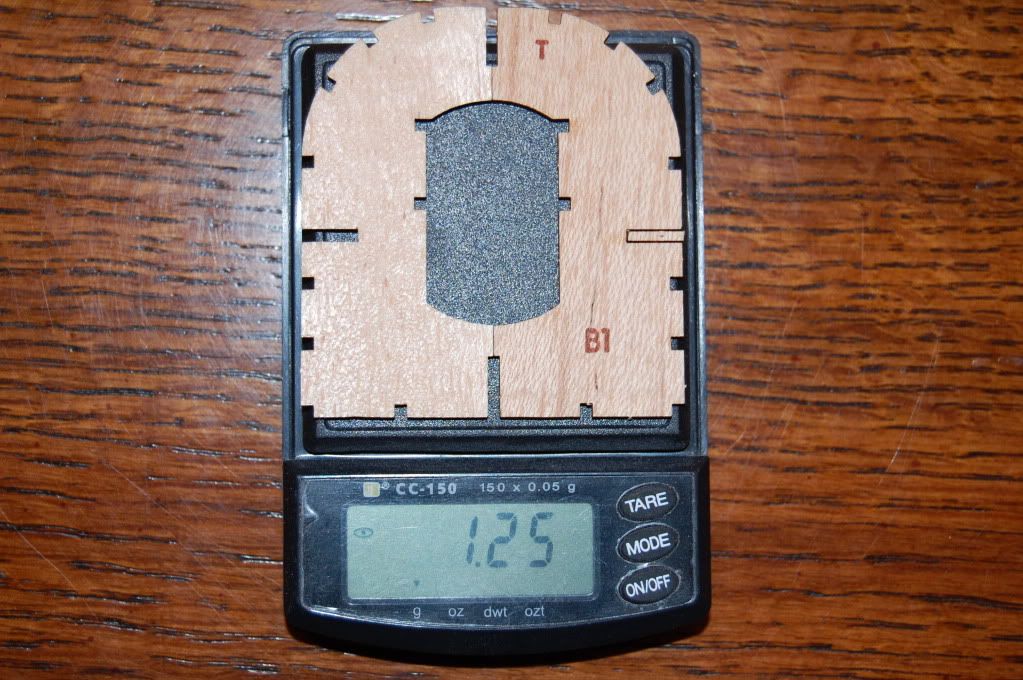
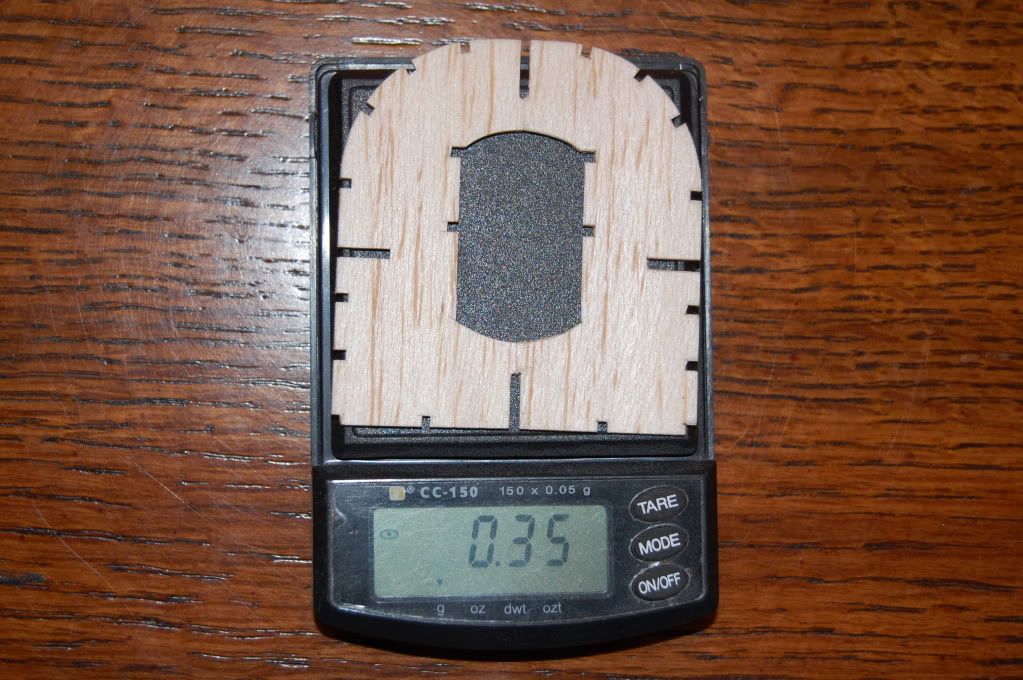
Here is the weight comparison between my parts and the laser cut part.
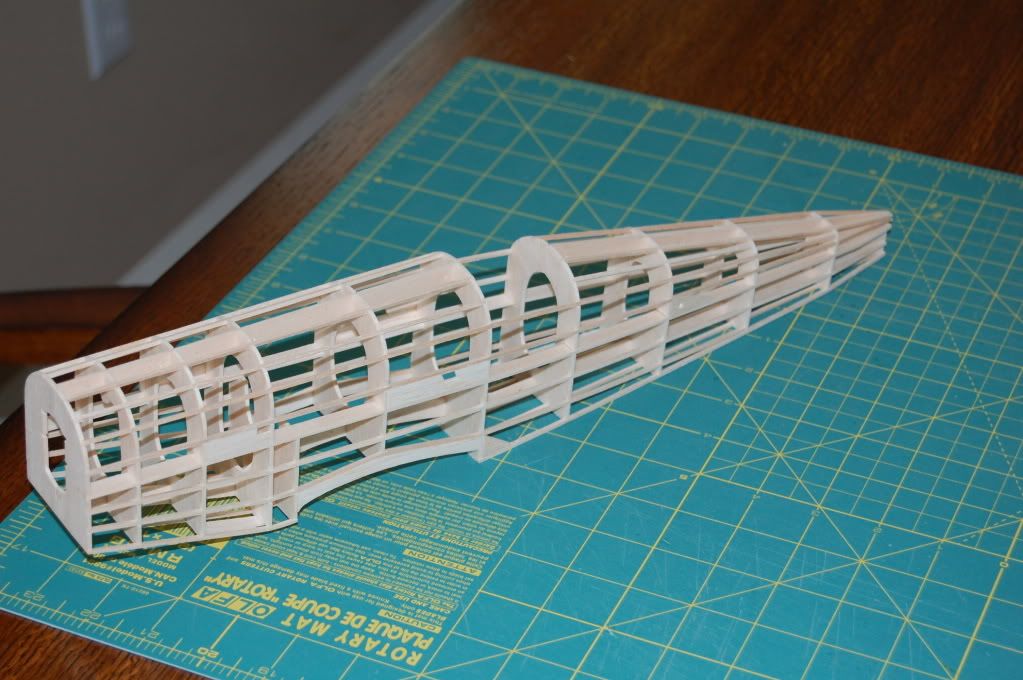
Image
Image
scigs30
 
Posts: 844
Joined: Mon Nov 06, 2006 11:31 am

Postby thymekiller » Sun Apr 26, 2009 7:26 am
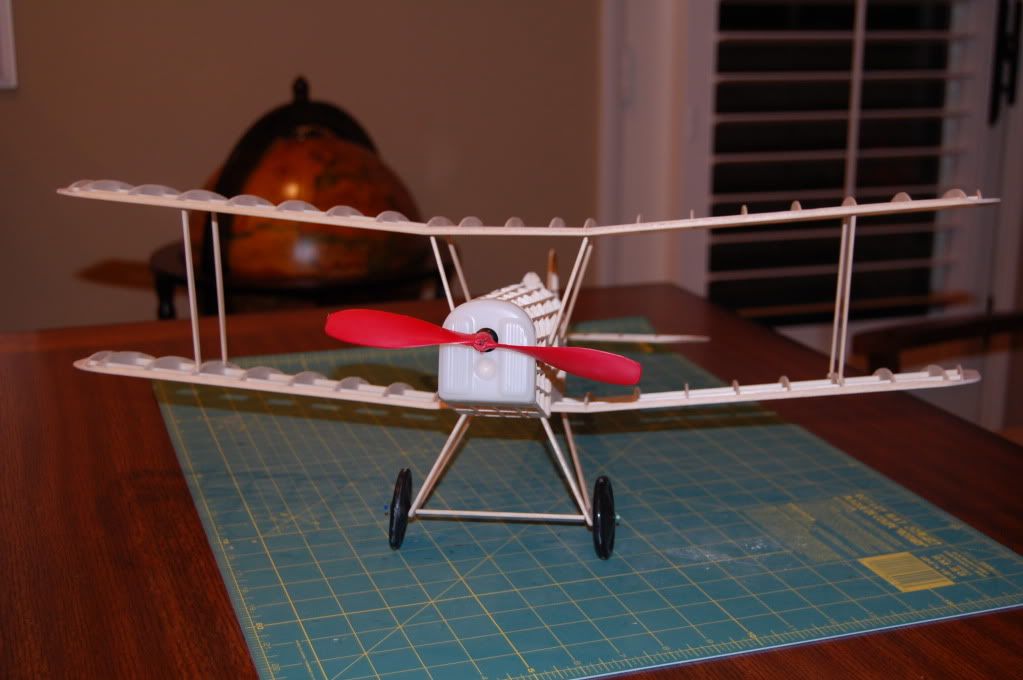
Excellant !! How do you get such great looking pieces? Knife? Scroll saw?
How thick is the wood?

The lazer cut parts look good. Shame about the weight. I think that with ww1 stuff, electric seems a good way to go. I'm going to try it some day.

Looking forward to watching this build.

thymekiller
"...the road goes on forever, and the party never ends..."
thymekiller
 
Posts: 331
Joined: Fri Sep 12, 2008 7:50 pm
Location: Springfield, MO.

Postby scigs30 » Sun Apr 26, 2009 12:15 pm
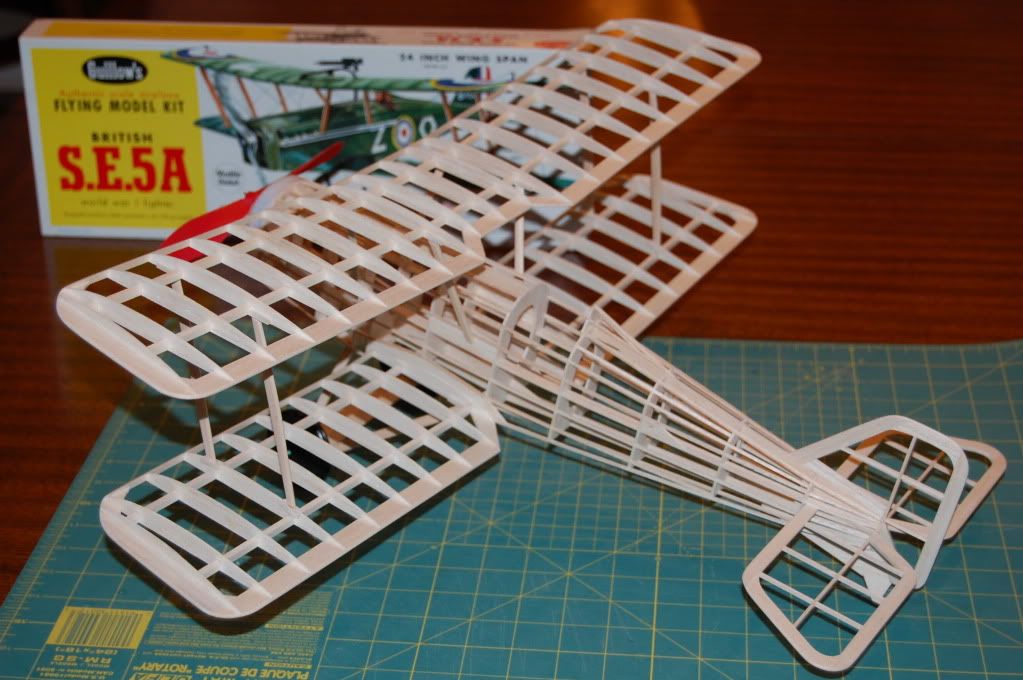
I am using 1/16th balsa wood and I use an X-Acto knife and razor blade. The secret is I buy razors and blades in bulk so I am constantly using a new blade every few parts. The other option you have with the new laser cut wood is to trim the wood and make it lighter that way. I am going to build the Fokker Triplane and will use the kit wood since it will not be rubber. I built the Fokker years ago and made it light but it still would not fly very well. I ended up putting a Cox engine on it and it flew great.
scigs30
 
Posts: 844
Joined: Mon Nov 06, 2006 11:31 am

Blades

Postby earlhouse » Mon Apr 27, 2009 9:39 am
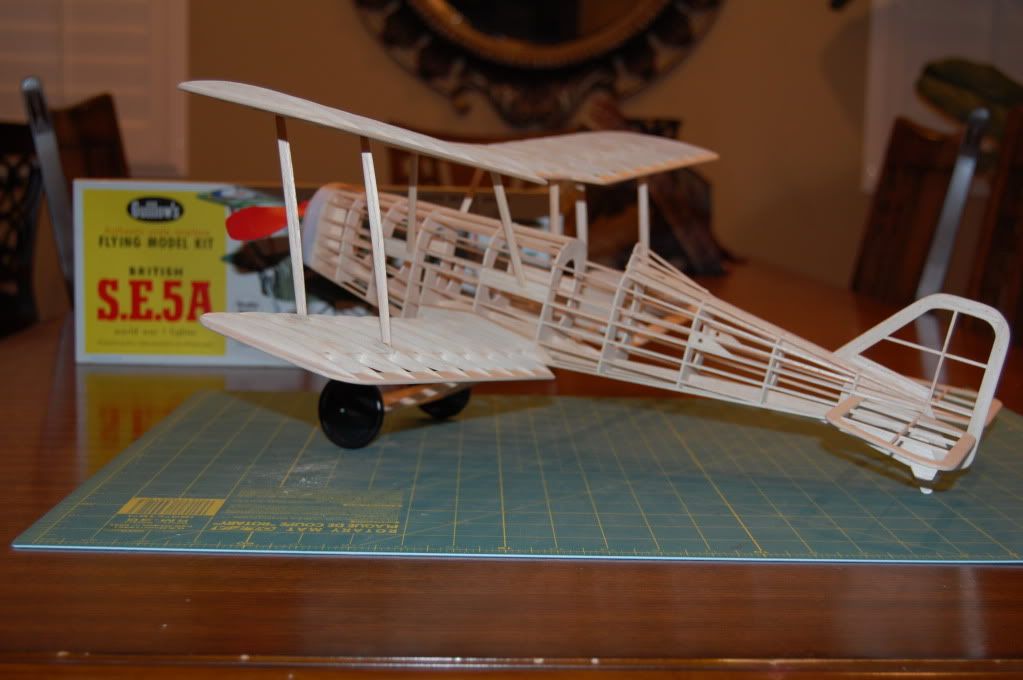
Anyone ever use a Hard Arkansas (white) Oilstone to give their blades a touch up? As a Gunsmith, I have always had to sharpen my tools. I use a Oilstone with a little mineral oil, followed by a strop (piece of leather) with a little jewelers rouge glued to a 2" x 8" piece of 3/4" wood. I can make an new x-acto blade cutter better by stropping it. I keep about 8 #1 and #2 handles on my bench with different blades and ever few cuts, just give them couple of strokes on the strop.
earlhouse
 
Posts: 11
Joined: Mon Jan 26, 2009 4:13 pm
Location: Sand Springs, Oklahoma

Postby scigs30 » Tue Apr 28, 2009 10:50 am

I have been real busy lately so all my hobbies have taken a back seat. I have the main formers on and notches sanded straight ready for stringers.
Image
Image
Image
Image
scigs30
 
Posts: 844
Joined: Mon Nov 06, 2006 11:31 am

Postby scigs30 » Fri May 08, 2009 3:50 pm

I have all the stringers in the fuselage and everything is nice and straight. Total weight so far is at 8 grams, should be able to get a decent flight if I keep the weight down. I have some more work to do on the fuselage then I will begin on the tail surfaces. I still have to build a functioning nose block, I also moved the motor mount up and added gussets to the fuselage.
Image
Image
Image
Image
Image
Image
scigs30
 
Posts: 844
Joined: Mon Nov 06, 2006 11:31 am

Postby Thewonderfrog » Sat May 09, 2009 12:54 am

Lookin good so far, amazing how much weight you are saving!
Thewonderfrog
 

Postby Mr Crayon » Sat May 09, 2009 8:51 am

Your photos are nearly as good as your builds; fantastic work! Just goes to show how much weight difference there is in the wood, no more kit wood for me.
Mr Crayon
 

Postby jamesgood72 » Sun May 17, 2009 9:22 pm

Wow, that's amazing, the weight difference. I'll be following this with interest, scigs!

-James.
jamesgood72
 
Posts: 51
Joined: Mon Apr 03, 2006 9:50 pm
Location: Miami, FL. USA.

Postby scigs30 » Thu May 21, 2009 9:43 pm

I have the majority of the structures done and now just have to finish the fuselage and some sanding. So far the weight is at 24 grams. That's not bad for a large biplane.
Image
Image
Image
Image
scigs30
 
Posts: 844
Joined: Mon Nov 06, 2006 11:31 am

Postby scigs30 » Wed May 27, 2009 12:12 am

I have most of the construction done, just have to do some final sanding and then I will begin covering. I wanted to test fit all the pieces before I covered the frame. So far she is weighing in at 48 grams without the prop. This is one heavy plane even with all the replaced wood, I can only imagine how heavy she would be with Guillows wood. This is one big plane, I took a picture of my Guillows TBF Avenger next to the SE5. I am going to cover with green domestic tissue, at this point weight of tissue is not really an issue.
Image
Image
Image
Image
Image
Image
scigs30
 
Posts: 844
Joined: Mon Nov 06, 2006 11:31 am

Postby scigs30 » Wed May 27, 2009 12:52 am

One more from the side. You can see my functional nose block from this angle. Head rest is crooked because it is not glued in yet.
Image
scigs30
 
Posts: 844
Joined: Mon Nov 06, 2006 11:31 am

Postby thymekiller » Wed May 27, 2009 5:58 am

Fantastic !!! Man I love your wood work.

thymekiller
"...the road goes on forever, and the party never ends..."
thymekiller
 
Posts: 331
Joined: Fri Sep 12, 2008 7:50 pm
Location: Springfield, MO.

Postby scigs30 » Fri May 29, 2009 11:58 am

Well, I started covering yesterday and decided to show my brother how to cover using UHU stick. I have never tried this before but I knew, or thought I knew it would be easier than teaching the 50/50 glue water technique. So I gathered all the supplies, new UHU sticks, 91% Isopropyl alcohol and some brushes. I was having a tough time of getting the tissue to stick. Normally when I cover I paint the frame with my water and glue mixture. Then I simply lay the tissue in place and press the tissue onto the structure. I don't normally pull and tug and this guarantees and tight wrinkle free covering. Well with the glue stick I ended up pulling and tugging and trying to get the tissue to stick by reapplying more glue or brushing alcohol on the tissue to reactivate the glue. So anyway I finally finished covering and let everything dry overnight. I sprayed the tissue with plain water and the results were horrible. I had wrinkles and in some places the tissue completely pulled away from the structure. So now I have to remove the tissue and start over. For now I just put the plane away and walked away. I am planning on building the Cessna 150 next, but I refuse to start another project until the last model has been completed. This prevents a room full of unfinished projects. I know the glue stick works for a lot of people, but this is not the method for me. I told my brother I am sorry and will teach him the water/glue method. I also told him the best method I know of is the Dope/Thinner method, unfortunately we are unable to do this because of the harsh fumes. What a bummer...... :cry:
scigs30
 
Posts: 844
Joined: Mon Nov 06, 2006 11:31 am

Postby thymekiller » Sat May 30, 2009 8:02 am

I know why some people have several projects at a time , but I cant. If I do , I will not finish anything.

Sorry about your glue stick experince. Works well for me. Everybody has their favorite. I think the glue stick adds a little more weight. Your planes turn out better than mine, I may try your tecnique.

thymekiller
"...the road goes on forever, and the party never ends..."
thymekiller
 
Posts: 331
Joined: Fri Sep 12, 2008 7:50 pm
Location: Springfield, MO.

Next

Return to General Building Questions

Who is online

Users browsing this forum: No registered users and 55 guests