500 Series Focke-Wulf FW-190 Build

Ask other modelers for a little help / knowledge ?

500 Series Focke-Wulf FW-190 Build

Postby ADW 123 » Sat Sep 10, 2011 3:19 pm

its been a few weeks since i have even touched anything that has to do with building, and i cant take it anymore. i have been very busy with school starting again but i seek to make as much time as posible for my building. im hopeing that i can get in some time everynight on this one. i also seek to perfect my scalloping technique, as my last one was not quite there. if luck is on my side ill get it to fly. i had to get some more suplies, which you can see in my picture. i also got a nice brush for dopeing. i might switch to butyrate dopes as i can use it for my u controls and for small flying and scal models. i will still use bannana oil for those very small ones, but i think this is better than having three different types of dope. the other thing is that butyrate can also be thinned with prue acetone, which is readily available at many stores and is signifigantly cheaper than other thinnners. hopefully building will commence very soon. i hope to at least get a couple hours in this weekend. as always, i will post lots of pics.

Image

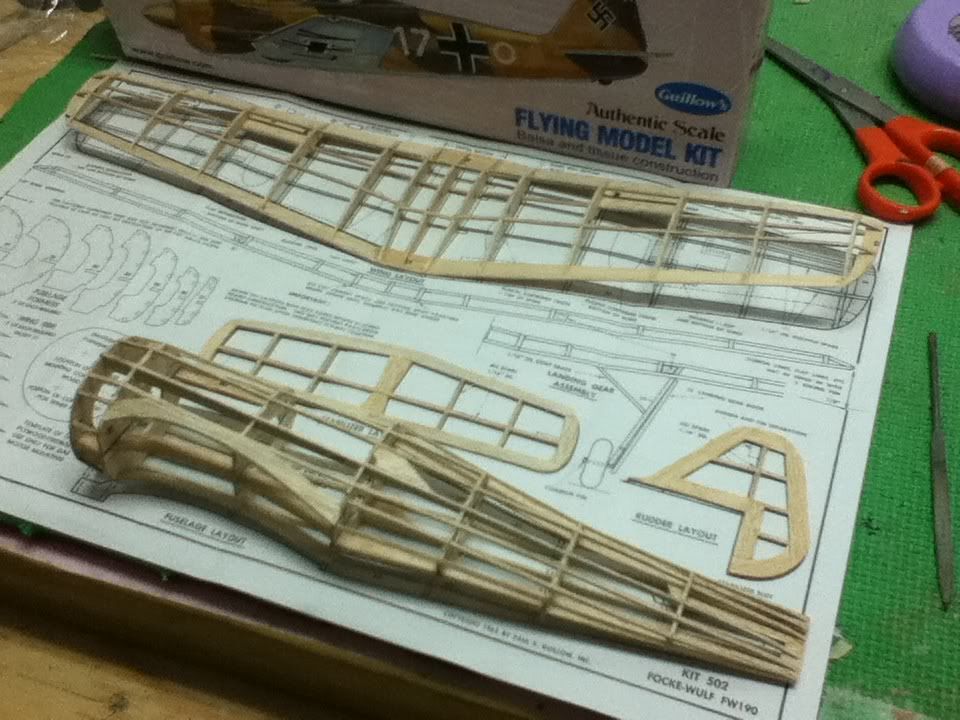
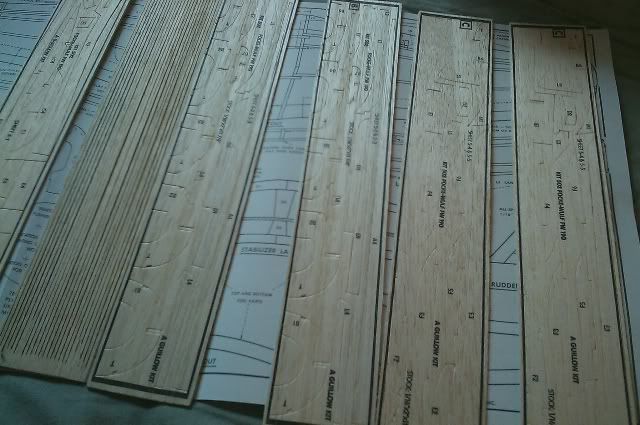
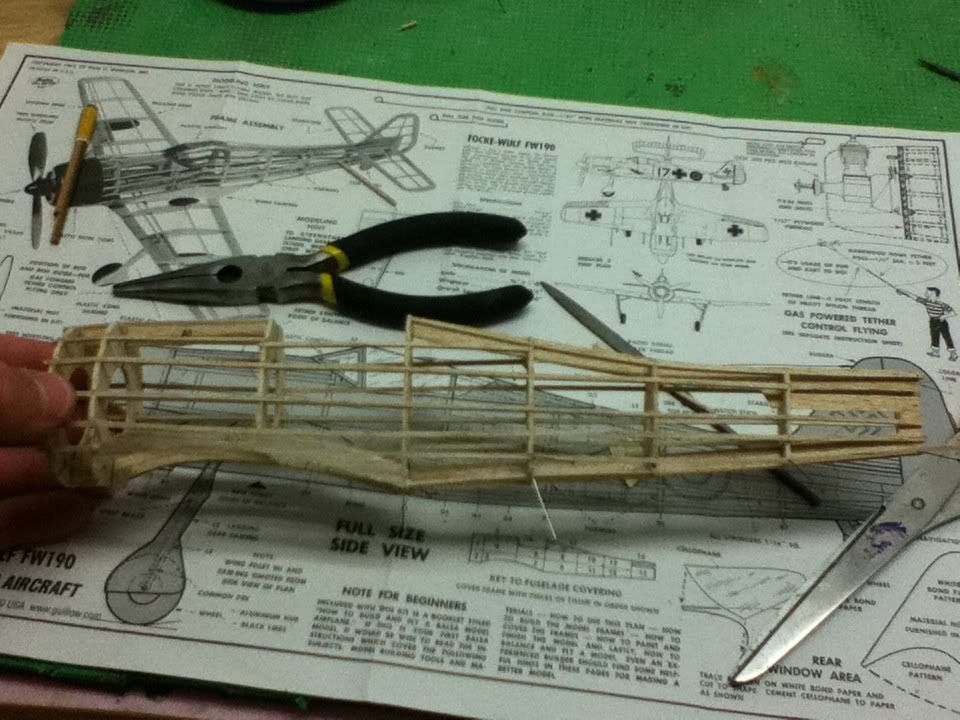
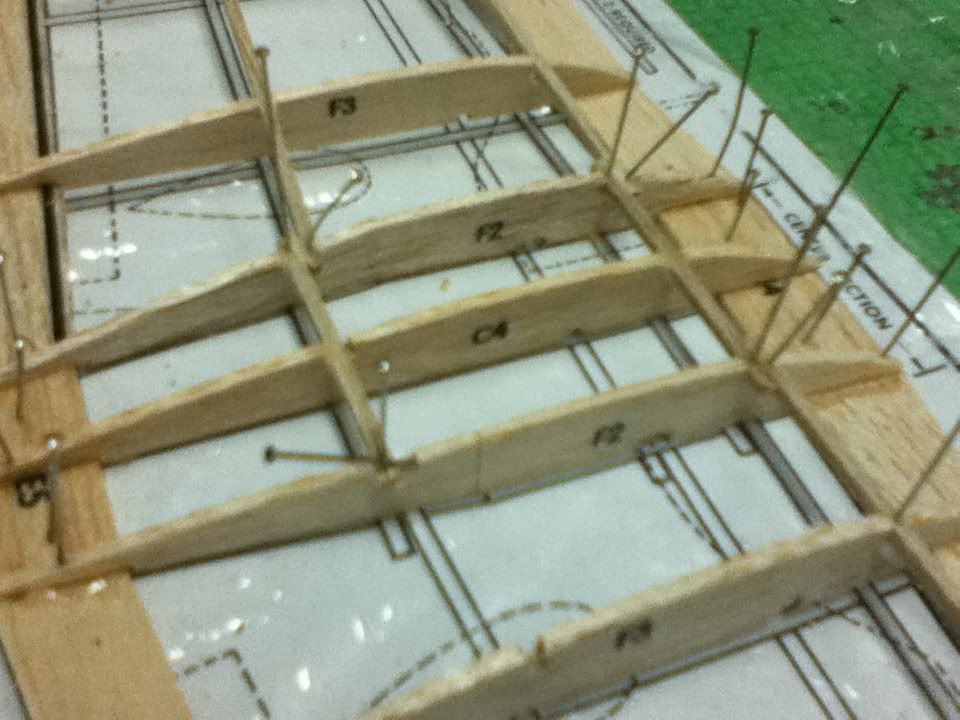
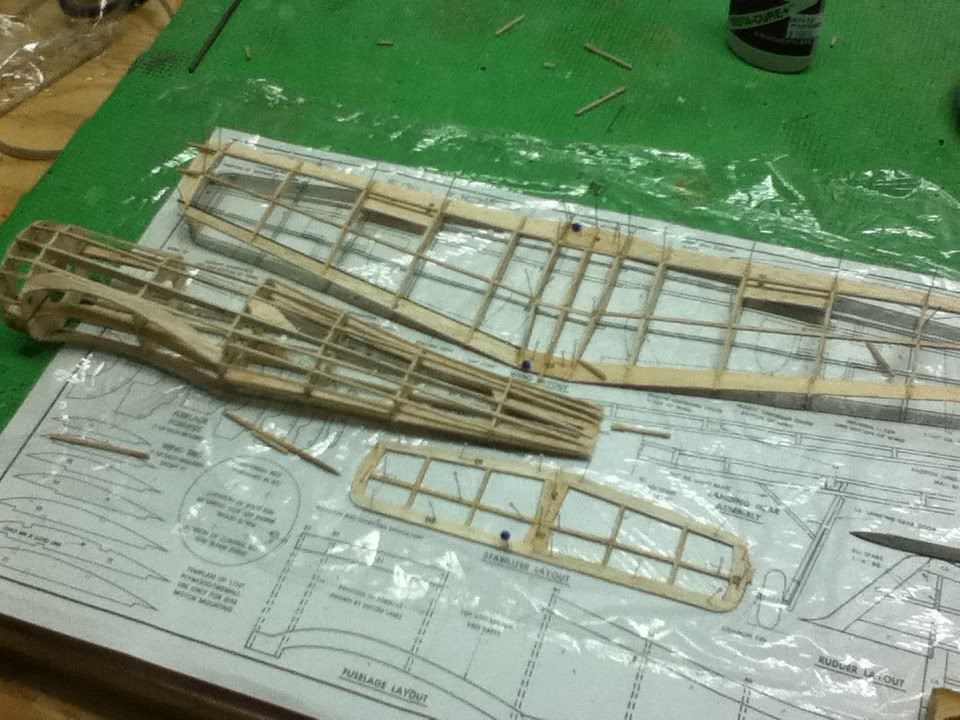
i got two great pieces of wood and the rest were pretty poor as usual. i might also replace the stringers with my own but we will see when i come around to that
Image
ADW 123
 
Posts: 1158
Joined: Mon Feb 22, 2010 5:22 pm
Location: Cincinnati, Ohio

Postby Phugoid » Sat Sep 10, 2011 3:30 pm

Obvioulsy go with what you think best.........BUT.....don't ruin the finish on your plane for a few dollars Alex!

Keep your stringers for other projects, they make lovely leading edges and main spars for peanuts and dimes I find.

Will watch with interest...
Phugoid
 
Posts: 952
Joined: Wed Jan 20, 2010 8:17 am

Postby ADW 123 » Sat Sep 10, 2011 4:00 pm

does butryrate not give a good finish? i havent used it enuff to really know, but i always thought that areogloss dopes were pretty good. unforchunatly, my hobby shop stopped carying the stuff cuz no one buys it. i told them if they stop stocking balsa wood models i wouldnt be coming there anymore... they are ordering some for me and ill be able to get some through them.
ADW 123
 
Posts: 1158
Joined: Mon Feb 22, 2010 5:22 pm
Location: Cincinnati, Ohio

Postby Phugoid » Sat Sep 10, 2011 5:02 pm

I dunno about the butyrate dope I've never used it, but your reasons for using it seemed purely for economy rather than much else......
Phugoid
 
Posts: 952
Joined: Wed Jan 20, 2010 8:17 am

Postby cliffm » Sat Sep 10, 2011 9:01 pm

Butyrate will give you the same finish as nitrate as per gloss and it has better fire resistance than nitrate. Nitrate burns quite easily in a finished state as butyrate takes some coaxing to get it to burn. My ol dad who recovered the real things was of the opinion butyrate was the better of the two and used it on all his builds and rebuilds, he learned his covering techniques from the Army Air Corps during WWII and that's what they used.
cliffm
 
Posts: 370
Joined: Fri Feb 27, 2009 11:08 am
Location: fairdale N D

Thats the one I am Doing the Walkthrough with.

Postby joecrouse » Sat Sep 10, 2011 9:20 pm

I'm going to cross post Your build as well if you don't mind. Hopefully so as to cover holes in my documentation.
joecrouse
 
Posts: 216
Joined: Mon May 23, 2011 9:20 am

Postby ADW 123 » Sat Sep 10, 2011 9:56 pm

i also like the idea of just 2 different typs of dope. having used it before, i have not noticed a difference between nitrate and butyrate. i will pay more attention this time...
ADW 123
 
Posts: 1158
Joined: Mon Feb 22, 2010 5:22 pm
Location: Cincinnati, Ohio

Postby ADW 123 » Sat Sep 10, 2011 9:58 pm

joecrous, thats fine with me. im sure you will cover everything in yours but just in case...
ADW 123
 
Posts: 1158
Joined: Mon Feb 22, 2010 5:22 pm
Location: Cincinnati, Ohio

Postby ADW 123 » Sun Sep 11, 2011 8:46 pm

got some more work done. the parts go together like... well all the die cut guillows kits. but with some work ive gotten this far. the thing that really ticked me off was that... ok im going to try to explain this. lets look at a fuselage former half. the die cut is on one side, but it doesnt go all the way through, as usual. but thats not the thing. on the plans, the formers references right near the fuselage layout... the parts go on so that the die cut side of the former half is on the bottom. i think that it is so much easier to cut it when you can see how deep the die cut put the bottom of the stringer notch. this made it a little more difficult (and the fact that the wood isnt great) to make good notches. just another great kit not well thought out...

here is a pic

Image

should be able to make this thing pretty straight despite the poor parts...
ADW 123
 
Posts: 1158
Joined: Mon Feb 22, 2010 5:22 pm
Location: Cincinnati, Ohio

Postby Arlo DiPasquale » Wed Sep 14, 2011 7:18 pm

I hear you with school, it seems to take up all the time I really wish I could use to build planes. So, regretably progress on my planes is not as fast as I would like it to be. My SPAD is coming closer to completion, though!!
Arlo DiPasquale
 
Posts: 207
Joined: Tue Jun 10, 2008 9:22 am
Location: Minneapolis, MN

Postby ADW 123 » Thu Sep 15, 2011 10:08 pm

got some more work done today, due to a pretty light homework load.

i have just about all of the stringers on the fuselage. i managed to get a pretty straight square fuselage, despite my frustrations with the poor accuracy.

some pics-

Image

Image

Image


what do we recoment for covering the fuselage? i know i like to work with wet tissue, and it usually puts out a pretty good result. was wondering how many pieces i would need....
ADW 123
 
Posts: 1158
Joined: Mon Feb 22, 2010 5:22 pm
Location: Cincinnati, Ohio

Postby ADW 123 » Sun Sep 18, 2011 3:20 pm

looks like i got the fuse all set. i think i did a much better job on scalloping and i am satisfied. i used my file for a rough scallop, and then used a dowl with sandpaper on it to smooth it up. should turn out better than the 109


Image

Image

Image

Image
ADW 123
 
Posts: 1158
Joined: Mon Feb 22, 2010 5:22 pm
Location: Cincinnati, Ohio

Postby ADW 123 » Sun Sep 18, 2011 7:00 pm

close up on center wing rib-

Image

C4????? What the... confused me a bit... dunno why the center rib was labled wrong, there is already a rudder part named C4. anyways...


wing just about done, rudder done ready for sanding with fuselage on stand by

Image
ADW 123
 
Posts: 1158
Joined: Mon Feb 22, 2010 5:22 pm
Location: Cincinnati, Ohio

Postby ADW 123 » Mon Sep 19, 2011 7:55 pm

got some more work done- all frames are completed, except a couple of those L parts on the fuse and wing

lots of pics

Image

Image

Image

Image

Image

Image

Image
ADW 123
 
Posts: 1158
Joined: Mon Feb 22, 2010 5:22 pm
Location: Cincinnati, Ohio

Postby Phugoid » Tue Sep 20, 2011 1:59 am

Neat Work Alex

Andrew
Phugoid
 
Posts: 952
Joined: Wed Jan 20, 2010 8:17 am

Next

Return to General Building Questions

Who is online

Users browsing this forum: No registered users and 62 guests