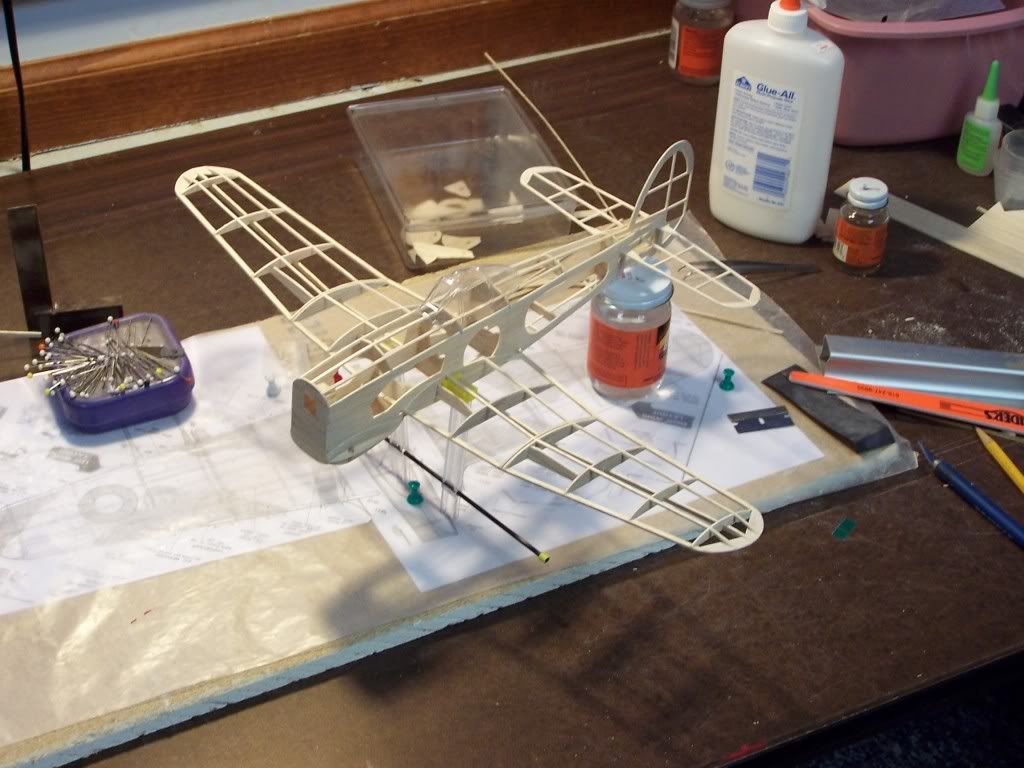
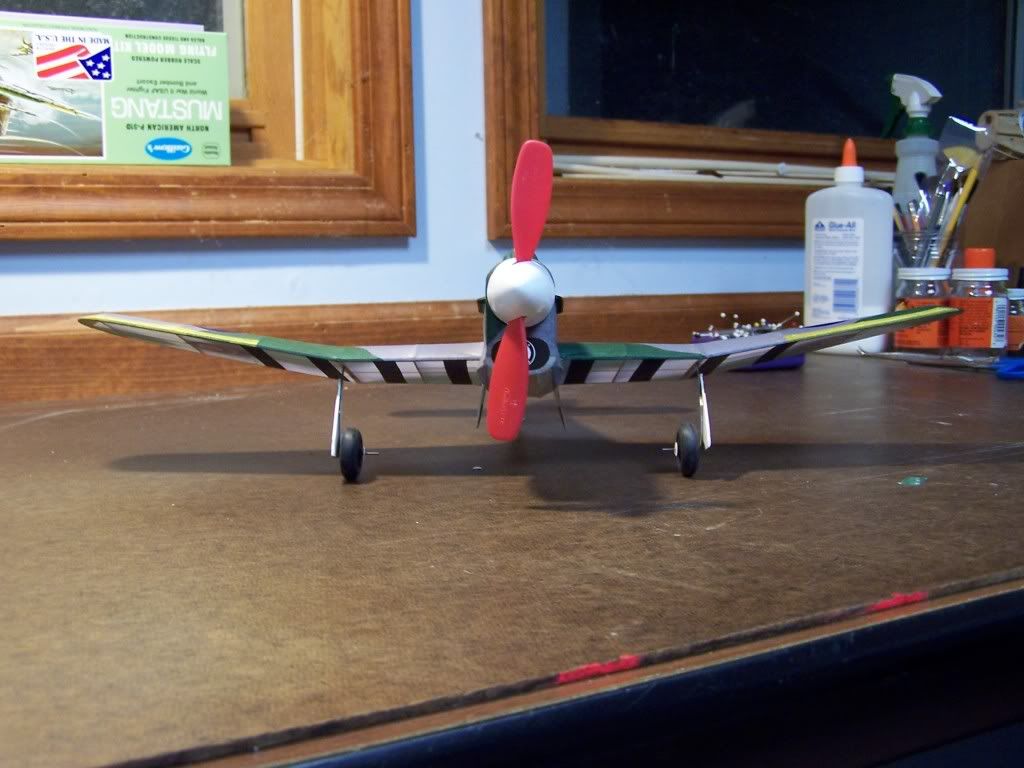
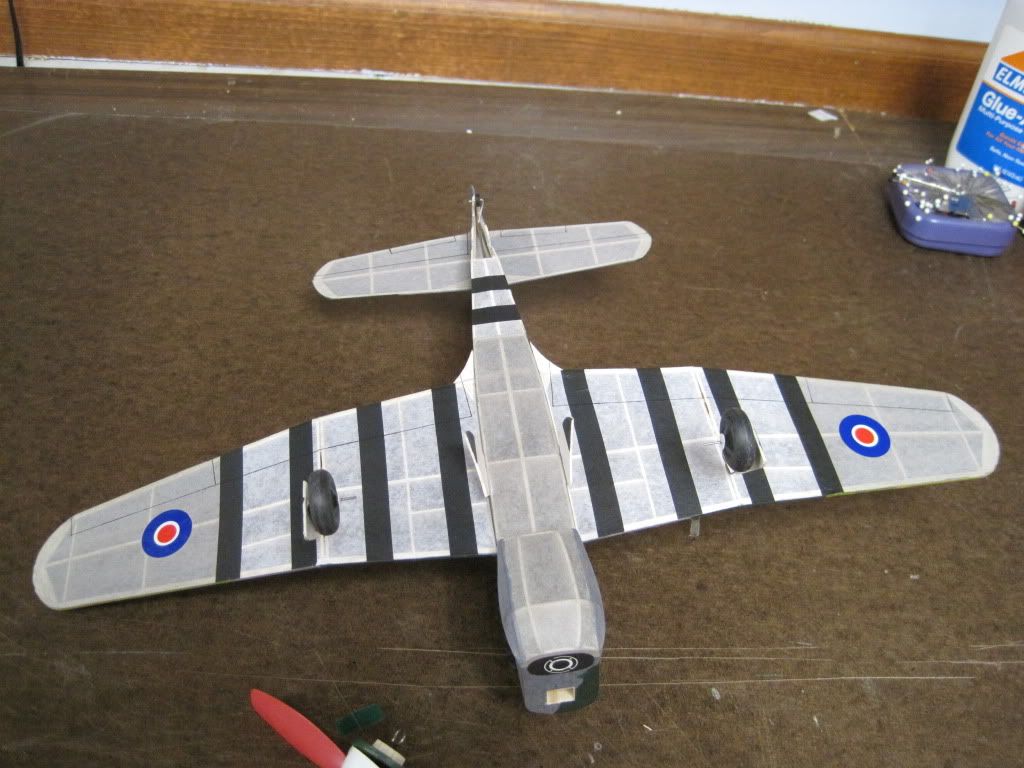
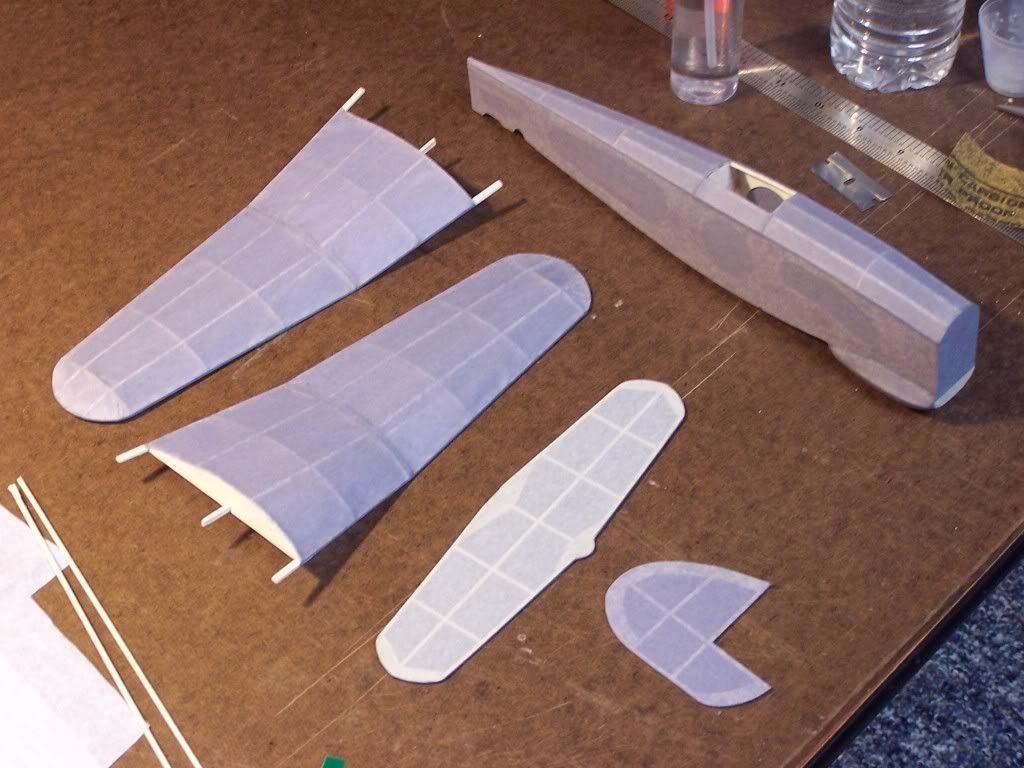
Well I finally got some pictures taken and uploaded after all the Christmas bustle, so here she is. I built according to plans with the only modifications being to the nose, where I built a nose plug, weight is 26.4g without rubber. I only painted the plastic parts, the rest is tissue. I used a combination of glue stick and 50/50 white glue/water to apply the tissue. I had some issues getting the decals to stick, but my trusty glue stick came to the rescue...I just let the decal dry glue side up on some paper towel and then used the glue stick to fix them to the plane..sort of a roundabout way but it worked. Next up is the 500 series spitfire. I figured I'd work out the kinks of the 500 series on one that has a reputation for not flying the greatest =)
Just awsome. The Spitfire can be a challenge especially if the wood is heavy. No matter what you do, it will still need a lot of clay in the nose. The simplest way to get this bird to fly is replace all the wood with contest balsa and move the motor mount forward. This is a much faster way to build than trying to shave the kit wood.
Steve:
I used a couple different techniques to glue the dark green on top of the grey, but what I found works best is to use a glue stick ( I used an Elmer's purple gluestick ). I cut the detail peice how I wanted, experimenting with the fit, then I turned it over on a peice of wax paper and went to town with the gluestick. I found that this moistened the tissue just enough to be workable, without causing it to wrinkle up and sag and so on, although the glue is pretty tacky so I didn't have much time to adjust things if it didn't look right. It's probably not really the best Idea weight-wise to double up the tissue like that..but it sure looks nice
Very well done Typhoon. I just built one that Guillow's saw fit to include a P-51 mustang canopy instead of a Typhoon It will be my experimental bird for tweaking and flying. I will get another and build it from lessons learned.