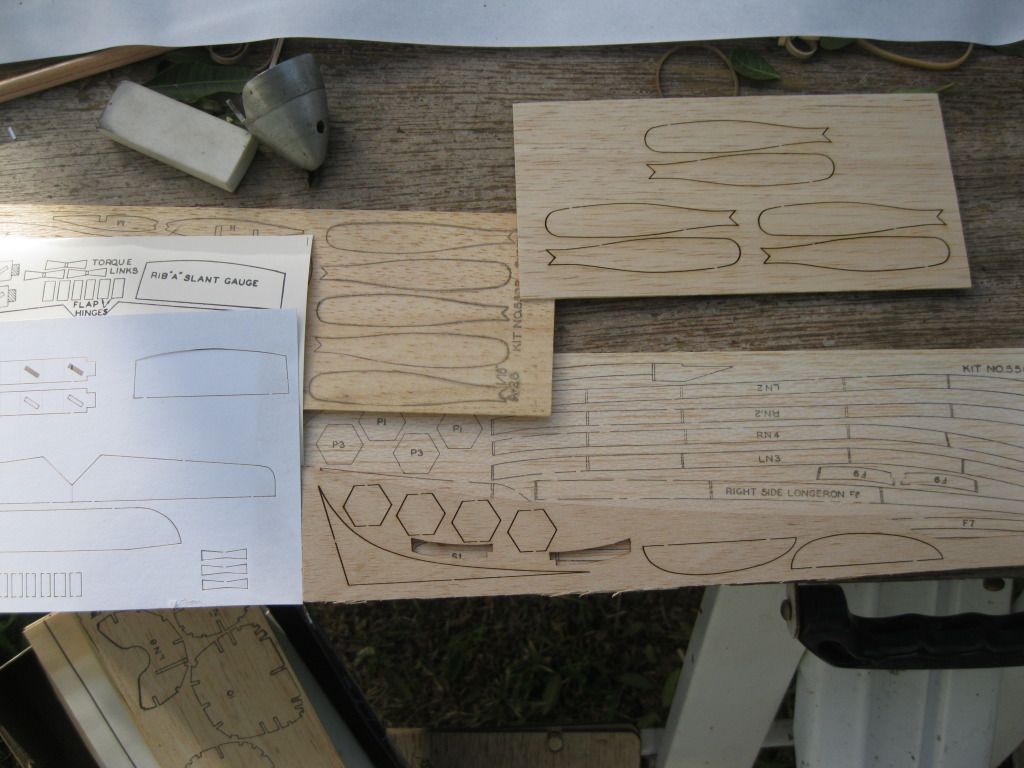
First photo is orig 1946 kit parts and new laser cut parts

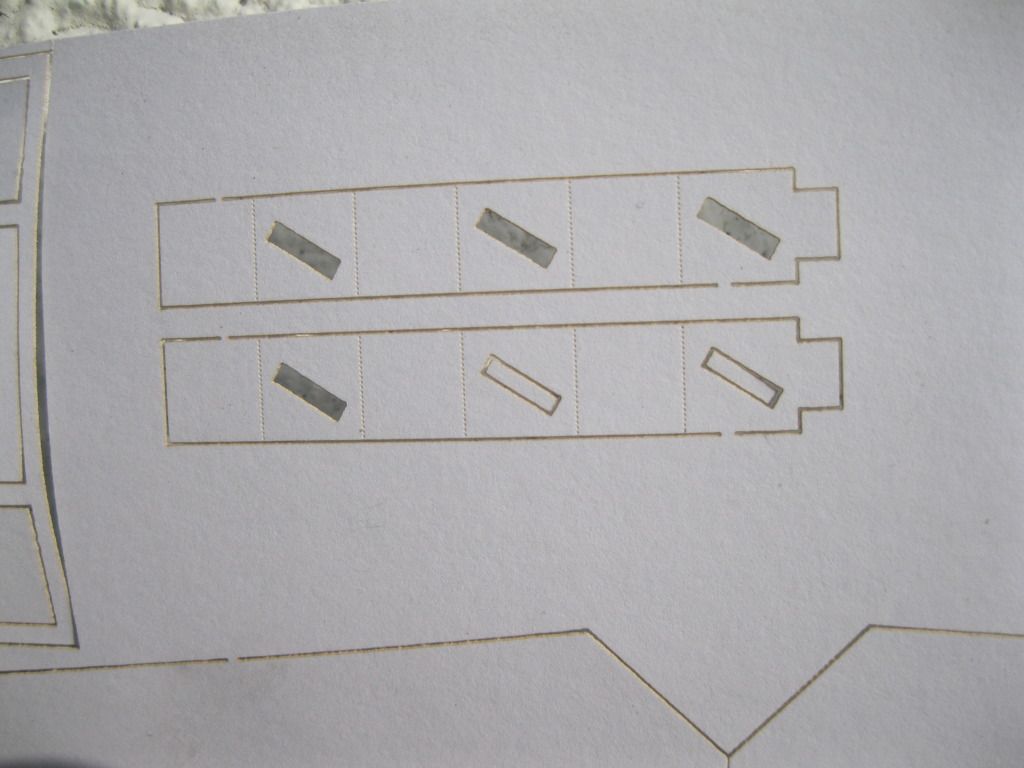
Here we have a close up of the paper parts that are also laser cut

This is the parts laid out getting ready

Find center of hub by making a mark from corner to corner then X marks the spot of center. Fold your paper so it will sort of be in the right shape

Place some glue down to hold paper in place and let it sit for a few moments

Put your pin in your center hole and press wooden blades into the slots. When they meet at pin and your paper is still straight your ready!

With everything flat on the table and straight on the pin, paper and prop notches dribble some glue.

When it is not all the way dry add your top cover with center hole just like you did for the bottom. Now your paper can't move and you have a old time prop. Back when we would soak each blade in dope till it was dripping off. Just dunk entire blade, hub and all into gal of dope and let it sit there for some time. Another method (modern and nifty) is what I also use, go buy a can of rubber tool grip stuff. The spray can not the dip version. Tie a thread in your prop so you can hang it away from silly things like cars, pets, and spouse...you know the things that if you get paint on bad things happen. Now that you have your prop away from critters and such give it a quick blast from spray can. Prop will move about like a wind chime in a hurricane. Wrestle it back to center and keep giving it shots till it looks like it's covered. If you don't feel like fighting the prop you can always run a bit of wire like a lolly pop.
